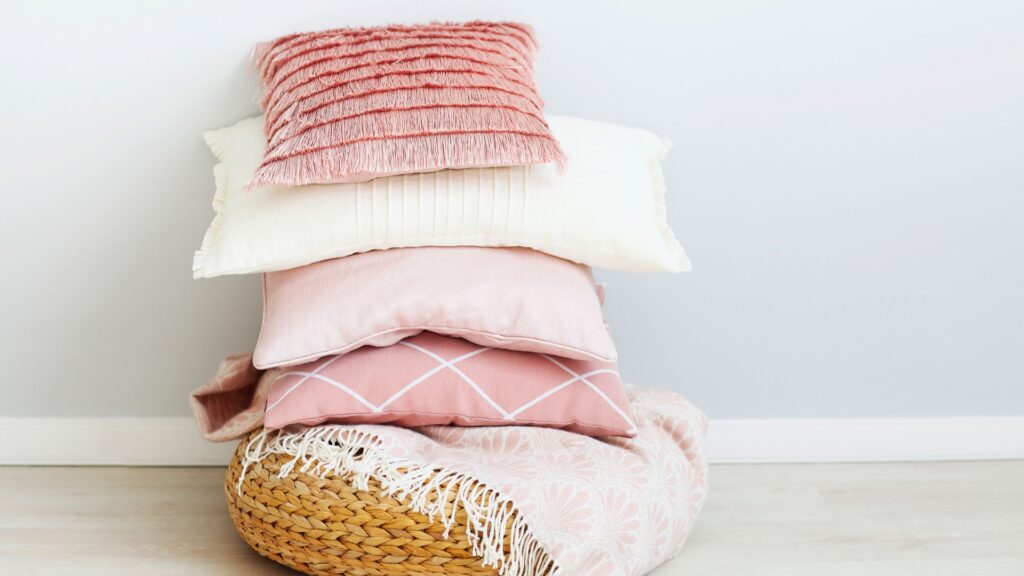
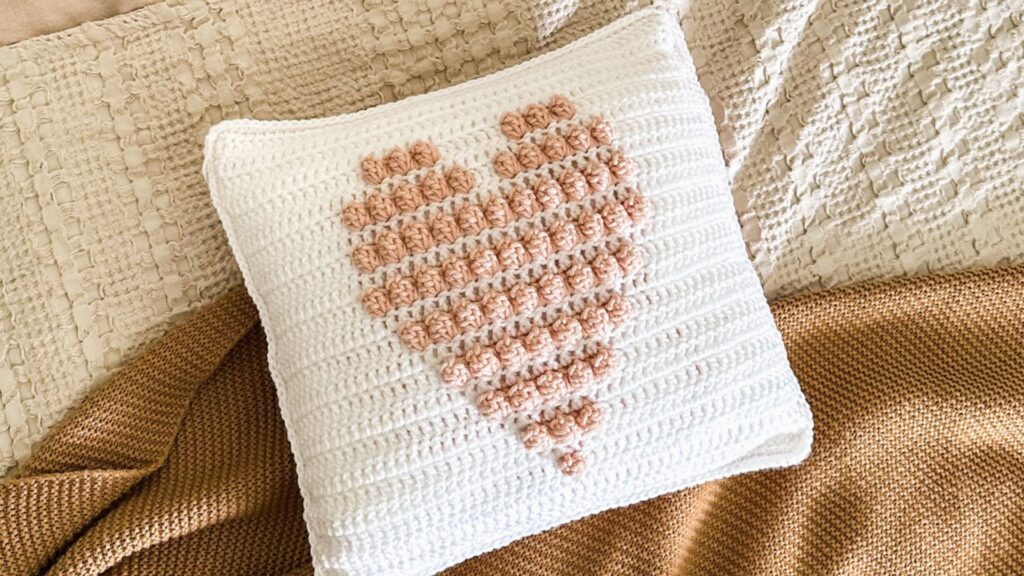
Crochet Heart Pillow Pattern: Free Pattern for Valentines Day
Have you ever wanted to crochet a heart pillow? Whether it’s a Valentine’s Day gift or not, this crochet heart pillow is needed in every home! It’s such a fun throw pillow that can be pulled out during the holiday, used as Spring decor, or can be a reminder of love and happiness all year long!
For as long as I’ve been designing I’ve never made a project specifically for Valentines Day. That got me thinking that I should probably do that! So I started thinking of ideas.
If you follow me on Instagram you’ll know that one of my goals this year is to use up all of the yarn and supplies I’ve purchased over the years.
One of the things I have way too many of are… pillow inserts! So I decided that I had to make a crochet pillow pattern.
And what’s more fun than easy, textured bobbles in the shape of a heart?!
The whole reason why the Sigoni Macaroni blog was created was to help beginners find patterns they could easily make. I wouldn’t say this pattern is for an absolute beginner, but it is beginner friendly.
If you have your basic stitches and tension down, you can make this pillow. The only special stitch you will need for this pattern is the bobble stitch (and I’ll show you how to do that). You will also need to know how to change colors.
And let’s say you’re an absolute beginner, you can forget the heart shaped bobbles and use this pattern to create an all double crochet pillow! I’ll explain how to do that when I talk about the back panel.
Now let’s talk about the construction of this free pattern.
Crochet Heart Pillow Pattern Construction
This crochet heart pillow pattern is made by crocheting two separate panels and then seaming them together around a pillow insert.
Each panel uses double crochet stitches and popcorn stitches which makes it a very easy and quick pattern. It only took me a few days to complete (pretty much the entire season of Wednesday).
You’ll notice in the photos that the front and back side of the pillow are different. That’s because you can customize this crochet heart pillow pattern for your home and liking!
I created the first side using one color and loved the way it turned out. However, I thought it would be even more fun if the bobbles were a different color. That way they really stuck out more.
If you are a beginner and you’re not comfortable with the bobble color changes, just make it in one color.
If you’re more of an advanced or intermediate crocheter, you can try two separate colors.
You will just change your yarn color by creating an incomplete double crochet (right before the first bobble of the row) and pull the new color through. Here’s a video explaining how to do this.
There are lots of different ways you can make this free crochet pattern your own, like:
- Use a variegated yarn for the background and a solid color for the heart.
- Create one heart panel instead of two.
- For the back side of the crochet heart pillow, you can use all double crochet. All you have to do is replace all of the bobbles with double crochet! This will also work up a lot faster if you’re trying to make it quickly as a gift or decor.
- Use a bulky weight yarn instead of medium weight.
- Just remember that your pillow will turn out larger so you will want to purchase a larger pillow insert than the one I used. I would think a 16″x16″ or 18″x18″ but it depends on your tension/gauge.
I don’t have a video tutorial for this pattern yet, but if you’d like to see one please let me know in the comments.
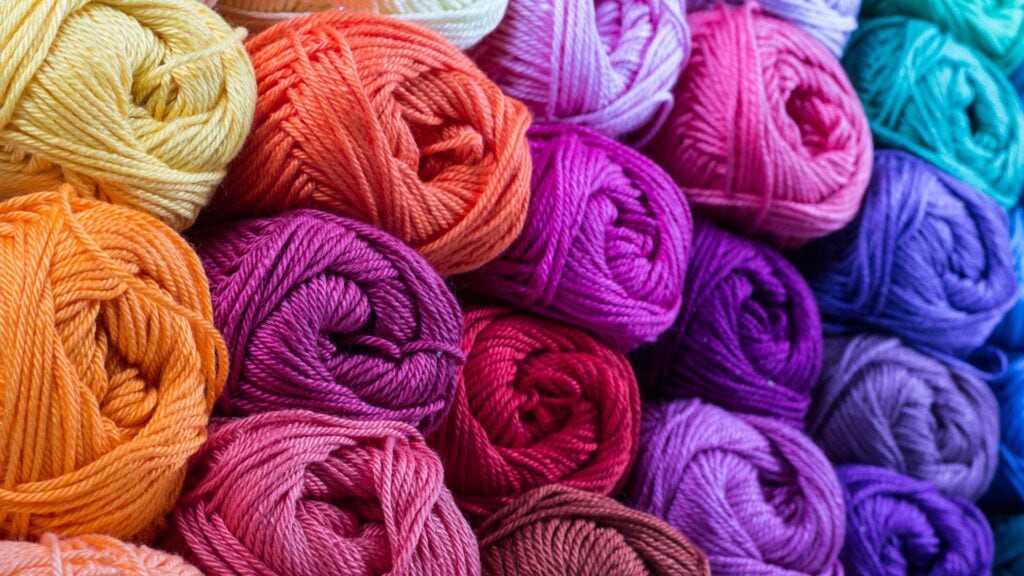
Yarn Used + Substitution
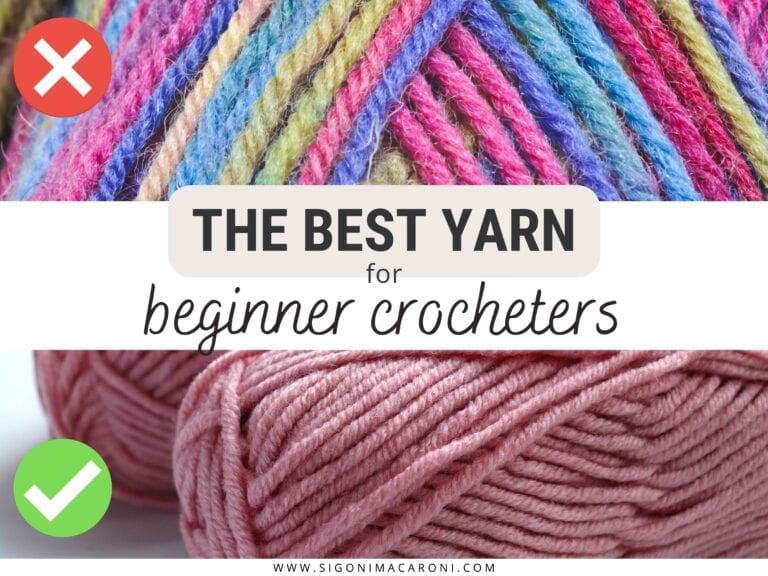
I used Hobby Lobby’s I Love This Yarn for this crochet heart pillow pattern.
This is some of the softest yarn I’ve ever used. It’s a medium weight (#4) 100% acrylic yarn and it is my absolute favorite for blankets and other home decor projects.
If you don’t have a Hobby Lobby near you, you can order online or you can substitute the yarn for another. As for yarn substitution, you can pretty much use any medium weight yarn that you have on hand.
Here’s a list of my favorite yarns for crochet pillows:
- Red Heart Super Saver yarn – Medium #4
- Vanna’s Choice – Medium #4
- Caron One Pound – Medium #4
- Color Theory – Medium #4
- Hue & Me – Bulky #5 (if you want to make a larger crochet heart pillow)
- Bernat Blanket yarn – Super Bulky #6 (if you want to make an even larger crochet heart pillow)
Crochet Heart Pillow Pattern Free
This post may contain affiliate links, please view my disclosure policy for details.
Pattern
- Get the ad-free, premium PDF on Etsy HERE
- Or on Ravelry HERE
- PIN this pattern to your Pinterest boards for later HERE.

Want a printer friendly, ad-free version of this pattern?
The premium PDF pattern prints beautifully or can be downloaded to your phone or tablet. It’s is easy to access, includes step by step instruction, and there’s a BONUS CHART to help you track your progress.
Materials
- 5mm crochet hook
- Any medium weight #4 yarn (yarn suggestions above)
- Tapestry needle
- Scissors
- 14″ x 14″ pillow form
Abbreviations
*All Sigoni Macaroni patterns are written in standard US terms *
- Dc – double crochet
- Sc – single crochet
- Sl st – slip stitch
- St – stitch
| US TERMS | UK TERMS |
| Single Crochet (sc) | Double Crochet (dc) |
| Double Crochet (dc) | Treble Crochet (tr) |
Special Stitches
Popcorn stitch – Place 5dc into next stitch, pull up a loop, insert hook into first of 5 dc, grab the loop and pull it through the stitch
Gauge
Skill Level
- Beginner/Advanced Beginner
Finished Measurements
- Each panel measures approx 13″x13″ in before sewing
Notes
- Ch 2 does not count as a double crochet
- **If you’re wanting to create the heart panel with two colors, you will change your yarn color by creating an incomplete double crochet right before the first popcorn stitch of the row and then pull the new color through. To end the row of bobbles, change your color again with your last dc of the popcorn stitch (see the video above)
- If you are a beginner who struggles keeping edges straight, use a stitch marker to mark the beginning and end of each row. Here’s a blog post that will help.
Helpful tutorials
- Single Crochet tutorial
- Double Crochet tutorial
- Quick bobble stitch example (short form video)
- How to Keep Edges Straight
Crochet Heart Pillow Pattern
Side #1: Heart Panel Main Body
Row 1: Ch 49. Dc 3rd ch from hook and each ch down (47)
Rows 2-4: Ch 2, turn. Dc across (47)
Row 5: Ch 2, turn. Dc next 23 st, popcorn, dc next 23 st (46 dc, 1 popcorn)
Row 6: Ch 2, turn. Dc across (47)
Row 7: Ch 2, turn. Dc next 21 st, [popcorn, dc] 3 times, dc next 20 st (42 dc, 3 popcorns)
Row 8: Ch 2, turn. Dc across (47)
Row 9: Ch 2, turn. Dc next 19 st, [popcorn, dc] 5 times, dc next 18 st (37 dc, 5 popcorns)
Row 10: Ch 2, turn. Dc across (47)
Row 11: Ch 2, turn. Dc next 17 st, [popcorn, dc] 7 times, dc next 16 st (33 dc, 7 popcorns)
Row 12: Ch 2, turn. Dc across (47)
Row 13: Dc next 15 st, [popcorn, dc] 9 times, dc next 14 st (29 dc, 9 popcorns)
Row 14: Ch 2, turn. Dc across (47)
Row 15: Dc next 13 st, [popcorn, dc] 11 times, dc next 12 st (25 dc, 11 popcorns)
Row 16: Ch 2, turn. Dc across (47)
Row 17: Repeat Row 15
Row 18: Ch 2, turn. Dc across (47)
Row 19: Dc next 13 st, [popcorn, dc] 5 times, dc next 2 st, [popcorn, dc] 5 times, dc next 12 st (25 dc, 11 popcorns)
Row 20: Ch 2, turn. Dc across (47)
Row 21: Dc next 15 st, [popcorn, dc] 3 times, dc next 6 st, [popcorn, dc] 3 times, dc next 14 st (29 dc, 9 popcorns)
Rows 22-25: Ch 2, turn. Dc across (47)
Tie off, weave in end.
Side #1 (continued): Heart Panel Border
Attach yarn to first dc of the round (on the ride side) and start with a row of single crochet across, sc 3 times around last dc.
Turn panel 90 degrees and work along the side. Sc evenly along the side of the panel (approx 50 stitches but it doesn’t have to be exact), placing 3 sc around the last stitch at the bottom.
Turn panel 90 degrees and work along the opposite side of the foundation row. Sc across with 3 sc in the corner.
Turn work 90 degrees so you’re working along the last side. Sc 50ish sc evenly across, using the same amount of stitches from the opposite side.
Again place 3sc in the top corner. Sl st to first sc of the round.
Side #2: Back Panel
You have two options.
- Option A: Repeat the heart panel pattern above if you would like textured hearts on both sides of your pillow.
- Option B: Create a plain double crochet panel.
Plain Double Crochet Panel
Row 1: Ch 49. Dc 3rd ch from hook and each ch down (47)
Rows 2-25: Ch 2, turn. Dc across (47)
Tie off, weave in ends
Create the border of this panel the same way as the heart panel above.
Seaming
With both panels facing right side up (wrong sides pressed together), attach the yarn to any stitch and sc both panels together – following along with the sc borders you just created.
After crocheting 3 of the sides together, stuff the pillow insert inside. Sc both panels of the last side together to close it off. Tie off and weave in end.
You can also whip stitch both panels together if you prefer, but I love the extra distinction it gives to this super cute pillow.
Pro Tip: You don’t even have to weave in your ends before you close up the pillow! Just knot them together and cut the yarn a little shorter. Once you sew both the front panel and back panel together all of the ends will be on the “wrong side” of your work so no one will even see them.
Crochet Heart Pillow Pattern Wrap Up
That’s it for this free crochet pattern! I hope you enjoy making this crochet heart pillow pattern as much as I loved designing it. Now go make a gazillion heart-shaped pillows and then share your finished projects with me!
- Share them on Instagram (or any social media) and tag me @sigonimacaroni
- Share them inside my free Facebook group
- Add your photos under the projects tab in Ravelry
Are you looking for some more free crochet patterns?
Here are some more patterns and roundups that I think you will love. 👇🏼
One Row Repeat Rectangular Shawl Crochet Pattern
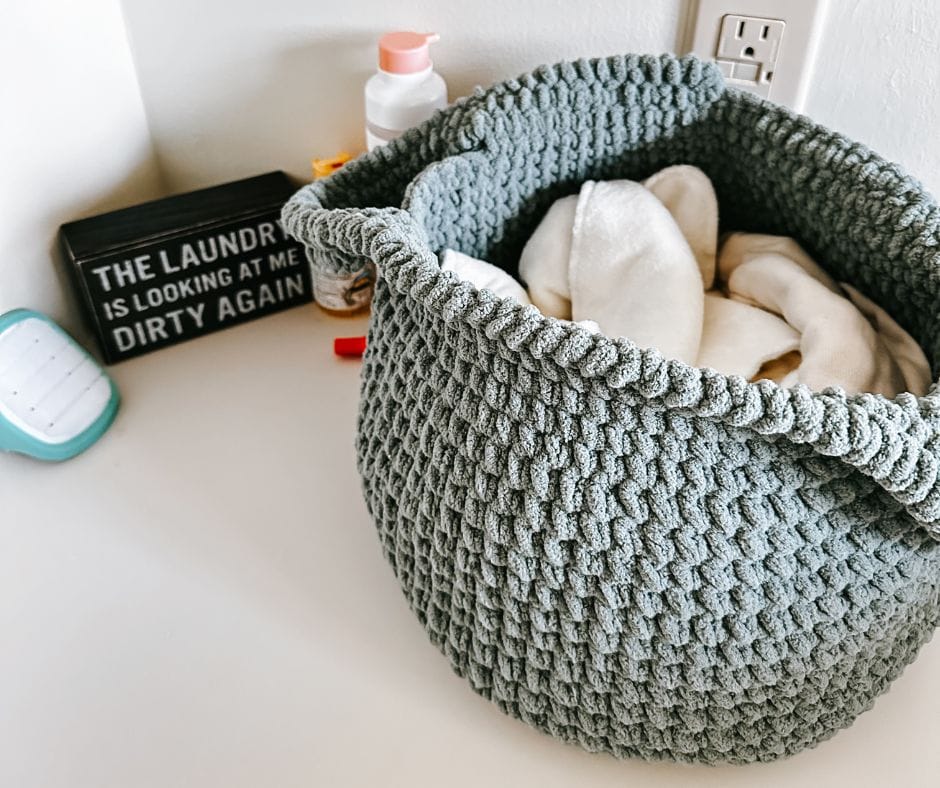
Easy Single Crochet Basket Pattern for Beginners
How To Crochet Easy Square Blanket: Free Pattern
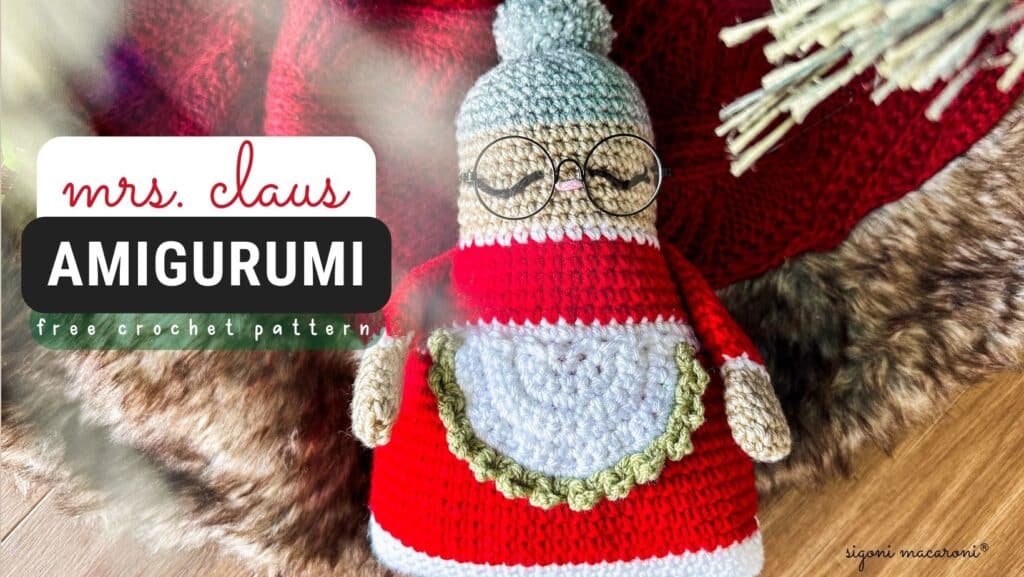
Easy Crochet Mrs Claus Amigurumi: Free Pattern

Black Crochet Santa Claus Amigurumi: Free Pattern
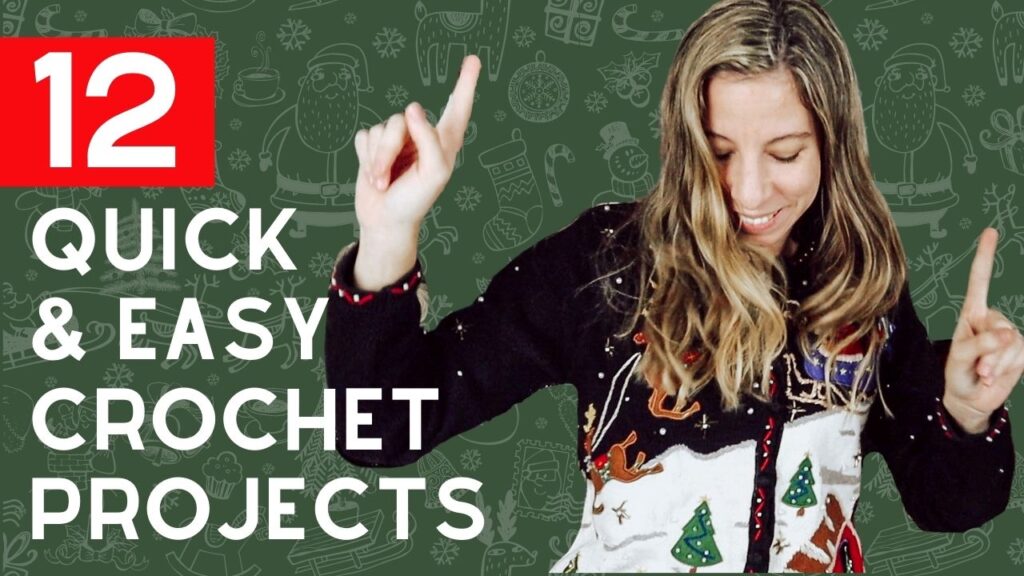
12 Days of Crochet Christmas | Easy Patterns for Gifts!
Happy crocheting!


How much #4 yarn is needed for the heart pillow?
I couldn’t calculate exactly because I used up some spare yarn, but I think it was around 300 yards
Thank you for this! I’d love a video tutorial but not absolutely necessary. Excited to try my first pillow!
I’m hoping to get a filming space set up soon, but we have limited space in this new house so it’s been tricky. But soon! If you have any questions while you’re making this pillow please let me know and I’d be happy to help!
Thank you for this amazing free pattern. I finished both panels but and completely lost in understanding the boarder part. Do you have a video on this?
I don’t have a video, but I’m hoping to come out with one in the future. Have you joined my facebook group. If you post pictures I (and other amazing ladies) can help you there! Here’s the link: https://www.facebook.com/groups/thecrochetdybunch
I love this! I want to mKe this for my daughter! I also would love a video tutorial as I do better with those than patterns. Thank you so much!!
Thanks Penny! I’m definitely working on getting back into videos soon. The craft room is almost finished! I’m so glad you love the pillow. If you need help, you can always ask questions inside our Facebook group