Tackle Your Next Crochet Project from Start to Finish without Hesitation
So you’ve found a few patterns online that you really love. Except you haven’t worked up the courage to start because you have no clue how to crochet a project from start to finish.
With the first pattern, you have all of your crochet supplies and you’re ready to go. One problem: it’s a written pattern. You’ve never attempted one and you don’t understand a thing.
With the second pattern, you follow along with a video. Once you reach the end, there’s no explanation on how to actually finish off the pattern. Now you have a pattern that’s finished, but has multiple ends to weave in and is still attached to your ball of yarn because tying off (or “binding off” if you’re a former knitter) is foreign to you.
Crochet is widely used as a stress and anxiety reliever. So learning to crochet shouldn’t be causing you frustration. In today’s post, all of the questions you have about crocheting a project from start to finish will be answered.
What We’ll Cover
- First, we’ll go over the basics. We’ll make sure you have the right crochet supplies on hand and that you understand the four basic stitches.
- Next, we’ll learn how to count your stitches and rows, which is vital to creating a straight-edged project.
- Finally, we’ll go over how to tie off your work, weave in those ends like a pro, and many additional tips and techniques in between.
This post may contain affiliate links, please view my disclosure policy for details.
The Very Basics
In this first section of tackling your crochet project from start to finish, we’re going to go over the very basics. We will go over choosing your very basic crochet supplies, making sure you know your basic crochet stitches, and how to count your crochet stitches and rows.
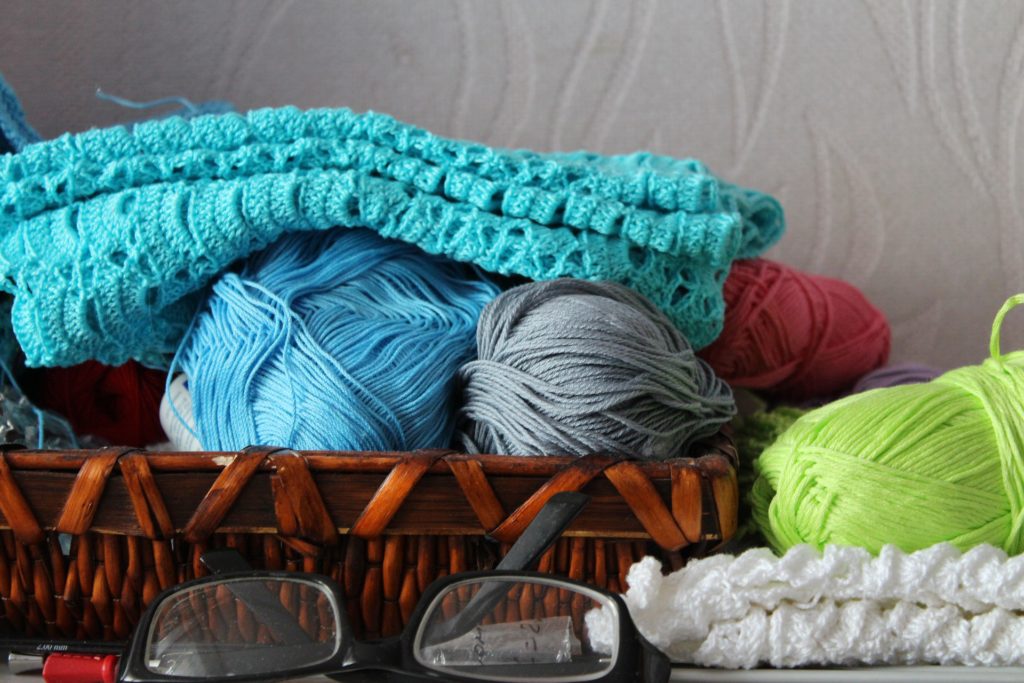
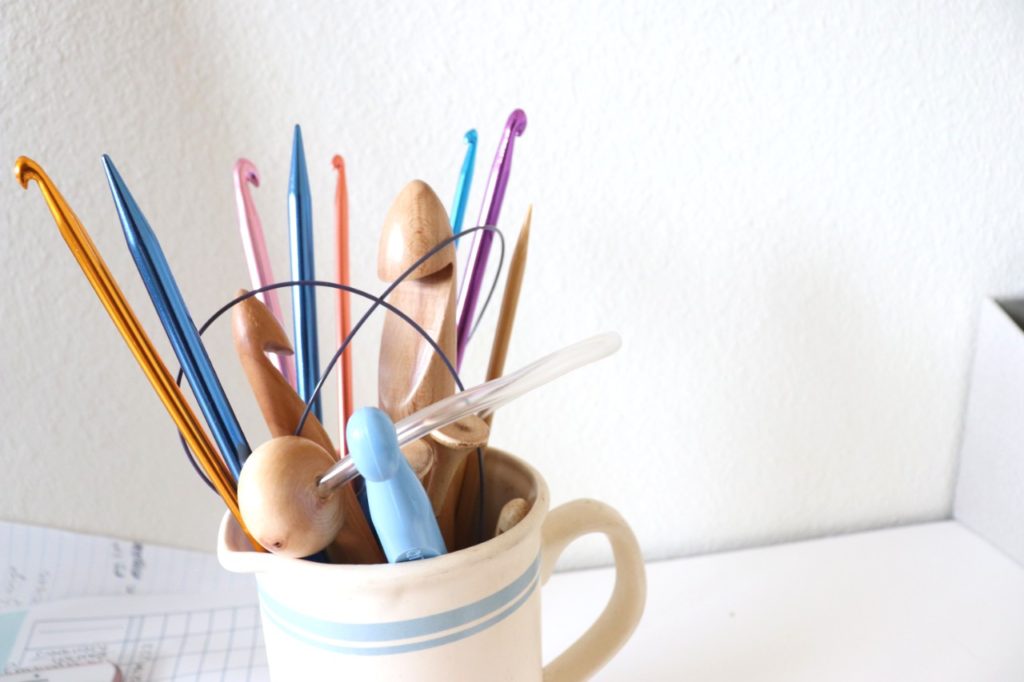
Choosing your Crochet Supplies
The first thing you need to start a crochet project is your supplies of course! The basic crochet materials and supplies that you need are:
- Yarn
- Crochet Hooks
- Tapestry Needle
- Scissors
These are the very basic materials you need to crochet a project from start to finish. There are a few other items that can make crocheting easier to manage along the way. If you haven’t purchased an array of basic materials yet, you can find a list of the crochet supplies I highly recommend and use every day.
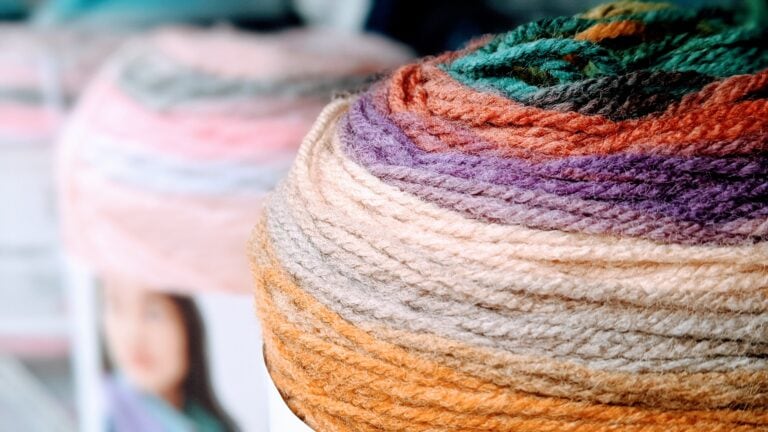
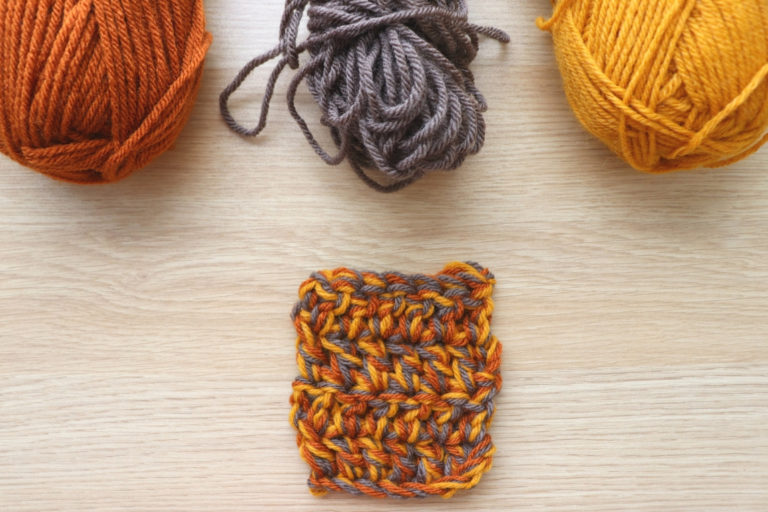
Yarn
The first thing you do after discovering your next project (besides gawking at the beauty) is search for the yarn used. If you can’t find the yarn suggested in the pattern, you don’t have to throw the idea away. The yarn suggested is just that: a suggestion.
However, it is best to find a yarn substitution with the same fiber and weight category. This makes it easier to achieve gauge as well as finishing your crochet project with a similar look as the original design.
If you’re unsure of the different weight categories, you can see the differences in the chart below. Yarn weight categories range from 0-7 and are almost always found on the yarn label. If you’ve purchased a hand-dyed skein from a local yarn dyer, they don’t always put it on the label. Be sure to check and ask if that is the case.
 | 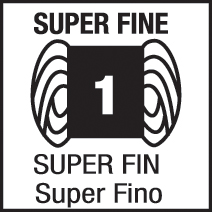 |  | 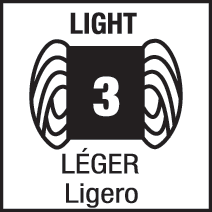 |  | 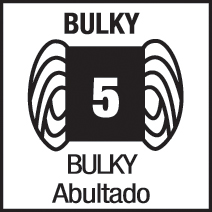 | 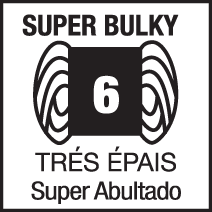 | 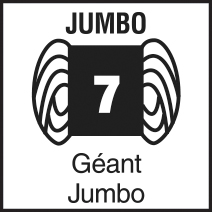 |
The symbols above are provided by the Craft Yarn Council’s www.YarnStandards.com
Next is my favorite part; yarn shopping!
I would be lying if I said I only had one favorite place to buy yarn. The truth is, I love all craft stores! They fill me up with excitement. These days, I purchase most of my yarn online through LoveCrochet or Lion Brand Yarn . Personally, I think they have the best selection and both sites have frequent sales!
I love every type of Lion Brand yarn, truly. It’s hard for me not to go wild when purchasing in bulk. They also have this new secret category called Sheepskate Savings and it’s on another level of clearance! (You can’t find it by simply searching their site. Trust me, I tried! So make sure to bookmark that link!)
Then there’s LoveCrochet. They offer a wide array of yarn brands and fibers, a lot of the time from brands you’ve never heard of. I’m in love with Paintbox Yarns of every weight classification and fiber. Another one of my favorites, at the moment, is MillaMia.
Crochet Hooks
Your second necessity to crocheting a project is a crochet hook. I talk all about the different kinds of hooks in my basic materials post, but today I’m just going to share with you my favorites.
The only crochet hooks I use are Clover Amour. They glide easily through your work, they’re durable, and they don’t put as much pressure on your hands. You know what they say. Once you go Clover, you can’t go back! That’s why I ended up purchasing the entire set.
Unfortunately, they can get a little pricey. I purchased mine for around $75, but now they keep fluctuating on Amazon from $30-$40. A little disappointing in my scenario… but yay for you if you decide to purchase!
Basic Crochet Stitches
There are four basic stitches in crochet (other than the chain stitch and slip stitch). They are:
You will find at least one of these stitches in every single pattern. The fun part is that combining these stitches together makes for thousands of different crochet stitches. As long as you are familiar with each of these stitches, you should be good to go with any pattern. Although, of course, some patterns are more complicated to understand.
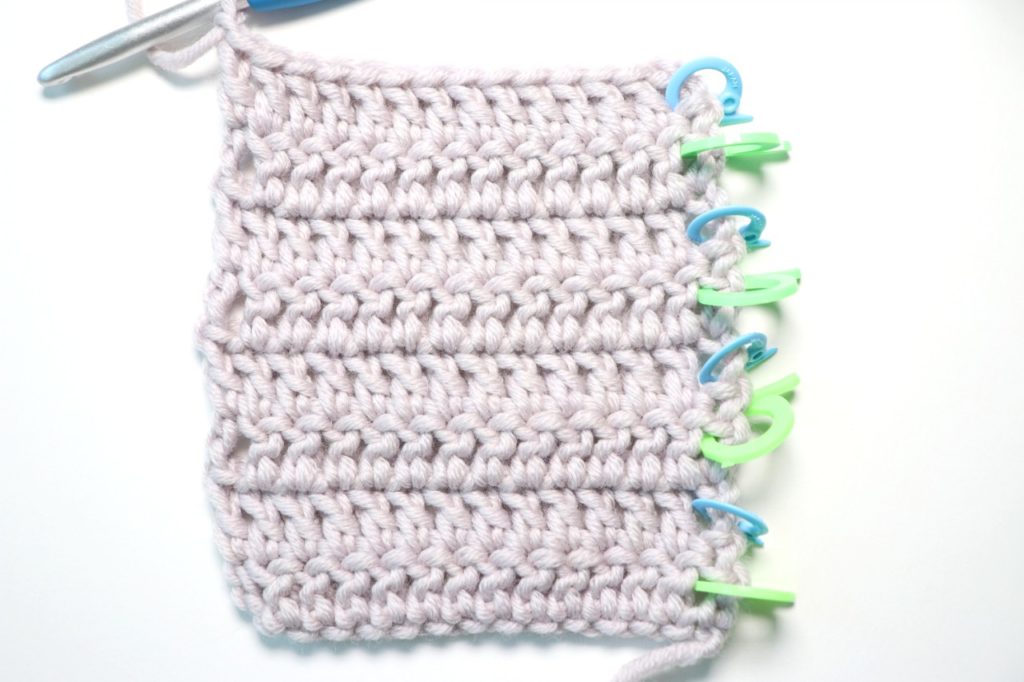
Counting Crochet Stitches and Rows
Once you’re done learning the basic stitches, master counting your crochet stitches and rows. If you think you’re pretty good at this, then you’re good to go. If you are struggling with keeping your edges straight, check out the full written and video tutorial that I’ve put together for you. It is jam-packed with great tips and tricks!
Tackling Your Next Crochet Project from Start to Finish
Okay now we’re getting into the good stuff. We’ve gone over the basics: the materials you will need, the basic stitches you’ll need to know, and learning how to count your crochet stitches and rows.
In this next topic we’re going to go over how to start your work, working in rows and rounds, how to change color, fixing mistakes, tying off your work, and weaving in those ends like a pro! Tons of stuff that we get you tackling your next crochet project from start to finish in no time.
Beginning Your Crochet Project
A crochet pattern is worked either in rows or rounds. The first thing you should check is how the project is worked.
If you’re working in rows, you will begin with a slip knot to start your foundation chain. If you’re working in the round, you will either start with a joined chain or with a magic circle. Using a magic circle is my personal favorite. It takes a couple tries to get the hang of it, but in the end it’s much cleaner and easier.
If you’ve never worked in the round, I suggest getting familiar with it before you start a project. This tutorial explains everything you need to know about crocheting in the round with step by step photos and video instruction.
If you’re working in rows, you will start with the foundation chain. This usually involves chaining, but you will sometimes hear the term “chainless foundation stitch”. If that’s the case, you can learn all about chainless foundation stitches here.
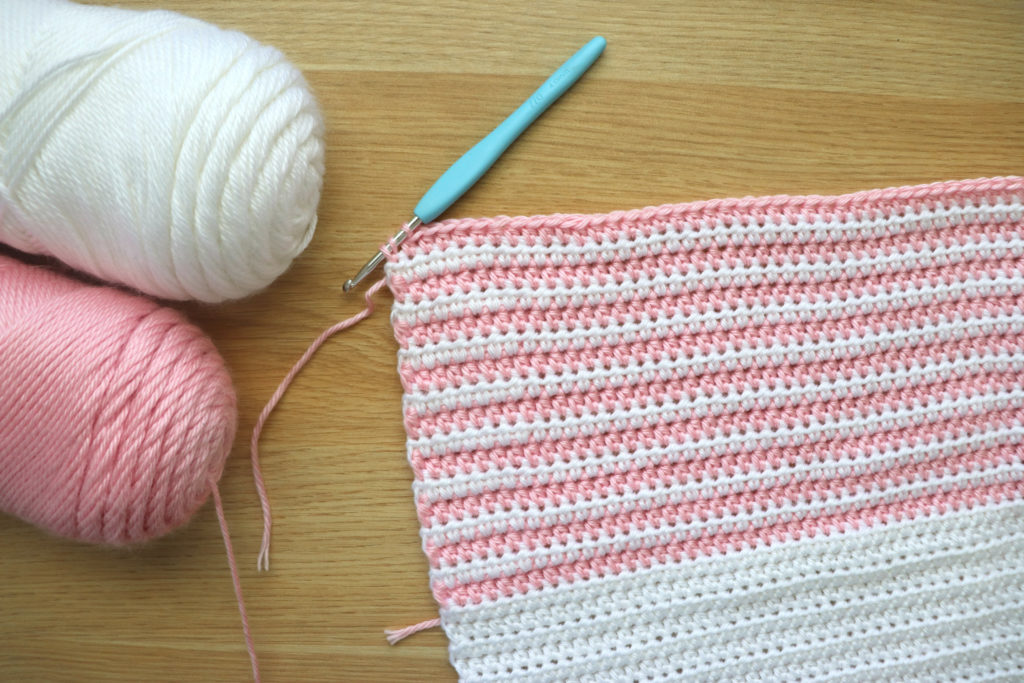
How to Change Color or Add a Second Skein of Yarn
If your next project is larger or requires any kind of color changes, you’ll need to know how to change the yarn when the time comes. The best time to change your yarn is at the end of a row, but you can always change it in the middle of the row as well.
There are a
- Tie a knot
- Simply tie a knot with your new yarn to your current yarn, leaving a few inches of tail on each end. Then crochet as normal, ignoring the yarn and
loose strands. Then weave in your ends at the end. - Some people don’t like this way because if you don’t do it right, your knot could show through. But if you weave in your ends well enough it should be fine and you’ll be at peace knowing it’s nice and secure.
- Simply tie a knot with your new yarn to your current yarn, leaving a few inches of tail on each end. Then crochet as normal, ignoring the yarn and
- Join before you complete your final stitch
- This is my favorite way to join new yarn because it’s seamless. It’s also a great way to practice if you ever want to get into tapestry crochet.
- To learn how to flawlessly change your yarn at the beginning, middle, and end of your row, you can find the full tutorial here.
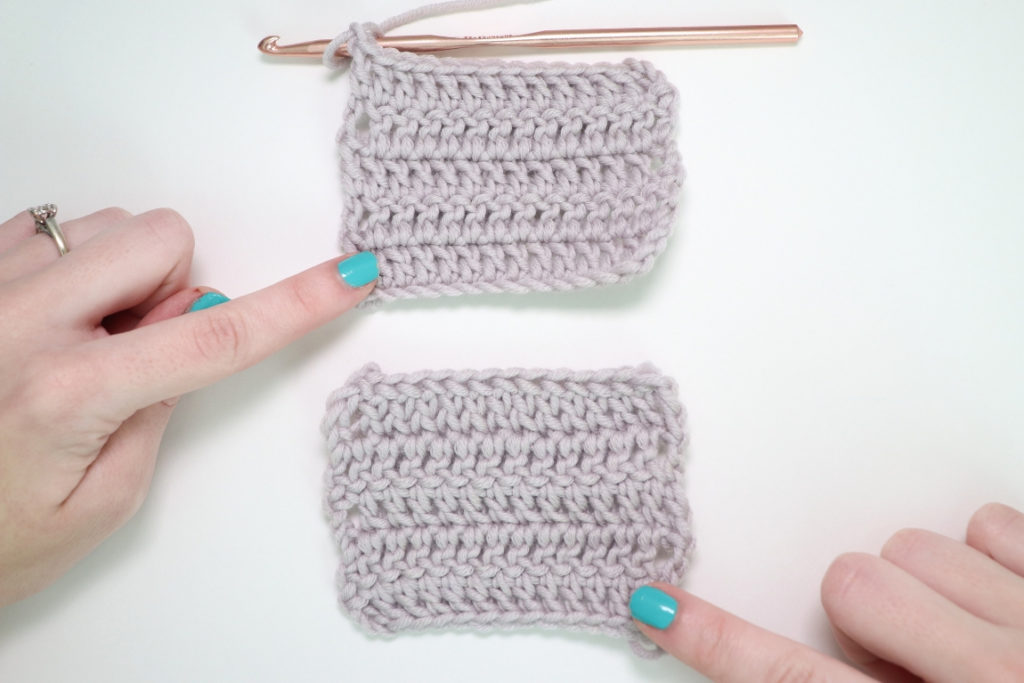
How to Fix Mistakes in Crochet
Mistakes are bound to happen no matter what experience level you’re at. Sometimes you notice a mistake shortly after you make it. Other times, you’ll notice a mistake that happened two hours earlier. So how do we fix it? I could write an entire post on this topic, but I’m going to going over a few easy fixes for today.
When it comes to crochet, it’s pretty easy to fix your mistakes. If you notice that you made a mistake a few rows back, you can always just frog your work (meaning to pull back your stitches) until you reach the mistake. Then, of course, correct it.
If you’re working on a blanket or a project that doesn’t require increasing or decreasing, there’s another way you can fix a mistake. I’m probably going to be shunned for saying this, but crochet takes a lot of precious time and sometimes going back isn’t an option.
Let’s say you missed a stitch at the end of your row a few rows back. What you can do is add a stitch at the end of the row you’re currently working on and then you’re back on track! It may be a little noticeable, but you can always add a border or block your work at the end and it will be less noticeable.
Now I’m not a pro at crochet surgery, but I know there are many other (probably more professional) ways to fix your crochet mistakes. I talked a lot about during Week 4 of LCE so head over and read it if you want to learn more about fixing mistakes.
Finishing Your Crochet Project
Finally we have reached the end! You’ve learned all about how to start tackling your next crochet project from the beginning and now we will talk about how to finish that crochet project.
Tying Off
Tying off your work is super simple (this is also known as binding off if you’re a former knitter)
Once you complete your final stitch, cut your yarn about 8 inches from your work. Yarn over your hook and pull the yarn all the way through the loop. Pull tight on the end to secure your knot
Weaving in Ends Like a Pro
When weaving in ends, the biggest cause for anxiety is washing your project and it unraveling because you didn’t weave them in enough. Even if you’re not planning on washing your project, you might still be afraid of your project coming apart.
What eases my mind is to weave in my ends in three different directions. That way my ends are extra secure and I won’t have to worry about a thing. Make sure your ends are long enough so you’re able to do this without running out of yarn.
My favorite tapestry needles to use when weaving in ends are the bent tip needles. These needles make it easier to catch your stitches, especially if you’re working with amigurumi.
Another way you can weave in your ends is to crochet over them. Although I still like to leave a little bit of a tail so I can weave them in even more. But this is a great way to weave in your ends if you want to save yourself some time or if you’re working tapestry crochet.
Blocking Your Work
Finishing your crochet project by blocking your work isn’t always essential. Blocking your work can be time consuming so many people try to avoid it as much as possible (like myself!). But there are times when it can make a huge difference in your work.
Wait, what does it mean to block your work?
It means to set your fiber with some form of water. By using blocking mats and t-pins, style your piece however you would like and choose between the three methods of blocking:
- Spray block
- Wet block
- Steam block
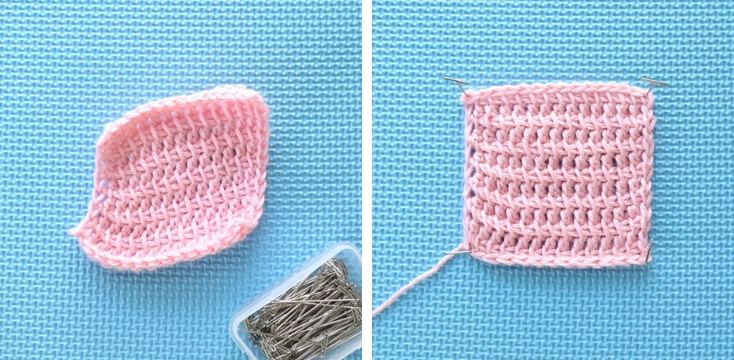
Blocking your crochet helps the project take the shape it was meant to have. When it comes to lacework and shawls, they can look wrinkly and uneven if they’re not blocked. Blocking helps to stretch out your work, give your lacework that drape desperately needs, and can even straighten uneven edges.
In Professional Finishing for Perfect Crochet, Linda Permann goes over three different ways to block your work and I really enjoyed her class
You can also find free videos on YouTube, but she talks about many other finishing techniques that have turned me into a better crocheter. There’s no problem with watching YouTube, but because I have an annual subscription with
In Conclusion
If you’ve made it to the end, you will know exactly how to tackle your next crochet project from start to finish
By now you should know how to crochet your next project from start to finish so don’t hesitate to start your next project! I hope I’ve answered all of your questions. If I haven’t, leave your questions in the comments below and I will get back to you ASAP!
To receive additional help on your crochet journey, join my free community of beginner crocheters (with over 400 members!) and learn something new every single month! This is a place filled with tutorials, answered questions, and all around support.
Here is a list of each of the beginner tutorials mentioned in this post:
- Basic Crochet Materials & Supplies
- How to Tie a Slip Knot
- Chain Stitch Crochet Tutorial
- Single Crochet Tutorial
- Half Double Crochet
- Double Crochet
- Treble Crochet
- Counting Crochet Stitches & Rows
- Magic Circle Crochet Tutorial
- How to Change Colors in Crochet
- Chainless Foundation Crochet Stitches
You might also be interested in learning how to read crochet patterns. In my two-part series, you will learn everything you need to know about reading a written pattern and turning it into your next crochet project.