7 Constructive Tips to Improve Your Yarn Tension: Q&A Crochet Tension Guide
Tension, tension, tension. If only yarn tension came more easily to us, maybe there would be a lot more crocheters in the world! Let me guess. You’ve been getting frustrated with how your projects have been working up because you can’t get the hang of your tension. Trust me, you are not alone.
In today’s post, you will find a complete crochet tension guide. We will learn that the best way to find our tension is by practicing. But because practice isn’t a very satisfying solution, we will also go over 7 constructive tips to help improve your yarn tension along the way.
Why is it so important to improve my yarn tension?
According to Dictionary.com, tension is defined as “the state of being stretched tight.” In crochet language, it is the stress we apply to our yarn as we use it. Learning to apply the correct tension to our yarn is so important because it determines the end result of our project.
When you’re working on achieving the right tension, think about the good ole tale, Goldilocks and the Three Bears. You don’t want your tension to be too loose, yet you don’t want it to be too tight. You want it to be juust right.
When you’re crocheting, you want your yarn to glide through your fingers at a consistent rate. You shouldn’t be straining your yarn or letting it hang loose.
One thing you should know though is that everyone crochets differently. Some crochet tighter than others and vice versa. What matters is that the way you hold your yarn and hook is comfortable to you. If it feels juust right for you, then it is.
If it affects your gauge, we can work around that with a few tips I’ll go over later. But first, what is gauge?
What is gauge?
Annies Catalog has a really great, to-the-point description of gauge. They define it as, “the number of stitches per inch and rows per inch that result from a specified yarn worked with a specified-size hook.”
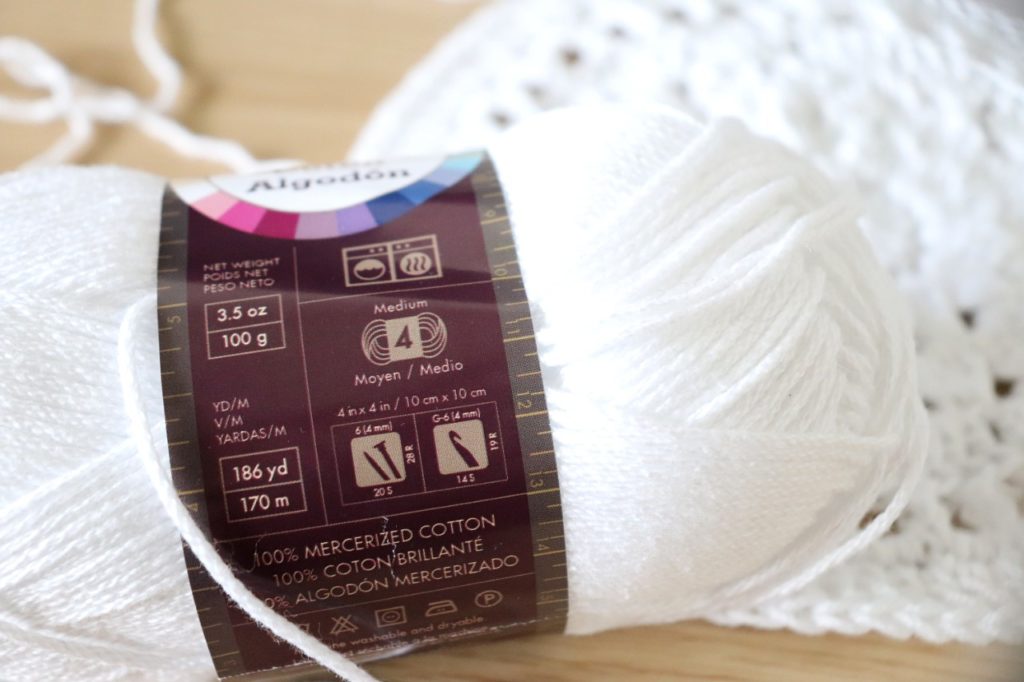
When you buy yarn from your local craft store, the yarn label will almost always list the recommended crochet hook size. The gauge listed for that skein is what you should achieve with the yarn and hook recommended.
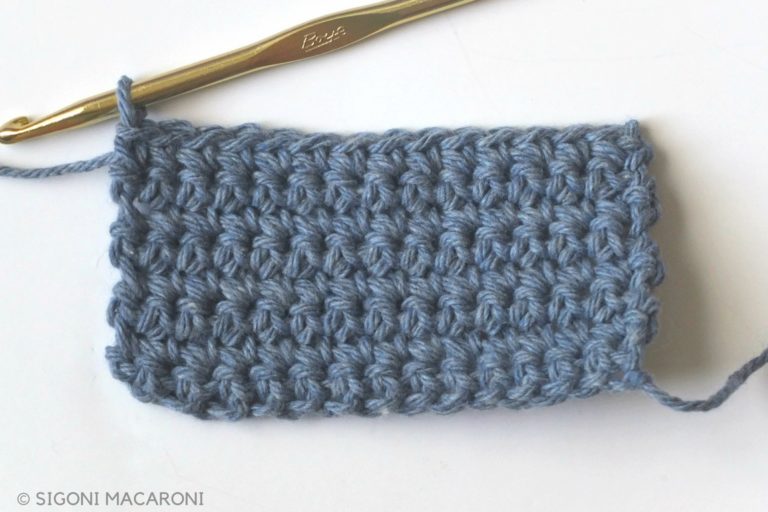
For example, the skein I’m showing below is Lion Brand 24/7 Cotton. The gauge listed on the label says that if you create a swatch of 19 rows of single crochet, with 13 single crochet stitches in each row, (with this yarn and a 4mm hook), you should end up with a square that measures 4 inches by 4 inches.
In some cases, like blankets and wash cloths, gauge isn’t as important. However if you’re working a pattern that requires a certain fit, gauge is extremely important. The gauge swatch will tell you how similarly or differently you crochet from the designer his or herself.
So what does gauge have to do with tension?
Tension isn’t only the way we hold our yarn, it is how our project will look when it’s completed. If our gauge doesn’t match the designer’s gauge, then we have to make some adjustments. If you don’t, the garment you’re creating may not fit even if you’re using the same yarn and hook size as recommended by the designer.
Earlier I noted that we all crochet differently. Some may crochet more loosely and some tighter than other. Again, this is totally fine as long as you know which one you are.
If you apply all of the tips below to improve your tension and you still can’t reach the correct gauge, you may just be a tight or loose crocheter. Scroll down past the tips to find a way to determine if you are one or the other.
Need some more tips on tension? This ebook, Common Mistakes & How To Fix Them will help you achieve perfect tension as well as help you to fix mistakes you may not even realize you’re making.
How to Hold Your Crochet Hook & Yarn to Improve Tension
The basic answer: Hold your crochet hook and yarn the way it feels comfortable for you. This is the best and first way to improve your tension.
First and foremost, hold your crochet hook in your dominant hand. Of course this means you will hold your yarn in your non-dominant hand.
As I said before, you should hold your yarn and hook the way you feel comfortable. But I know you need something more than that to get started so you can find three common ways crocheters hold their hooks in the article that specifically goes over How to Hold Your Crochet Hook & Yarn.
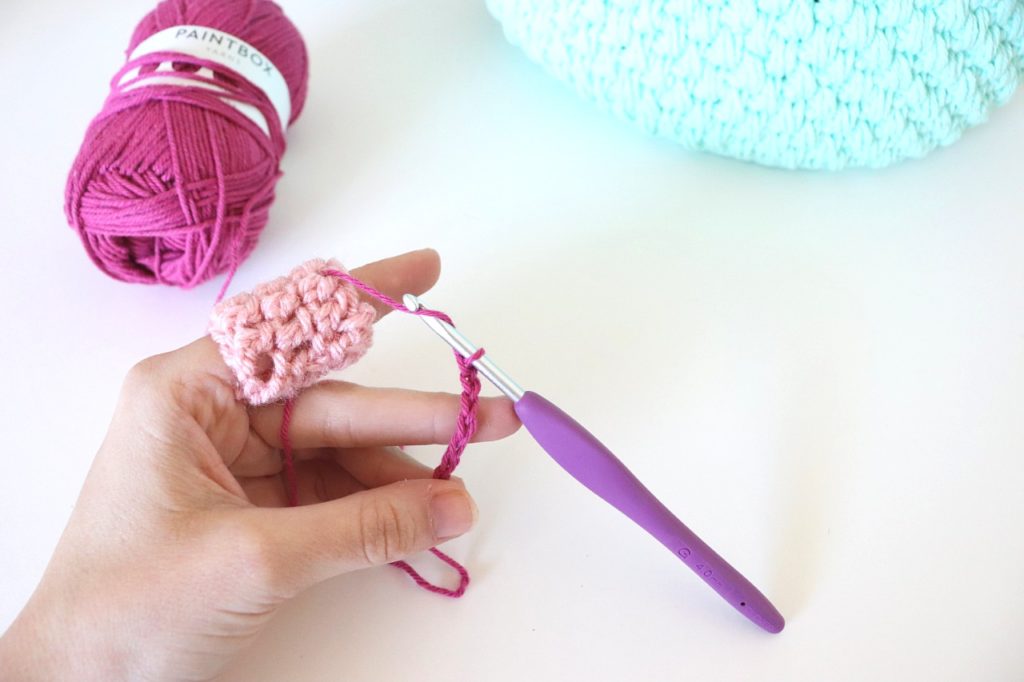
In the photo below, you can see the way I choose to hold my yarn. It’s super simple and I’ve been told it’s the wrong way. But again, there is no wrong way. It’s what feels juust right for me. (Again with the Goldilocks, I know, but it’s true)
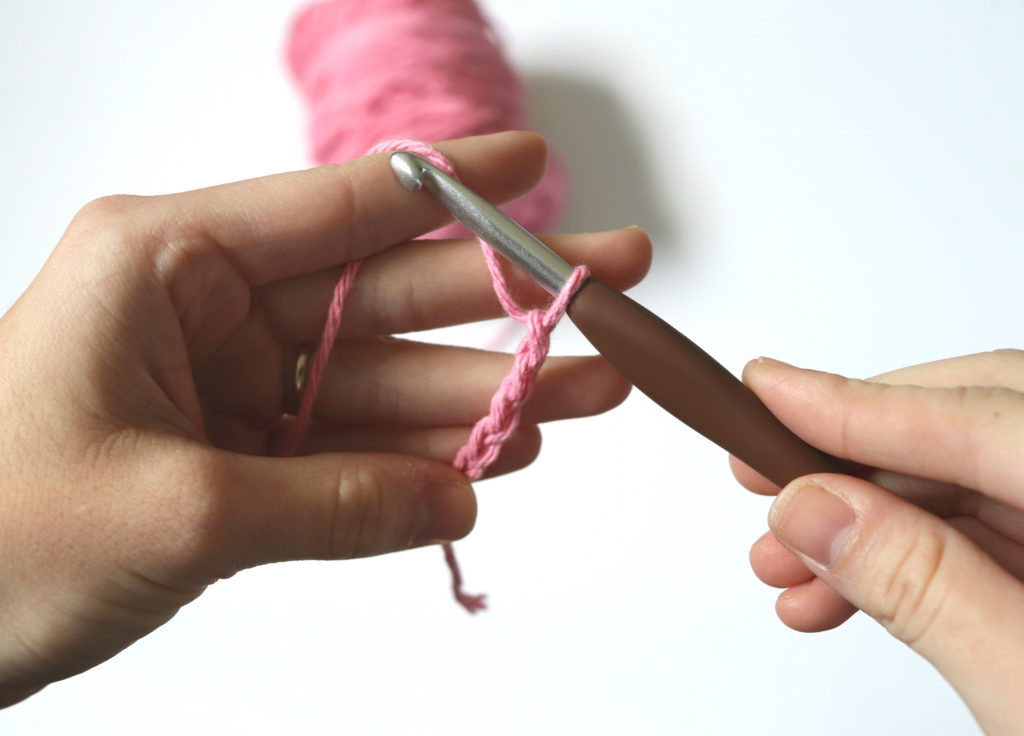
No matter if you choose to follow one of the three most common ways, your goal is to be able to pull your yarn easily as you crochet, without it snagging or having to tug it through.
What if I’m left-handed?
If you’re left handed, I know there aren’t as many tutorials out there for you, which is unfortunate. But you could always benefit from watching videos on how other left-handed crocheters hold their yarn and hook. In my Learn to Crochet Masterclass videos I’ve included left handed videos as well!
The Top 7 Tips + Techniques to Help Improve Your Tension
Although I’ve said time and time again that practice is key, there are a few tips I’ve gathered to help you improve your tension. Just know that the more you crochet, the more you’ll find your groove and the better you will get.
1. Pull from the center of the skein
With every skein of yarn, there’s a strand on the outside and the inside. Using the strand from the outside usually has your skein bouncing around all over the place and that’s not good for your tension.
By pulling the strand from the center, it should glide through your fingers much easier. Depending on the skein, the end can be tough to find in the center but other times you’ll grab it right away.
Be careful of the yarn vomit!
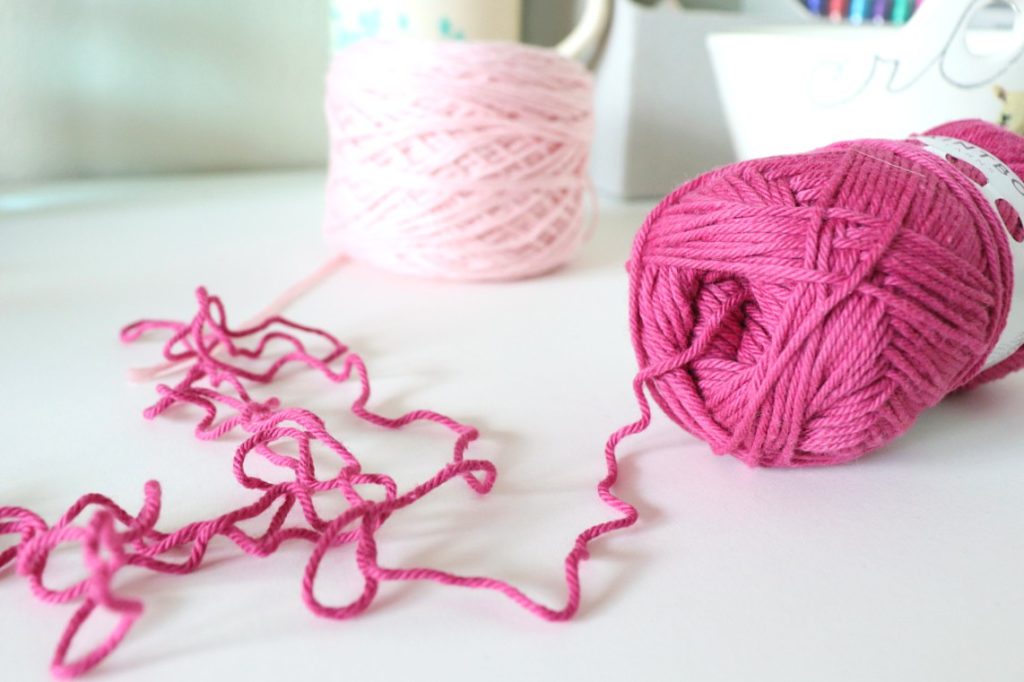
2. Wind your skein into a yarn cake
When you wind up your skein into a cake, (not only is it super cute!) but you can pull the strand of yarn from the inside or outside pretty easily. You can also use a ball winder to combine two separate colors into one big skein.
I have and love this ball winder, but you don’t have to buy one. You can always wind your skein into a ball with your very own hands! It takes a little longer, but it’s possible.
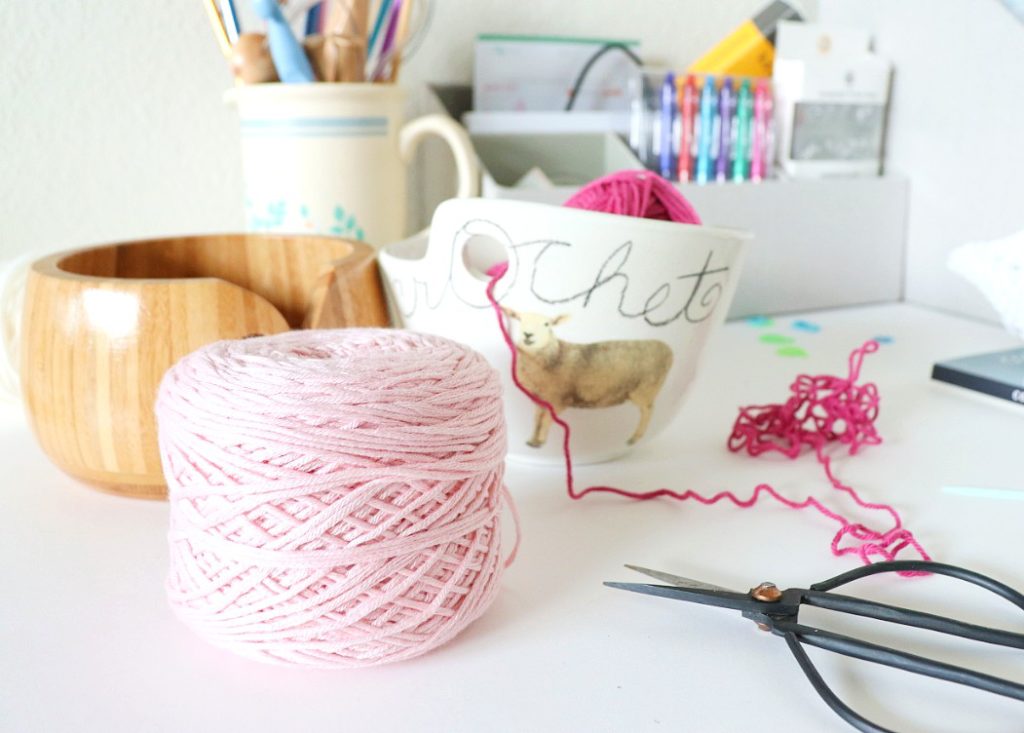
3. Invest in a yarn bowl
Yarn bowls are life savers. Once you’ve winded your skein into a cake, the yarn bowl is used to hold your yarn cake in place.
How many times do you find your yarn bouncing all over the place from the couch to the floor to the arms of your child or pet? If it’s not a tangled mess by then, it’s irritating at the very least.
I have three yarn bowls, all very loved. You can find tons of gorgeous yarn bowls all over the web. From uniquely handmade like these yarn bowls from India or these gorgeous bowls from Etsy. Or you can find one that’s a bit more generic and inexpensive like one of the ones I have.
4. Make yourself a tension regulator
When I was doing research on tension, I came across this tension regulator and thought it was genius.
Here’s the link to a free pattern to create one for yourself. I never used it as a beginner so I can’t say it’s the perfect solution.
However, I couldn’t recommend it without trying it myself so I made one! After a few tries I figured it out and I think it’s one of the best ways to get the hang of tension! It’s easy to make and there’s no harm in trying it out!
(Scroll to the end of the post to find my tutorial on how to make the tension regulator + how to use it!)
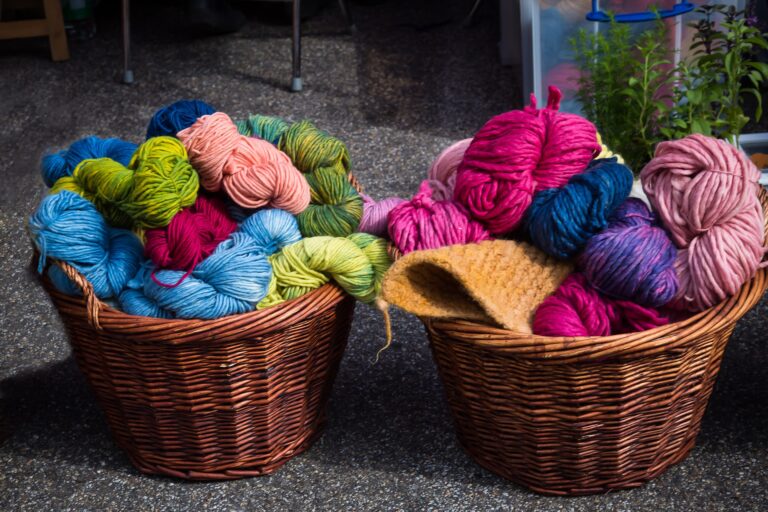
5. Use a beginner-friendly yarn
Your tension can also depend on the type of yarn you’re working with. If you’re a beginner using a tough cotton yarn like Lily Sugar ‘n Cream, I understand if you’re having some issues.
This yarn is great and it’s absolutely suitable for beginners, but if you’re still trying to figure out your tension I would use something that’s a little more stretchy.
Also, stay away from variegated yarn and novelty yarns in the beginning. If you’re still trying to grasp your tension, these two types will make it hard to tell if stitches and rows are consistent. Plus, it make it hard to see and count your stitches.
6. Go up or down a hook size
If you find that your foundation chain and first row is much looser than the rest of your work, use a smaller hook size for your foundation chain. Then switch back to the recommended hook size for the rest of the pattern.
If you find that your foundation chain and first row is tighter, use a larger hook size.
7. Find out if you’re a loose or tight crocheter
Believe it or not, there are even times when our mood can affect our tension.
If you’re really stressed one day and you decide to crochet for relief, you might notice that your stitches are really tight in the beginning, but the further you go the more loose than become.
That’s because you’re starting to relax!
Click here to read more about being a loose or tight crocheter and find out how to fix it.
But if you believe it’s unrelated then it could be something else. If you implement all of the previous tips and you still don’t feel like it’s working, you may just be a tight or loose crocheter.
That’s completely fine! We all crochet differently.
If you crochet loosely, you may have to use a hook smaller than what the pattern specifies.
If you crochet tighter, then you’ll have to use a larger hook. Keep reading to learn more about being a tight vs. loose crocheter.
Need some more tips on tension? This ebook, Common Mistakes & How To Fix Them will help you achieve perfect tension as well as help you to fix mistakes you may not even realize you’re making.
How Do I Know If I’m a Tight or Loose Crocheter?
I’ve recently created an updated version of tension tips specifically related to tight and loose crocheters. If that sounds like it might be you, go check it out!
In a nutshell, if you crochet loosely, you may have to use a hook smaller than what the pattern specifies.
If you crochet tighter, then you’ll have to use a larger hook in order to obtain the correct gauge. These adjustments will make it so that your project will turn out as close to the original design as possible.
As our crochet tension guide comes to an end… What did we learn?
Tension is one of the hardest and most important techniques to get the hang of as a beginner learning to crochet.
Many crocheters give up before they give crochet a chance because finding your tension does take a lot of practice. Don’t let that be you!
Practice, practice, practice. That is key.
In today’s crochet tension guide, we learned many things from what tension is, how it affects gauge, and 7 tips to help improve your tension.
There is no rule to how you should hold your hook and yarn. Hold them how you feel the most comfortable.
If those tips don’t seem to help, you may be more of a loose or tight crocheter. Which is totally fine! Once you watch the video to see if you could be one or the other, you will know what adjustments to make and you’ll be well on your way to making amazing things.
Remember, practice is key. These tips will help you along the way to improving your tension, but they aren’t a quick fix. Practicing is still the best way to find the right tension.
Let me know in the comments what your biggest struggle is with tension. Also, let me know if these tips help you! I hope they do.
Sign up for my email list below if you’d like to receive more tips for beginners, including my most-downloaded beginners guide.
This free eBook provides 13 essential, detailed tips that a lot of beginners don’t know and would truly benefit from! Get your free guide by signing up for my email list!
Need some more beginner crochet tips?
How about a long list of MUST-KNOW crochet tips for beginners? These 17 tips will teach you everything you need to know when learning how to crochet. You might even get some questions answered about the pesky little things you’re having a hard time understanding like:
- What is a turning chain in crochet?
- Why aren’t my edges straight?
- How do I properly weave in my ends?
- And lots more!
Head over now to read more about these must know crochet tips for beginners.


So helpful. Thank you!
Janie,
I’m so glad you found it helpful!
Thank you!