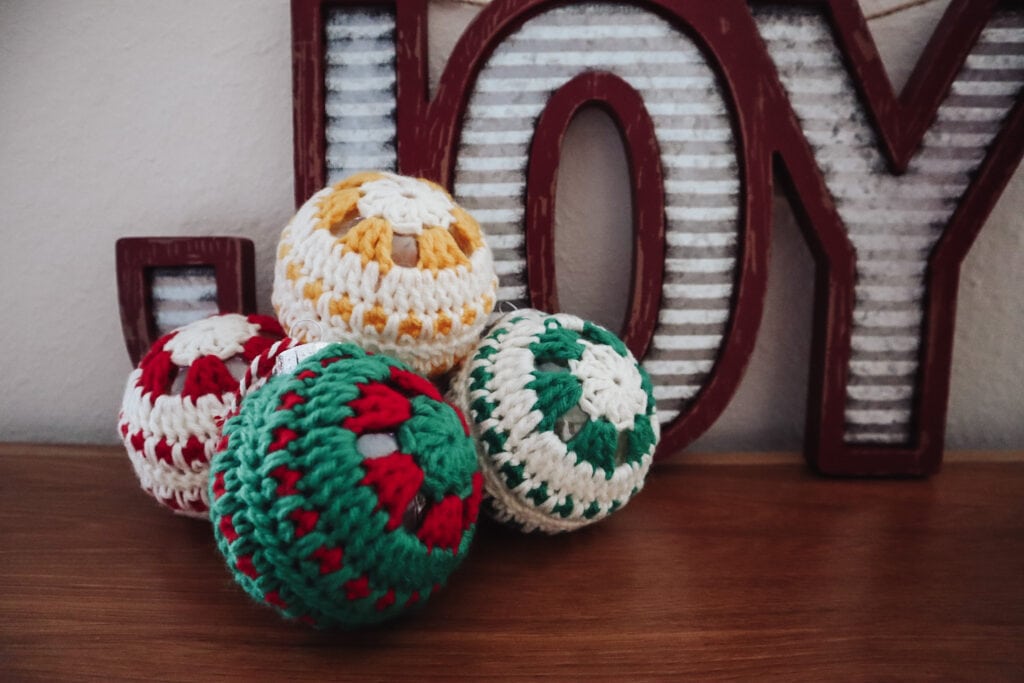
How to Crochet a Christmas Ornament for Beginners
How wonderful would it be to fill your Christmas tree with handmade ornaments?! Today you’ll learn how to crochet a Christmas ornament for beginners. This free crochet pattern is easy, works up quickly, and you can make it with any medium weight yarn in your stash. You’re going to love making these crochet Christmas ornaments!
I absolutely love the way these crochet Christmas ornaments turned out. I’m going to be making one for all of my extended family. That way they have a meaningful keepsake that will make them smile every year they hang it up on their tree!
There are many different ways to make crochet Christmas ornaments, but I haven’t seen many ways using actual ornaments. Today we’re going to learn how to crochet a Christmas ornament using an 80mm plastic craft ornament!
This crochet Christmas ornament pattern is included in my 12 Days of Crochet Christmas roundup! If you’re looking for more quick, crochet gift ideas for the holidays, be sure to check out the other 11 patterns here.
This post may contain affiliate links, please view my disclosure policy for details.
Pattern:
- Get the 12 Days of Crochet Christmas PATTERN BUNDLE HERE
- PIN this pattern to your Pinterest boards for later HERE.
Materials
- Bernat Super Value Yarn(medium weight #4; 100% acrylic; 426 yds)
- You can choose any others you like. My favorite was using Kelly Green and Berry together.
- 4.5mm Crochet Hook
- 80mm Plastic Fillable Ornament
- Tapestry needle
Abbreviations used:
*All Sigoni Macaroni patterns are written in standard US terms *
- Ch – chain
- Dc – double crochet
- Rep – repeat
- Sc – single crochet
- Sk – skip
- Sl st – slip stitch
| US TERMS | UK TERMS |
| Single Crochet (sc) | Double Crochet (dc) |
| Double Crochet (dc) | Treble Crochet (tr) |
Special Stitches
- Spike st – Insert hook into base of next sc from prev round, yo pull up loop, yo pull through 2
Helpful Tutorials
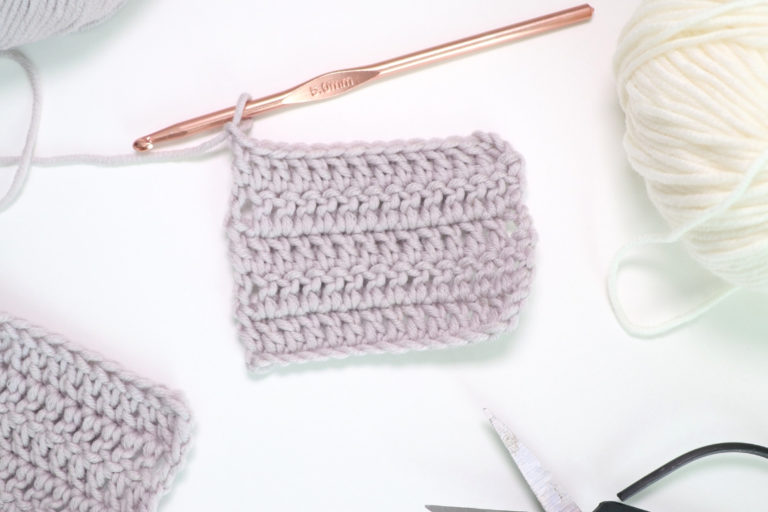
- Single Crochet Tutorial
- Double Crochet Tutorial
- How to Crochet a Christmas Ornament for Beginners Video Tutorial
Notes
- Ch 3 counts as dc
- Ornament is made up by creating two identical pieces and sewing them together around the plastic ornament
- If using multiple colors, change color after every round
How to Crochet a Christmas Ornament for Beginners
MAKE 2
Begin with magic circle
Round 1: Ch 3 (counts as dc here and throughout), 11dc in ring, join with sl st to top of ch-3 (12dc)
Round 2: Ch 3, 2dc in base of ch, ch 2, sk next st, *3dc in next dc, sk next st. Rep * around. Join with sl st to top of ch 3
Round 3: Ch 3, 2dc in next st, dc next st, 3dc next ch-2 space, *dc next st, 2dc next st, dc next dc, 3dc next ch-2 space. Rep from * around. Join with sl st to top of ch-3
Round 4: Ch 1, sc each st around, sl st to first sc
Round 5: Ch 1, sc same st, spike st next st, *sc next st, spike st next st, Rep * around, sl st to join.
Fasten off and weave in ends for the first piece.
For the second piece, fasten off leaving a long tail (twice the circumference of the circle) and weave in all other ends
Place both pieces together with the wrong sides facing the inside. Whip stitch together using tapestry needle.
Once halfway around, insert the plastic ornament and continue whip stitching the two pieces together until you reach the top of the ornament. Weave in end and cut yarn.

I hope you enjoyed today’s tutorial on how to crochet a Christmas ornament for beginners! If you made an ornament, I would love to see it! Tag me over on Instagram @sigonimacaroni or post your photos inside our community Facebook group.
Check out the rest of my quick, crochet gift ideas for the 12 Days of Crochet Christmas here!
This pattern is an original pattern by Sigoni of Sigoni Macaroni. Please do not claim this pattern as your own. If you wish to share this pattern, you may link to this pattern but please do not reprint it on your site. You may keep a copy for your own personal use but please DO NOT sell the pattern or distribute it.
You may sell products made from this pattern but please clearly credit the design to me and provide a link to my blog www.SigoniMacaroni.com. Thank you for being respectful and for your understanding!

![Mandala Monsters Crochet Pattern Collection [Lookbook]](https://www.sigonimacaroni.com/wp-content/uploads/2018/09/mandala-monsters-crochet-collection-768x512.jpg)


Thanks. Wishing you and your family a blessed season this year and all future years.