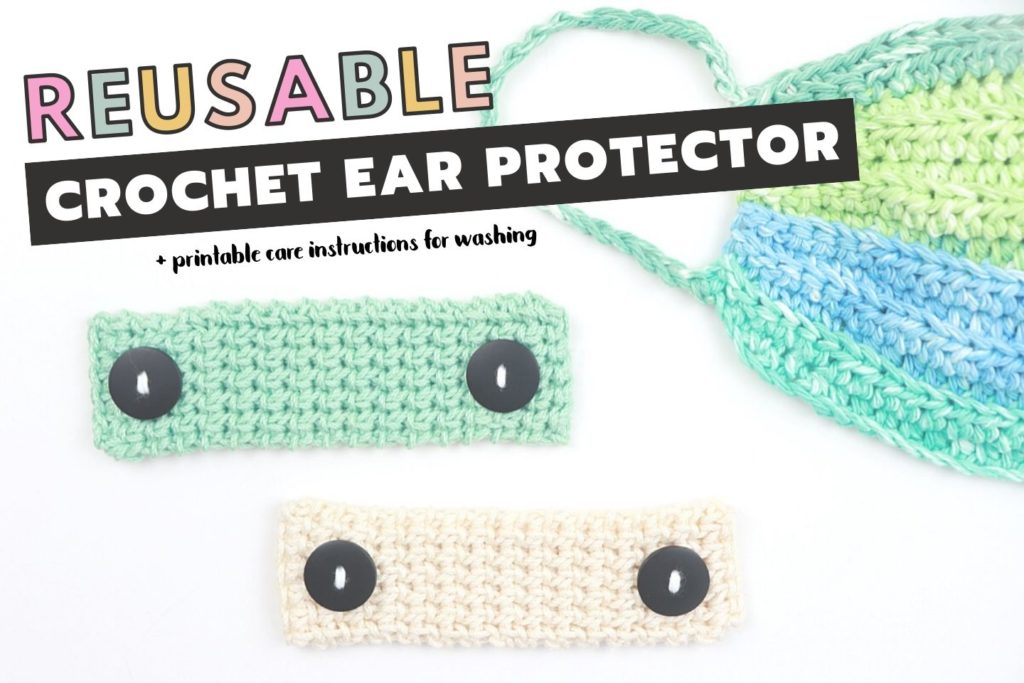
Reusable Crochet Ear Protector For Face Masks | Free Crochet Pattern
Face masks are essential to the PPE practice in healthcare facilities, but they’re not always the most comfortable. These face masks can cause chafing and soreness behind the ears and this reusable crochet ear protector was created to help ease that pain. This is a quick and easy crochet pattern that you can have finished in 15 minutes and can be washed with your clothes!
During the current Coronavirus (COVID-19) crisis we’re all currently enduring, people are coming together in so many different ways. By creating these thick and sturdy crochet ear protectors, I’m hoping it will help protect the ears of as many healthcare workers as possible. And if the pattern gets around to others who are willing to donate, we could help hundreds of frontline workers.
THIS CROCHET PATTERN IS FEATURED IN WEEK 3 OF THE STASH BUSTING CHALLENGE! GO CHECK OUT THE ROUNDUP FOR MORE STASH BUSTERS.
Ear Saver Origin
Now that we’re onto day 75493 of quarantine, people have been getting pretty bored at home and a lot more creative. A boy at the age of 12 created these amazing ear savers for face masks using a 3D print machine! I’m not sure if that’s where the hype started, but since then there have been a lot of other designs, including crochet.
I love that so many crafty people have been putting their skills to good use by sewing and donating face masks. And because crochet face masks aren’t very feasible (and sewing is quicker anyway) I wanted to help in some other way. And because I had an idea different than the rest, I decided to create my own version.
What makes my crochet ear protectors different from others?
Normally, seeing that there have already been multiple crochet patterns out there for ear savers, I would have moved on. But to be completely honest, the patterns that I’ve seen don’t seem like they would hold up during a 14 hour shift of any frontline worker.
I wanted to create something that wouldn’t stretch and potentially break apart. I wanted it to be a sturdy tool that would last for hours and hours of use.
I also wanted to make sure I did the research so that healthcare workers didn’t think they would have to throw it out after a single use. Because what’s the point of taking the time to make all of these crochet ear savers if they’re just going to have to be thrown away?
My first idea was to hold two strands of yarn and simply single crochet a rectangle. That probably would have worked, but I didn’t want the intimidation of holding two strands to stop anyone from creating them.
Then I thought of an even better idea that ended up using less yarn anyway. It’s called the thermal stitch.
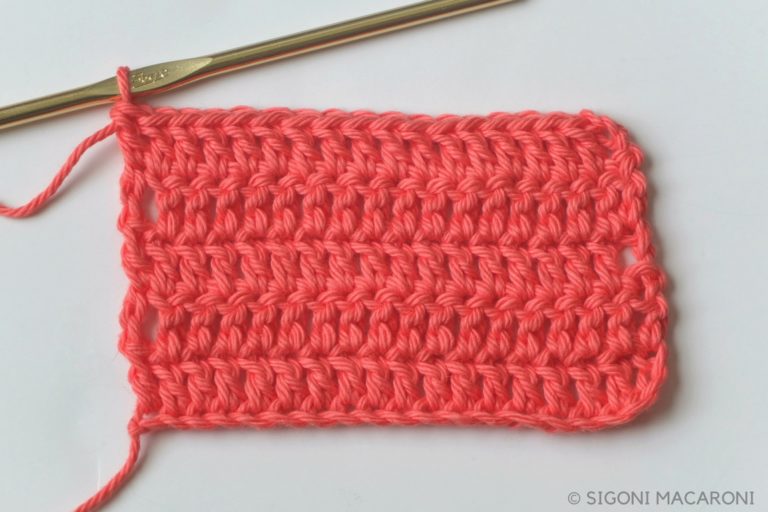
Thermal Stitch Crochet Tutorial
If you’ve never heard of the thermal stitch, it can be a little tricky to explain in words. That’s why I’ve created both a video and picture tutorial so you know exactly where you will be placing your hook as you work this crochet ear protector.
As you’ll see in the tutorials below, with the thermal stitch we are still single crocheting, but we are inserting our hook into a different location. This one change creates a completely different fabric. It’s amazing!
Care Instructions for Crochet Ear Protectors
Because I didn’t want this crochet ear protector to be a one-and-done deal, I did lots of research before I even made it.
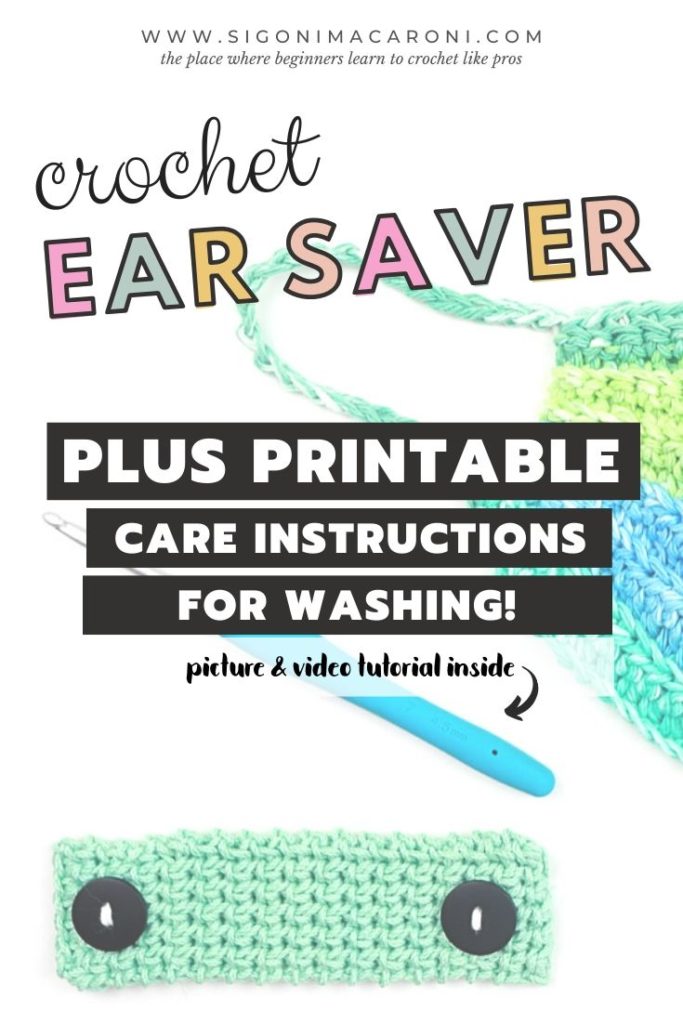
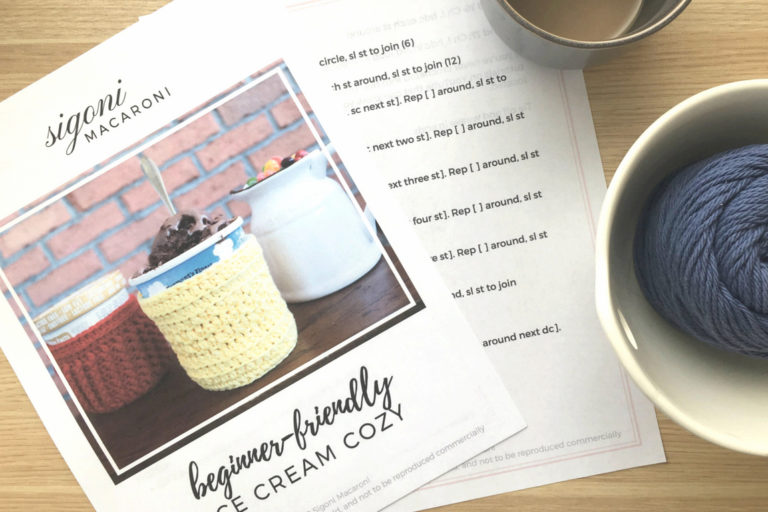
I put together a printable with wash instructions within the Reusable Crochet Ear Protector PDF pattern. If you decide to make a bunch of these to donate, print out the “Instructions For Washing” and include it with your donation so our frontline workers know that they can be reused if they take the proper precautions.
You can download this printable for FREE this week by scrolling down and clicking on the “Download this free PDF” button below.
According to the CDC, the Coronavirus can live on clothing for at least a few hours or even up to several days.
It’s best to use cotton yarn for these ear protectors so they don’t stretch apart. Also in order to wash these effectively, it requires a higher temperature. Acrylic may not hold up in the wash at that high of heat.
But whether you’re using cotton or acrylic, it’s my understanding that we would wash them just like we would with potentially infected clothes.
Reusable Crochet Ear Protector Pattern
This post may contain affiliate links, please view my disclosure policy for details.
- Get the ad-free, large print, printable PDF pattern (on Etsy) HERE.
- Add to your Ravelry Queue HERE.
- PIN this pattern to your Pinterest boards for later HERE.
Permissions + Copyright:
Please do not publish or share this pattern as your own. You may make items to sell with this pattern. In exchange, please link back this post. Do NOT use my photos as your own sales photos.
Materials
- 1 ball Lion Brand 24/7 Cotton
- Or any other medium weight yarn (cotton is more durable in the wash and stretches less so that is preferred)
- 4.5mm crochet hook
- Two 3/4″ buttons
- Scissors
- Tapestry Needle (small enough to fit through the holes of your buttons)
Abbreviations
*All Sigoni Macaroni patterns are written in standard US terms *
- Ch – chain
- Sc – single crochet
- BL – back loop
- FL – front loop
| US TERM | UK TERM |
| single crochet (sc) | double crochet (dc) |
Special Stitches:
- Beginning Thermal SC (Beg Tsc): Insert hook into BL of next sc and the parallel loop from the foundation chain below. Sc as normal
- Thermal Stitch SC (Tsc): Insert hook into BL of next sc and the skipped FL from the previous round (again it should be parallel to the BL). Sc as normal
- End Thermal SC (End Tsc): Insert hook under both loops of next sc and the skipped FL from the previous round. Sc as normal
Finished Measurements:
- Adult Small: 5″ length x 1 ½” width
- Adult Medium: 6″ length x 1 ½” width
Notes
- The last stitch in every row can be pretty hard to see, just try your best to find the last stitch and you’ll start to get the hang of it.
- The thermal stitch can be hard to explain in words, so please take a look at the photo tutorial below the pattern instructions and the video tutorial to help further
Helpful Tutorials:

Reusable Crochet Ear Protector Instructions
Ch 7,
Row 1: Sc into the back bump of the 2nd ch from hook and each ch down. Ch 1, turn. (6)
Turn your work vertically. We will be working through the loops on the front side of the row we just worked
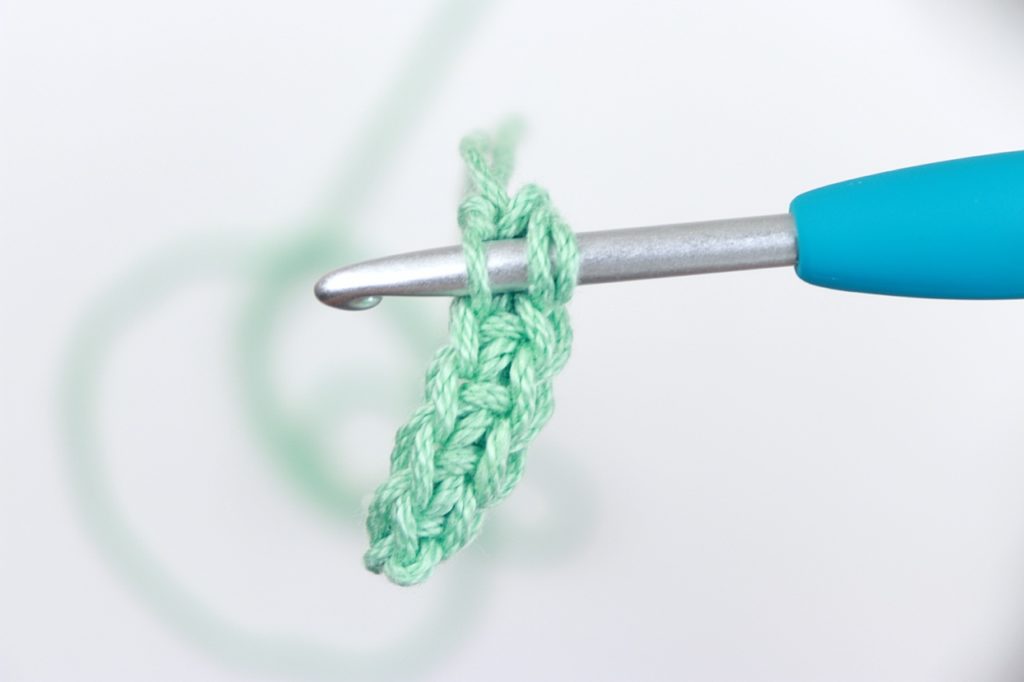
Row 2: Ch 1, Beg Tsc in each st across. Turn work.
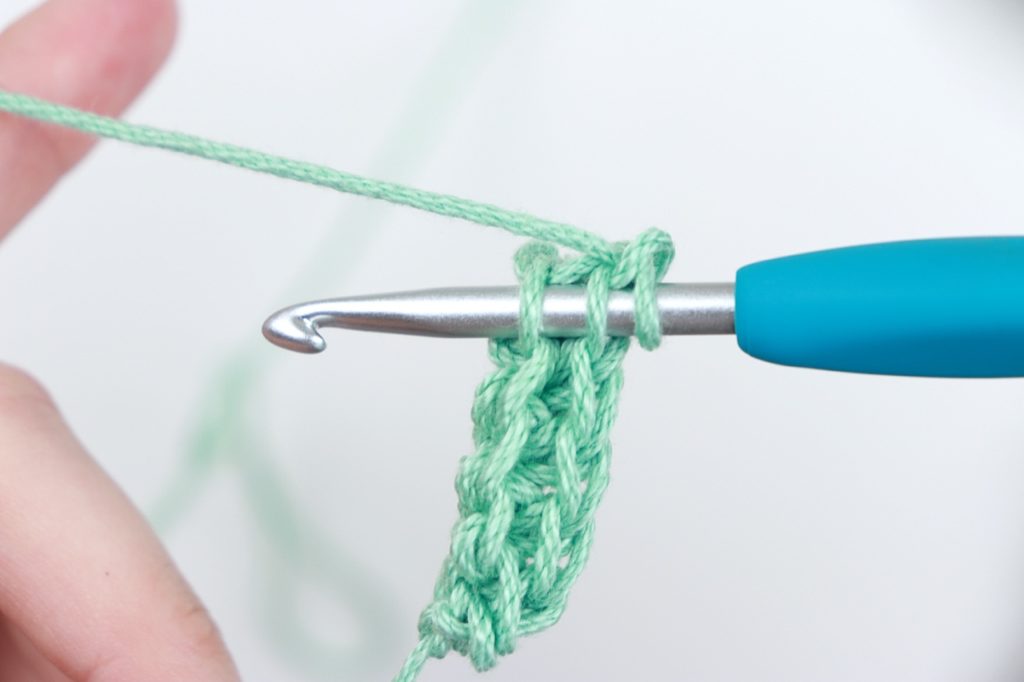
Row 3: Ch 1, Tsc in each st across. Turn work.
Rep Row 3 until you reach approx. 4 ½” for size small (5 ½ for medium)
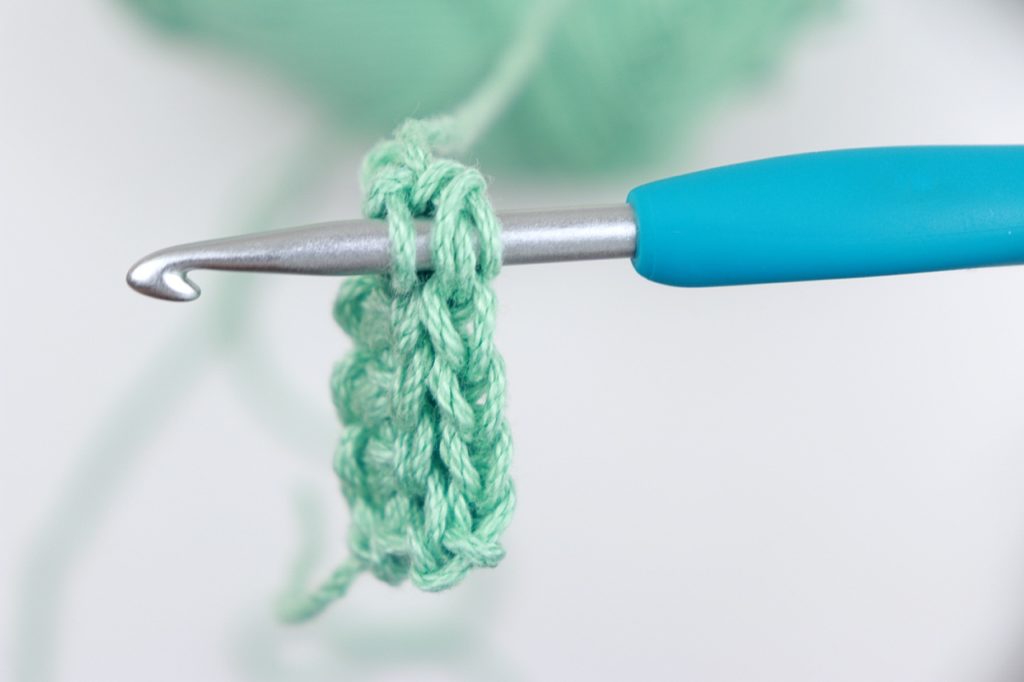
Last Row: Ch 1, End Tsc in each st across.
Tie off. Weave in ends.
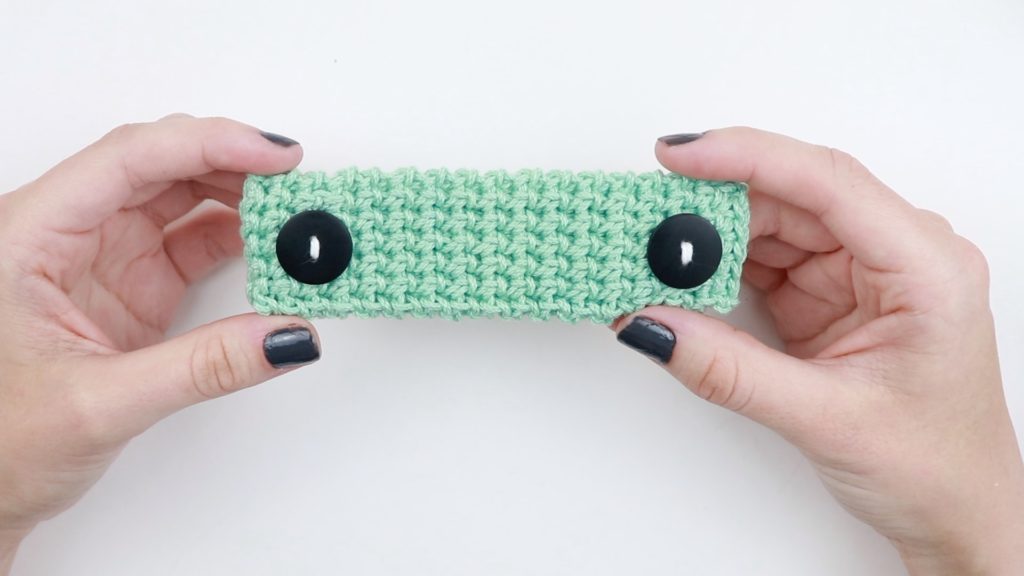
Sew a button to each end of the ear protector about one row down from the last. Make sure it’s sewn pretty tight and secure so it doesn’t fall apart.
Crochet Ear Protector Picture Tutorial
Row 2: work the Beg Tsc in the BL of the next st and the parallel loop from the chain below
Row 3 and each row before last row: work Tsc into BL of next st and missed FL from the prev. row
Last row: work End Tsc by inserting hook under both loops of next st and the missed FL from the previous. row
Thanks so much for your interest in this pattern! If you decide to make them in bulk and donate them to your local hospital, doctors office, or grocery stores, I think it would mean so much to them!
Download the free PDF with the instructions for washing page included so that our front-line workers know they can easily be washed and not thrown away. Just head over to Ravelry and use the code SBCHALLENGE


What a great idea! So creative!
Thank you so much!
I made two of these for a friend. She said they are amazing and comfortable too. So now I’m making as many as she wants. Thank you so much for the free pattern. Now I can do my bit for the frontline workers.
Sherry,
That makes me so happy to hear! Thank you so much for sharing that with me. If you know any other fellow crocheters, I would love for you to share this pattern with them. The more frontline workers we can help, the better!
Where can I find the mask pattern, the one in the picture? I’d like to make sets.
Thanks, Becky
Hi Rebecca!
I found the mask pattern on the Yarnspirations website. It’s on the front page as one of their announcements. It’s really quick and easy to make too!
Thank you so much!
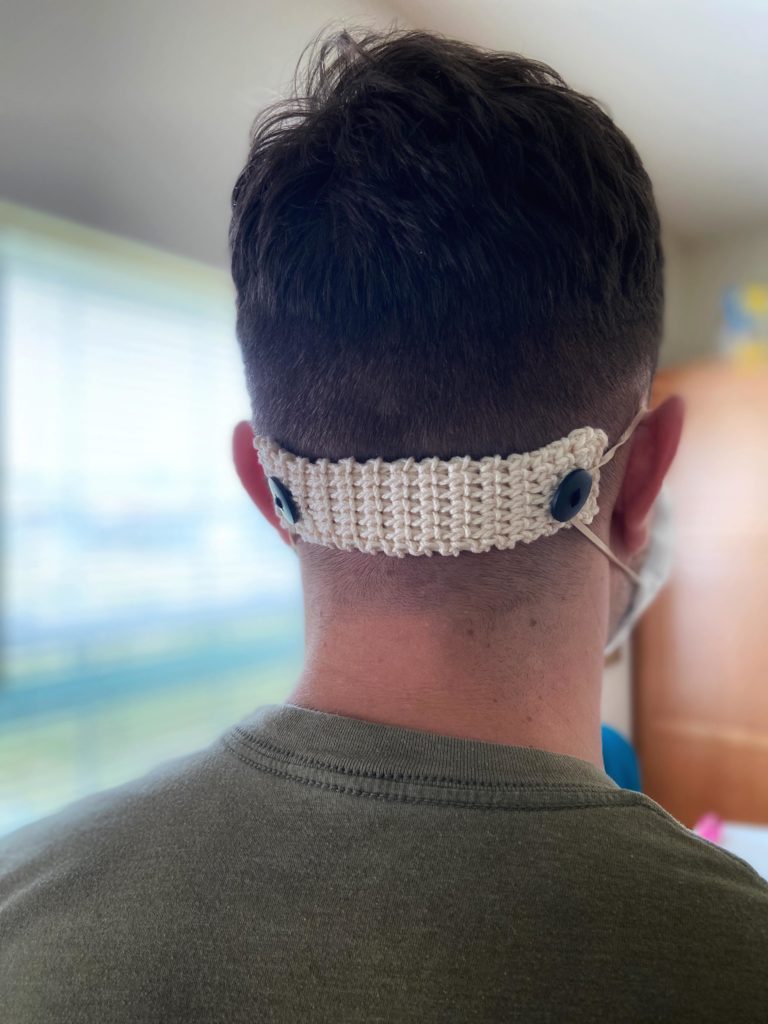
Thank you for the pattern. I had to watch the video to get the hang of it. Very quick to work up and I like the thickness for comfort on the back of the head. I’m going to use the stitch for pot holders and heating pads too.
Hi Linda!
Yes, I think that’s a great idea! I was thinking about doing the same 😊. I’m also glad you found the video helpful. The thermal stitch can be hard to explain in words!
Great pattern and excellent video! Thank you! I’m having trouble figuring out how to download the washing instructions. Can you tell me what I’m missing? Thanks!
Hi there!
The wash instructions are available within the PDF download. You can either purchase it through Ravelry or Etsy.
Ravelry: https://www.ravelry.com/patterns/library/reusable-ear-protector
Etsy: https://www.etsy.com/listing/795501637/reusable-crochet-ear-protector-pattern
Thank you!
– Sigoni
Thank you – I love trying new stitches and the description and the video made them super clear. The ear protector has worked out fine and although I was a bit apprehensive at the start as you said once the beginning is done it’s so easy.
Lin,
That’s great! I’m so happy to hear that. It really is fun to learn new stitches, especially ones that you weren’t sure you could do!