Crossbody Crochet Market Bag: Free Crochet Pattern
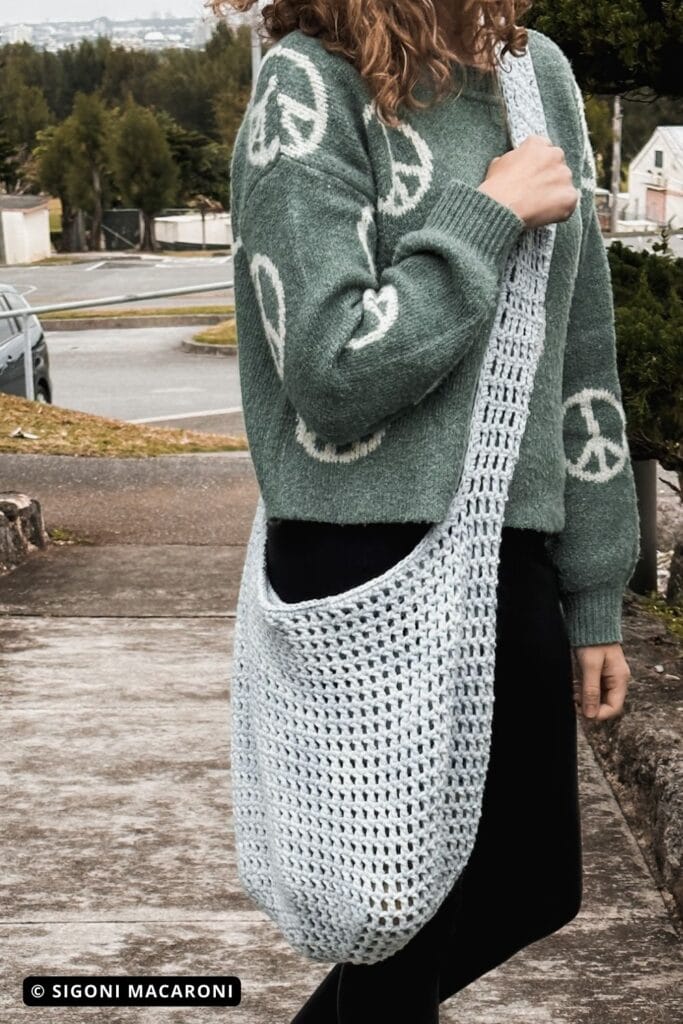
Today I’m sharing the Crossbody Crochet Market Bag. It is a free crochet pattern you are going to love! The best thing about crochet is that you can make anything you want. And who wouldn’t want to make their own bag?!
There are oodles of reasons to crochet yourself one or multiple market bags!
For one, you can use the yarn you have in your stash instead of going out to buy an entire bag. And because you’re making it yourself, you can choose a pattern that has plenty of room for wherever you’re wanting to take it.
It’s also a great conversation starter and will most likely result in lots of compliments on your bag. Which always makes us feel great, right?
Plus, these bags are reusable and sustainable which may be the best reason yet!
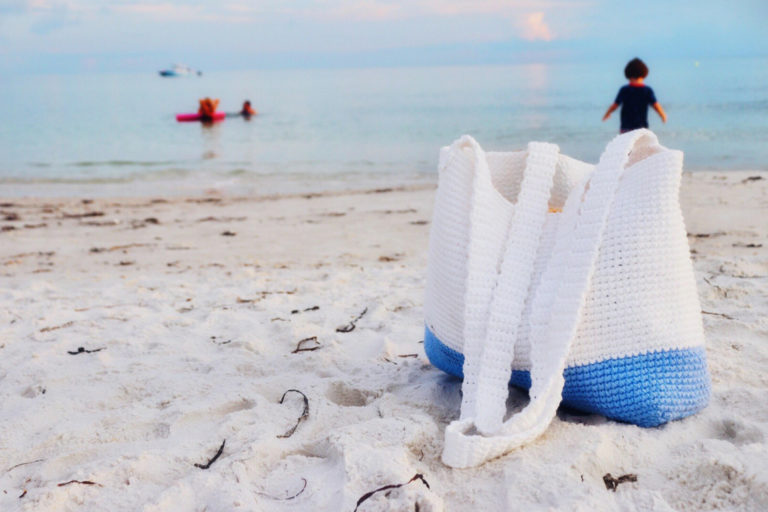
With over-the-shoulder bags like the one I’m sharing today, they’re a lot easier to carry around especially if you’re going apple or orange picking at a farm!
What will you use your Crossbody Crochet Market Bag for? Let me know in the comments! 👇🏼
What to Expect
Before we get into the free pattern I want to share a few important things you should know first. Things like:
- the construction of the crossbody market bag crochet pattern
- recommended yarn and supplies for bags
- tips for crocheting with multiple strands
- different types of crochet bags
- answers to some frequently asked questions
After we talk about those topics, we’ll dive into the pattern!
To get the full PDF with step by step picture tutorials, head on over to Ravelry.
- What to Expect
- Crossbody Crochet Market Bag Construction
- Recommended Yarn for Crochet Market Bags
- Tips for Crocheting with Multiple Strands
- Different Types of Crochet Bags
- Crochet Market Bag FAQs
- Crossbody Crochet Market Bag: Free Crochet Pattern
- Want a printer friendly, ad-free version of this pattern?
- Crossbody Crochet Market Bag Pattern Instructions
- Have questions?
- What's next?
Crossbody Crochet Market Bag Construction
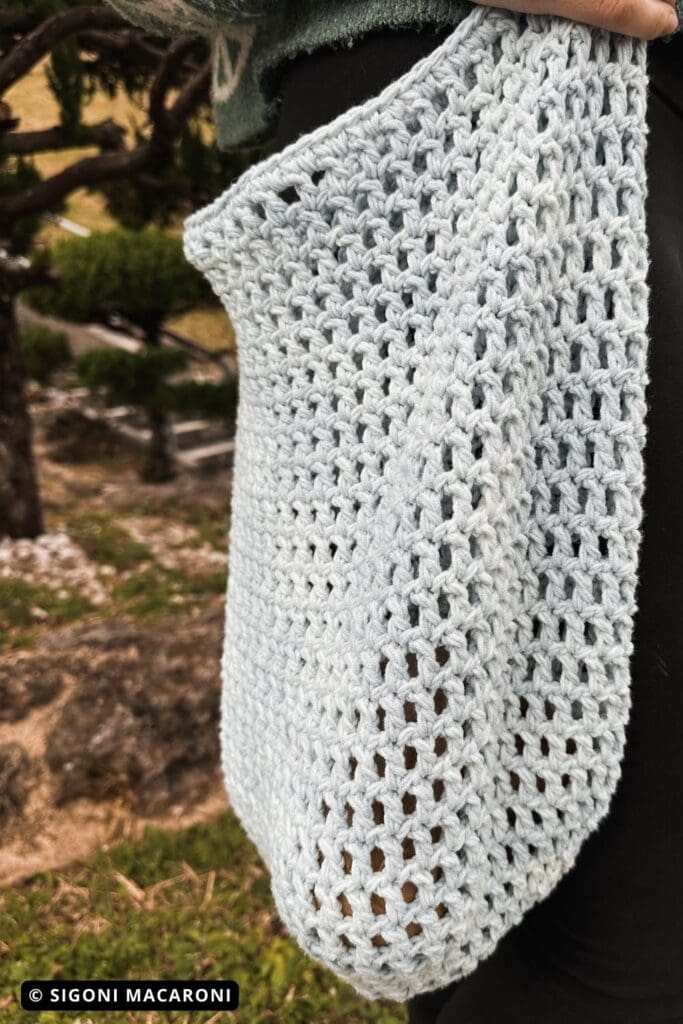
This bag was constructed using double strands of cotton yarn.
Cotton yarn on its own works great for bags because it’s durable and doesn’t stretch. I decided to hold double strands to make this bag even sturdier.
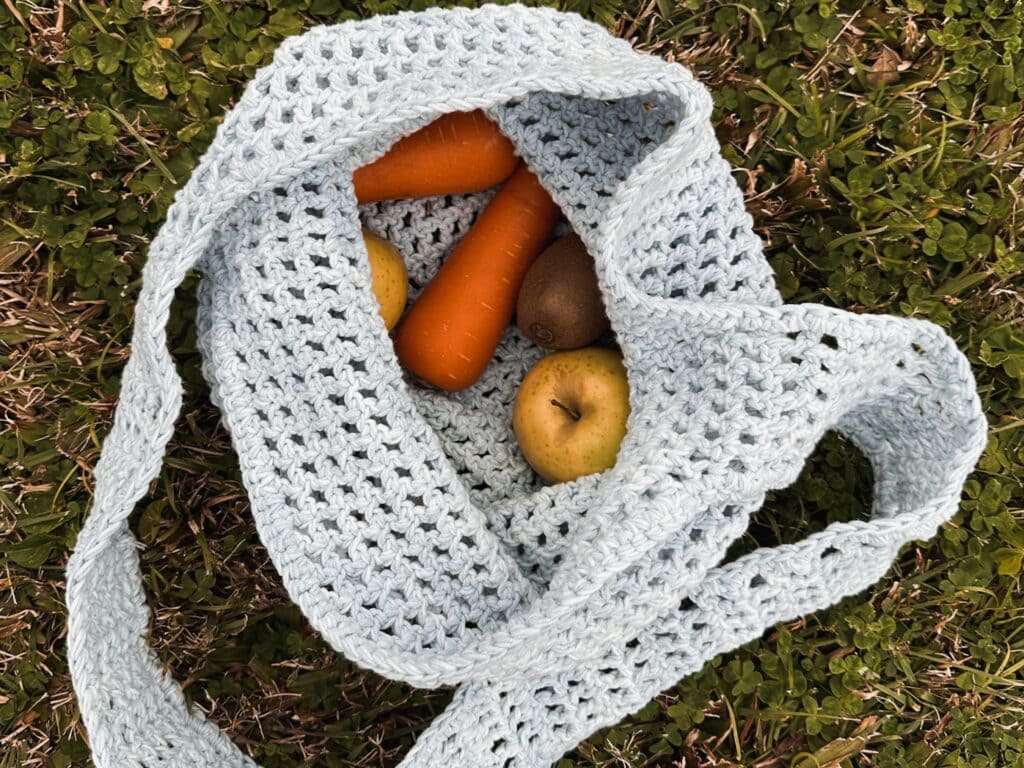
You will work in the round for the entire pattern and it’s created in a filet crochet kind of way which is typical for market bags. The only stitches you need to know are double crochet and single crochet.
The written pattern looks a bit more advanced than my regular beginner friendly patterns. That’s why I included step by step picture tutorials inside the premium PDF pattern.
I do think this project is beginner friendly, however, the pattern instructions are not. I haven’t had the chance to create a video tutorial just yet, but I’m hoping to in the near future.
Recommended Yarn for Crochet Market Bags
I highly recommend using any medium-weight cotton yarn for this bag.
Cotton yarn is durable and easy to wash, if needed. Acrylic is also easy to wash, however it’s not as durable as cotton.
Acrylic yarns also stretch so if you put too much weight in your market bag you could find it sagging more than cotton yarn would.
I chose to use 2 skeins of Caron Cotton Cakes which is a worsted weight yarn. But you can also use a weight 3. This will make your bag slightly smaller. Here are some other great cotton yarns you can try.
- Lion Brand 24/7 Cotton (approx 5 balls)
- love this yarn for so many different projects
- Lily Sugar ‘n Cream (approx 2 cones or 4-5 4-oz balls)
- be aware that this yarn is a lot tougher to work with
- Lion Brand Comfy Cotton Blend (approx 3 balls)
- this one is considered a weight 3 but having worked with it before I believe it’s closer to a weight 4 so it would only be slightly smaller in size, barely noticeable.
- Paintbox Yarn Simply Cotton Aran (approx 9 balls)
- this yarn has amazing color choices!
Be sure to choose your favorite colors! You can even get creative and choose different colors.
Pro Tip: Because I held 2 strands of yarn for this bag, I chose to use a 5.5 mm hook which is a hook size larger than the recommended hook on the yarn label. I suggest doing the same for whichever yarn you choose.
Tips for Crocheting with Multiple Strands
This entire bag is made by holding multiple strands. If you’ve never done this before it might sound intimidating and it might be tricky to start.
I have a full post on crocheting with multiple strands, but here are some of my top tips.
1) Pull from the center strand
Because I used two cakes of Caron Cotton, I pulled the center strand from each cake. This is the easiest and best way to crochet with multiple strands. It will offer less tangle and a smoother crochet workflow.
2) Use a yarn dispenser
If you have a hard time finding the center strand, you can use a yarn dispenser instead.
Purchasing another item would be an additional cost of course but totally, totally worth it. I use my yarn dispenser for almost every project.
You could either purchase two yarn dispensers (one for each cake) or you can purchase a double dispenser.
Just make sure the space between the two is large enough to fit both cakes. These particular cakes are pretty big!
3) Give yourself a break if needed
Crocheting with cotton yarn, on top of multiple strands, can make your hands tire quickly.
I’m used to it because I’m obsessed with crocheting with multiple strands so it’s not a problem for me personally. If this is your first time however, it might be a little more difficult.
Give yourself a break if you need one. Take a minute to do some hand and finger stretches and then continue with your project. You can also purchase compression gloves if you find those helpful.
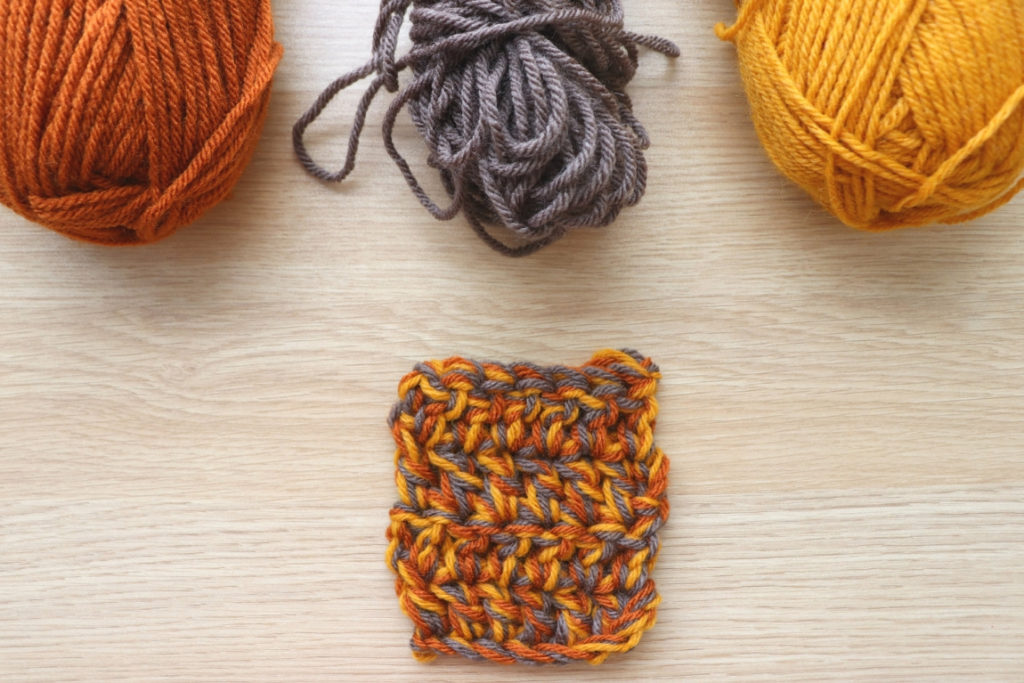
4) Create a swatch first
If you’ve never crocheted with multiple strands before, it might be helpful to create a small swatch first.
Since this pattern uses double crochet stitches, I would create a small double crochet swatch. This will help you get the feel of working with double strands before you begin the pattern.
If you need additional tips of crocheting with multiple strands, you can read through the full post here.
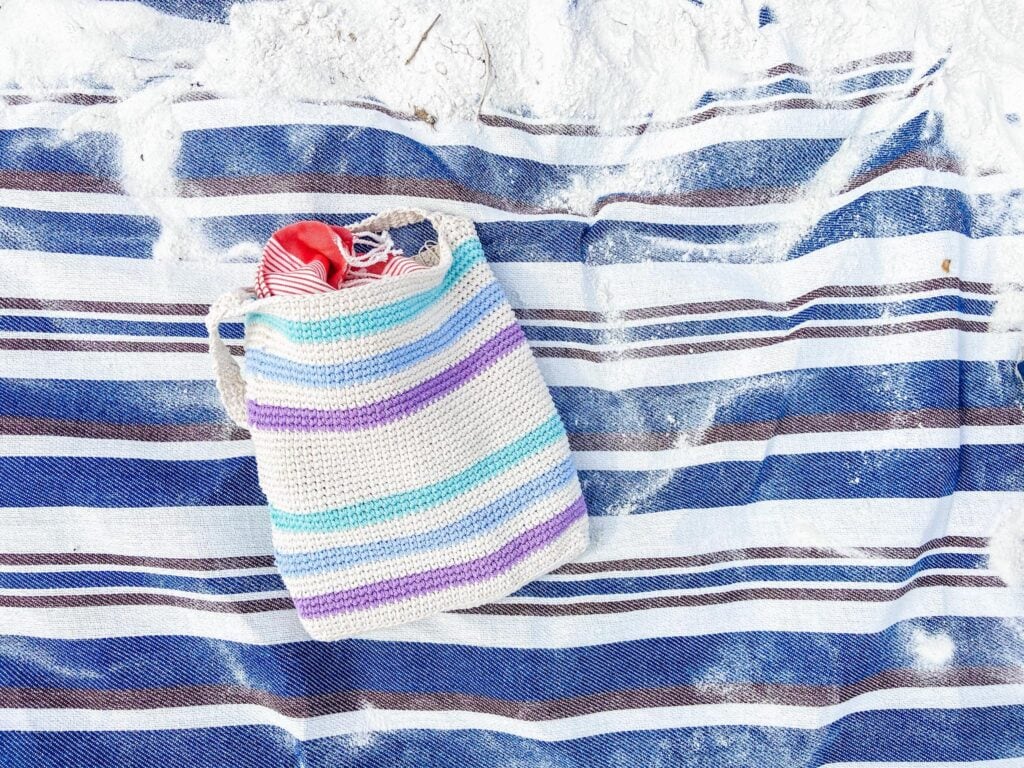
Different Types of Crochet Bags
This crossbody crochet market bag is one of my favorite patterns because it’s large and goes over your shoulder. But there are many other types of crochet bags out there!
You can make beach bags, coin purses, reusable grocery store bags, drawstring bags, bags with just granny squares, etc. They can be big, they can be small, they can be for everyday use. The possibilities are endless!
Here are some additional crochet bag patterns I’ve designed:
Crochet Market Bag FAQs
Now let’s answer some frequently asked questions that way you’re 100% prepared before you get started on the crochet cross body bag pattern.
How much yarn do I need to crochet a market bag?
The amount of yarn you will need to crochet a market bag will vary from bag to bag.
For the Crossbody Crochet Market Bag you will need more yarn than usual because we’re crocheting with multiple strands and it’s larger in size. For this free pattern you will need around 800 yards.
Other bags you may only need a couple hundred yards. It all depends on the size and construction of your bag.
What are the dimensions of a crochet market bag?
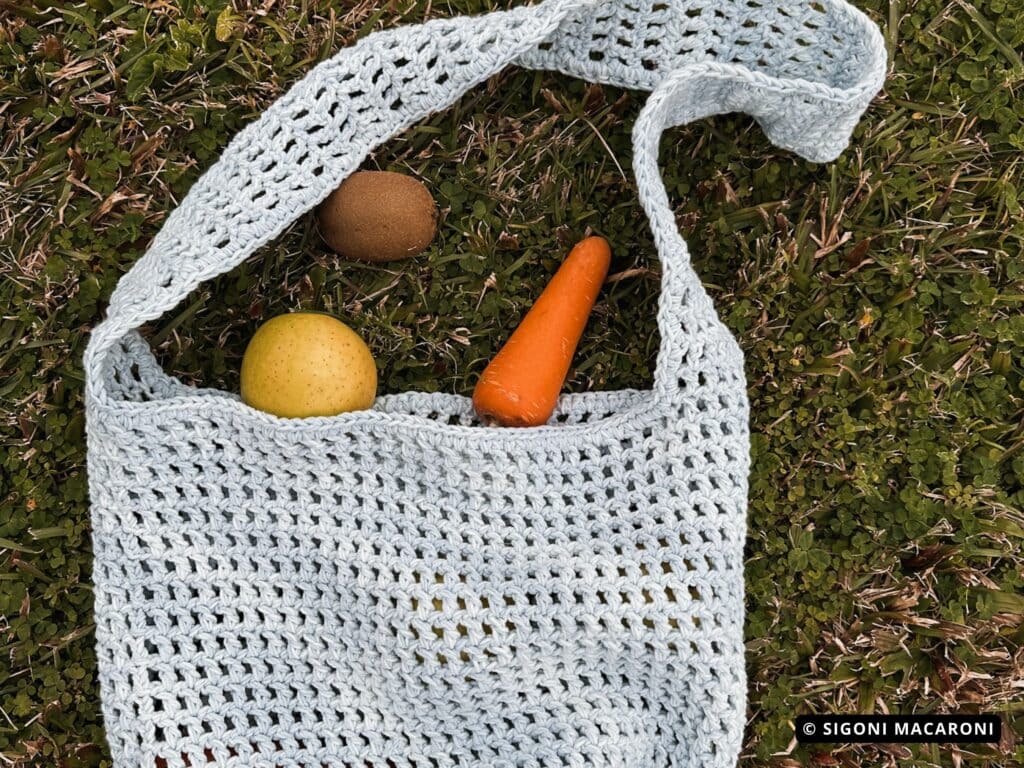
The dimensions of a crochet market bag can be anywhere from 7″ x 9″ to 11″ x 13″ and even larger.
For example, the Crossbody Crochet Market Bag is 15 inches wide and 14 inches deep, not including the strap. The shoulder strap itself measures approximately 18 inches from the top of the bag body to the top of your shoulder.
What crochet stitch is best for bags?
I think any crochet stitch works great for bags!
For market bags, filet crochet or the mesh stitch is most popular. I believe this is because you can see the inside of the bag and it just has that farmers market vibe.
But if you’re looking for a denser fabric, you can use single crochet stitches like I used in my Spring Market Tote. Grab yourself a stitch dictionary and go to town!
What yarn is best for a crochet market bag?
Cotton yarn is by far the best for crochet market bags. This is because of how durable and sturdy the fiber is.
Cotton yarn doesn’t stretch, while acrylic yarn does. However, you can really use any yarn you’d like to make your bags!

Crossbody Crochet Market Bag: Free Crochet Pattern
This post may contain affiliate links, meaning I may earn a small commission at no additional cost to you. Please see my disclosure policy for details.
Pattern
- Get the ad-free, premium PDF on Etsy HERE
- Or on Ravelry HERE
- PIN this pattern to your Pinterest boards for later HERE.
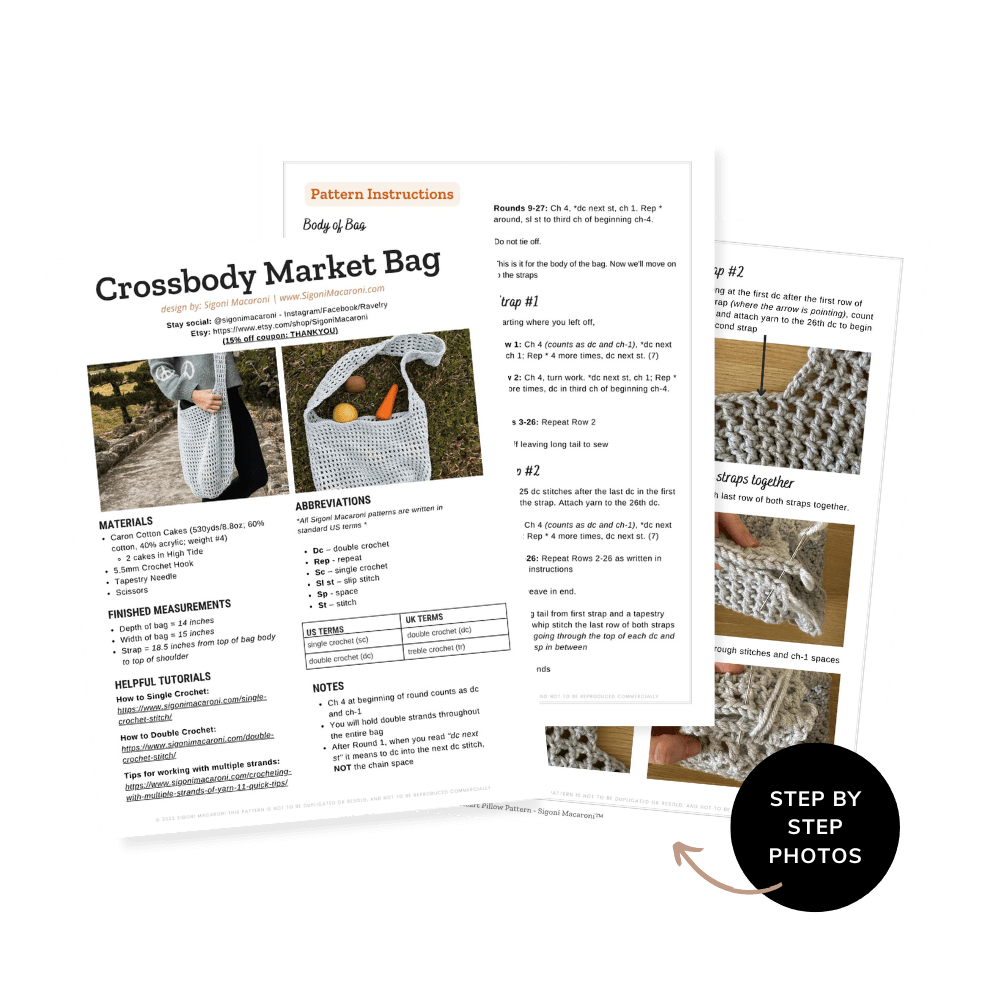
Want a printer friendly, ad-free version of this pattern?
The premium PDF pattern prints beautifully or can be downloaded to your phone or tablet. Plus, if you need a little extra help there are step by step photos to help you through the entire pattern.
Materials
- Caron Cotton Cakes (530yds/8.8oz; 60% cotton, 40% acrylic; weight #4)
- 2 cakes in Wild Blueberry
- 5.5mm Crochet Hook (get the whole Clover set for only $39! – original price: $75!)
- Yarn Needle
- Scissors
Skill Level
- Advanced beginner – the pattern has a general repeat so it’s fairly simple but the instructions are a bit harder to read
Finished Measurements
- Depth of bag = 14 inches
- Width of bag = 15 inches
- Shoulder Strap = 18.5 inches from top of bag body to top of shoulder
Helpful Tutorials
Abbreviations
*All Sigoni Macaroni patterns are written in standard US terms *
- Dc – double crochet
- Rep – repeat
- Sc – single crochet
- Sl st – slip stitch
- Sp – space
- St – stitch
| US TERMS | UK TERMS |
| Double Crochet (dc) | Treble Crochet (tr) |
| Single Crochet (sc) | Double Crochet (dc) |
Pattern Notes
- Ch 4 at beginning of round counts as dc and ch-1
- You will hold double strands throughout the entire bag
- After Round 1, when you read “dc next st” it means to dc into the next dc stitch, NOT the chain space
- Use a stitch marker to mark the third chain of your beginning ch-4 to make this stitch easier to find and work into
Crossbody Crochet Market Bag Pattern Instructions
Body of bag
Holding double strands, create magic ring (or ch 4, sl st to first st – then continue with Round 1)
Round 1: Ch 4 (counts as dc and ch-1), [dc, ch 1] 7 times into ring, sl st to third ch of beginning ch-4. (8 dc)
Round 2: Ch 4, dc in same sp, ch 1, [dc, ch 1, dc, ch 1] in each dc around, sl st to third ch of beginning ch-4. (16 dc)
Round 3: Ch 4, dc in same sp, ch 1, dc next st, ch 1, *[dc, ch 1, dc] next st, ch 1, dc next st, ch 1; Rep from * around, sl st to third ch of beginning ch-4. (24 dc)
Round 4: Ch 4, dc in same sp, ch 1, [dc next st, ch 1] 2 times, *[dc, ch 1, dc] next st, ch 1, [dc next st, ch 1] 2 times; Rep from * around, sl st to third ch of beginning ch-4. (32 dc)
Round 5: Ch 4, dc in same sp, ch 1, [dc next st, ch 1] 3 times, *[dc, ch 1, dc] next st, ch 1, [dc next st, ch 1] 3 times; Rep from * around, sl st to third ch of beginning ch-4. (40 dc)
Round 6: Ch 4, dc in same sp, ch 1, [dc next st, ch 1] 4 times, *[dc, ch 1, dc] next st, ch 1, [dc next st, ch 1] 4 times; Rep from * around, sl st to third ch of beginning ch-4. (48 dc)
Round 7: Ch 4, dc in same sp, ch 1, [dc next st, ch 1] 5 times, *[dc, ch 1, dc] next st, ch 1, [dc next st, ch 1] 5 times; Rep from * around, sl st to third ch of beginning ch-4. (56 dc)
Round 8: Ch 4, dc in same sp, ch 1, [dc next st, ch 1] 6 times, *[dc, ch 1, dc] next st, ch 1, [dc next st, ch 1] 6 times; Rep from * around, sl st to third ch of beginning ch-4. (64 dc)
Rounds 9-27: Ch 4, *dc next st, ch 1. Rep * around, sl st to third ch of beginning ch-4.
Do not tie off.
This is it for the body of the bag. Now we’ll move on to the shoulder strap.
Strap #1
Starting where you left off,
Row 1: Ch 4 (counts as dc and ch-1), *dc next st, ch 1; Rep * 4 more times, dc next st. (7)
Row 2: Ch 4, turn work. *dc next st, ch 1; Rep * 4 more times, dc in third ch of beginning ch-4. (7)
Rows 3-26: Repeat Row 2
Tie off leaving long tail to sew
Strap #2
Count 25 dc stitches after the last dc in the first row of the strap. Attach yarn to the 26th dc.
Row 1: Ch 4 (counts as dc and ch-1), *dc next st, ch 1; Rep * 4 more times, dc next st. (7)
Rows 2-26: Repeat Rows 2-26 as written in Strap #1 instructions
Tie off, weave in end.
Using long tail from first strap and a tapestry needle to whip stitch the last row of both straps together – going through the top of each dc and each ch-1 sp in between
Weave in ends.
Please note: This is a completely adjustable strap. If you do not like the length, feel free to add more rows or take away some rows. Just make sure that you have the same amount of rows on each side of the bag before you sew your strap together.
Single Crochet Border
- Attach yarn to any stitch around the bag body.
- Sc in each stitch and ch-1 sp until you reach the strap.
- Turn work to sc along the side of the strap, placing 2sc around the post of each dc.
- Turn work at the end of the strap to work along the body of the bag again
- Sl st to first sc to join.
Repeat steps 1-5 on the opposite side of the strap.
Tie off and weave in ends
Have questions?
Join my free Facebook group and ask any questions there!
You will also find a full step by step picture tutorial inside the premium PDF pattern.
What’s next?
- Pin this post so you can come back and make it later (or again!)
- Leave a comment sharing who or what you’re making this bag for! I love hearing from you!
- Share your finished Crossbody Crochet Market Bag on Instagram!
- What I love even more is seeing your finished projects! Be sure to tag me @sigonimacaroni and stick around to see more behind the scenes and additional tips!