Mandala Monster Crochet Pattern – String Bean
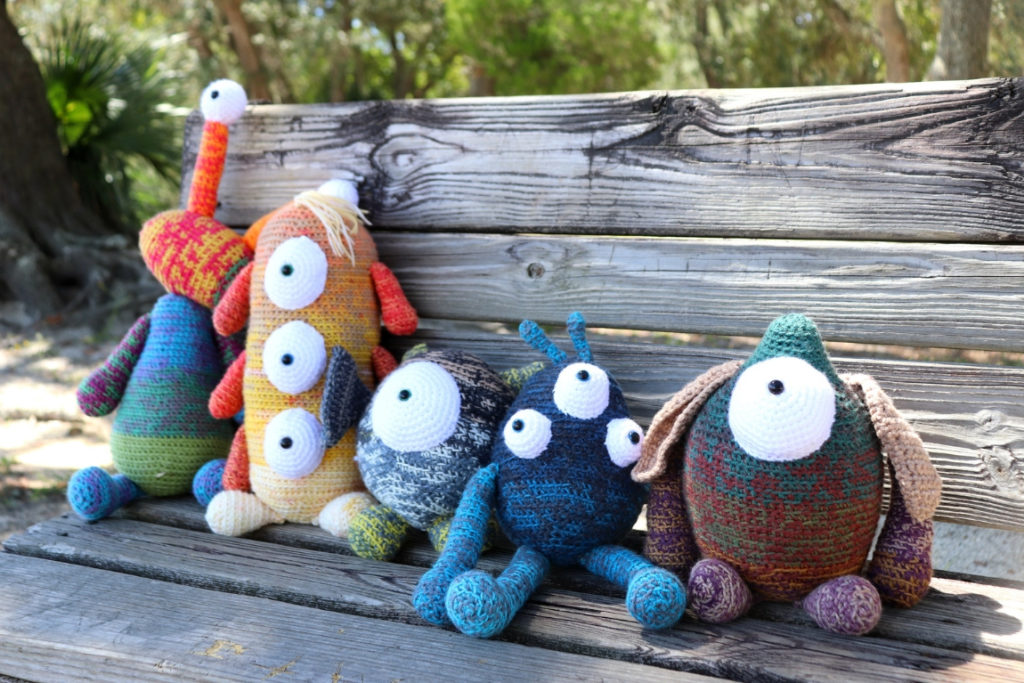
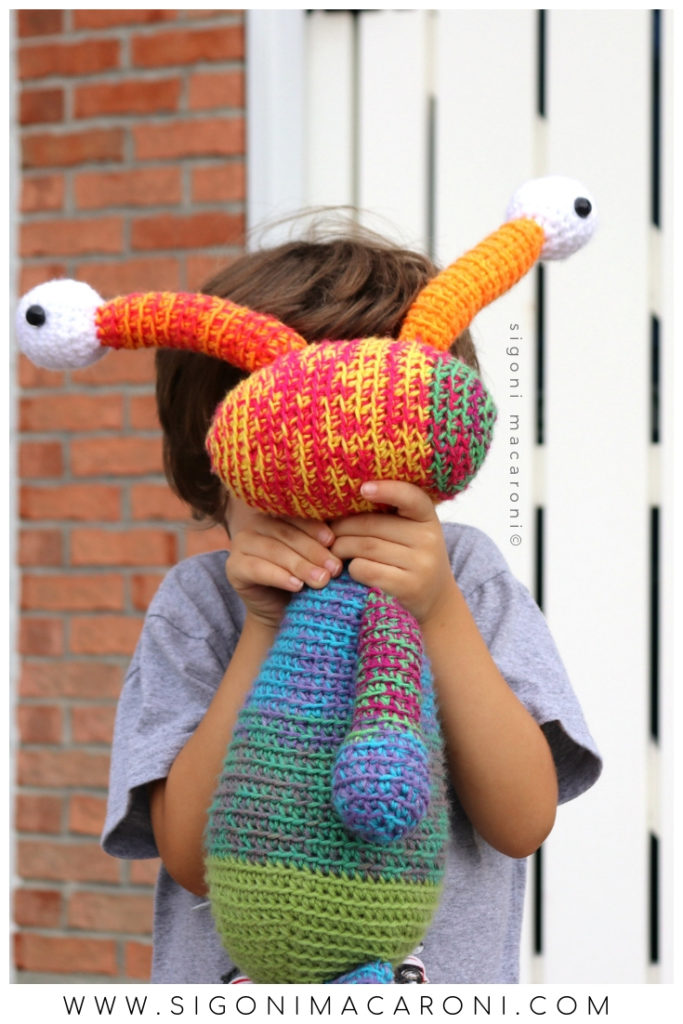
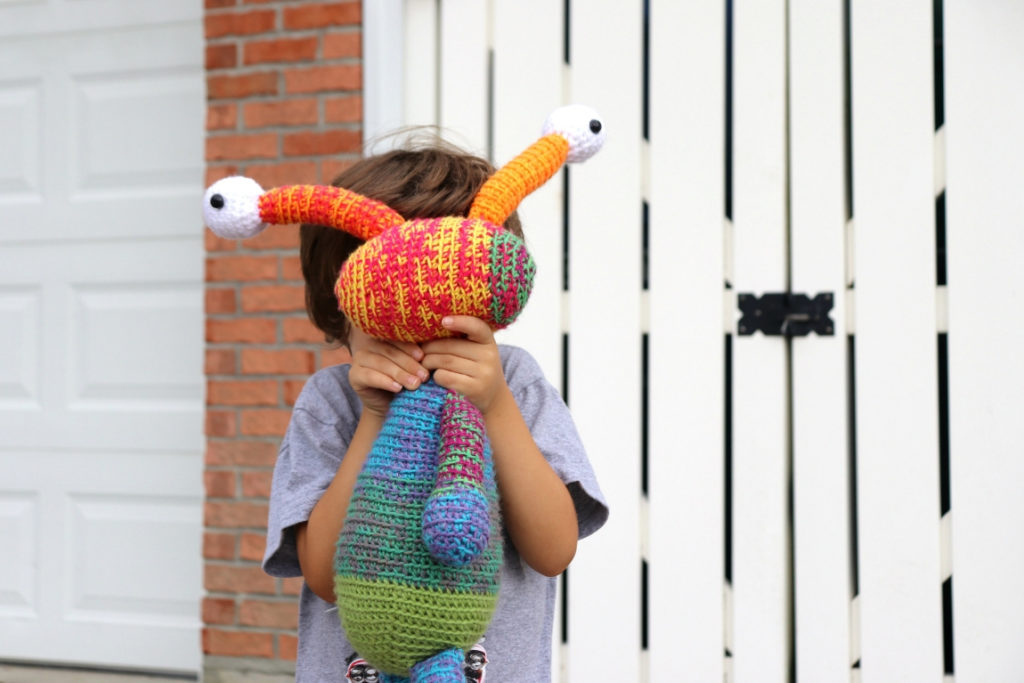
String Bean is one of the five Mandala Monsters of the Mandala Monster Crochet Pattern Collection! He is super cute and unique with an outgoing personality! The crochet pattern for String Bean is beginner-friendly and includes lots of photos for easy reference. Make him for yourself, give him as a gift, either way you’re going to love making him!
The Collection:
The idea behind the Mandala Monster Crochet Pattern Collection came about because of my son. After I designed Eyeballs, my son kept asking me to make more and more monsters every time I bought a new skein of yarn. Because my son loves monsters and I loved designing Eyeballs AND I loved the way the colors changed with the Mandala yarn, I just had to commit to it.
My first thought was to make eight monsters… EIGHT! What was I thinking?! I ended up designing five monsters and it worked out perfectly, in my opinion. Plus, isn’t it great that my son decided to become obsessed with monsters right before Halloween??
I am so excited to have put together this Mandala Monster Collection. But I’m even more excited to say that I will be continuing to do these collections every other month if not every month!
If you would like to hear more about the entire Mandala Monster Crochet Pattern Collection, click here.
String Bean was chosen as the free pattern for these collection because he was the “fan favorite” over on Instagram. If you’d like to participate in future collection updates, voting, and giveaways; come say hi!
THIS CROCHET PATTERN IS FEATURED IN WEEK 4 OF THE STASH BUSTING CHALLENGE! SCROLL DOWN TO RIGHT BEFORE THE PATTERN TO FIND THE BUTTON AND CODE TO GET THIS PATTERN (AND MORE!) FOR FREE.
Yarn Choice
I explain a little more about my yarn choice in the Mandala Monster Crochet Pattern Collection Lookbook, but I’m going to explain briefly here as well. Lion Brand Mandala has magnificent colorway choices. Because of this I thought this yarn would look amazing in the form of a monster.
Techniques Used
I decided to crochet holding two strands of yarn for two reasons. The first reason is because Lion Brand Mandala is a weight 3 yarn and I didn’t want to have to use a tiny hook to create them.
The second reason is because I knew that some of these colorways were super drastic (especially the one I used for String Bean). By holding two strands, one from the inside of the skein and the other from the outside, it made an even more drastic colorway.
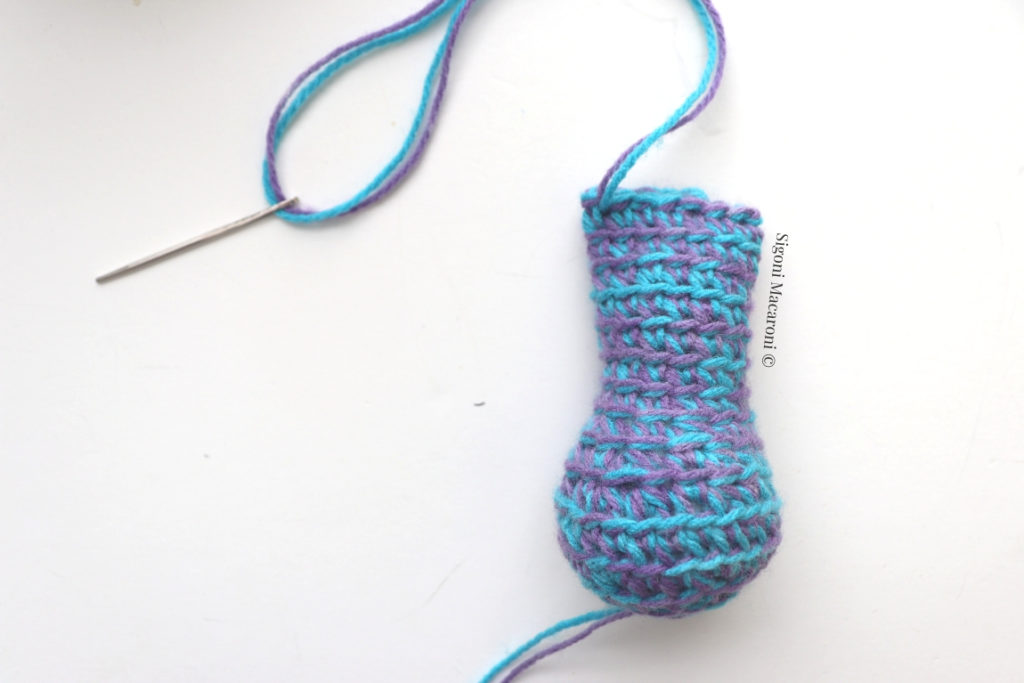
All of my Mandala Monster Crochet Patterns are worked in the back loop only except for some body parts that I explain in the notes of each pattern. By working in the back loop it makes it easier to mark your rows, it makes your stitches tighter so the polyfil doesn’t stick out, and it gives each monster a ribbed effect that looks really interesting.
If you do not wish to work in the back loop, you don’t have to. But I do suggest sizing down to a 4.5mm crochet hook instead of a 5mm.
I’m also hosting a giveaway over on my Instagram account to win the entire collection! Head over and check out my last post of Warlock to enter the giveaway! If you win the giveaway and you’ve already purchased the bundle, I’ll issue a refund! Finish reading about the collection and then go enter! <3
This post may contain affiliate links, please view my disclosure policy for details.
Mandala Monster Crochet Pattern:
- Get the ad-free, large print, printable PDF pattern HERE.
- PIN this pattern to your Pinterest boards for later HERE.
Materials:
- 5mm Crochet Hook
- Lion Brand Mandala in Gnome (or any colorway!)
- Red Heart Soft in White (or any white, medium weight yarn to use to create the eyes)
- Tapestry Needle
- Scissors
- Polyfil Stuffing
- Stitch Marker
- 12mm Safety Eyes
Abbreviations Used:
*All Sigoni Macaroni patterns are written in standard US terms*
- Ch – Chain
- Sc – Single Crochet
- Rep – Repeat
- St(s) – Stitches
- Sl st – Slip Stitch
Special Stitches:
- Sc2tog (single crochet decrease) – Insert hook into next st, yarn over, pull up loop (2 loops on hook). Insert hook into back loop of next st, yarn over, pull up loop (3 loops on hook). Yarn over, pull through all three loops
Helpful Tutorials
- Single Crochet Tutorial
- Tips for Working With Multiple Strands
- How to Crochet in Continuous Rounds
- How to Work in the Back Loops Only
Notes:
- You will be holding two strands of yarn and working in the back loop only throughout the entire pattern except for the eyes. For the eyes you will work each stitch as normal and you will use one strand of white yarn.
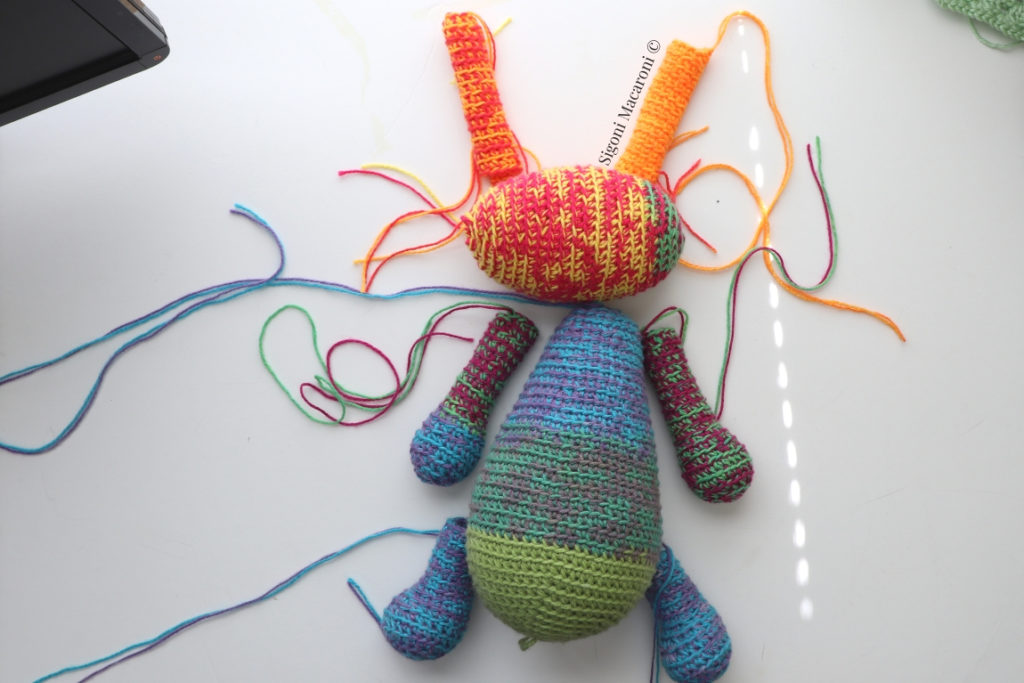
- You can work the body parts in any order. When you’re done you will sew them all together.
- Stuff body parts with polyfil stuffing as you go, before your holes get too small.
- If you’re creating this pattern for a young child, embroider the eyes with yarn rather than using safety eyes if that makes you feel more comfortable.
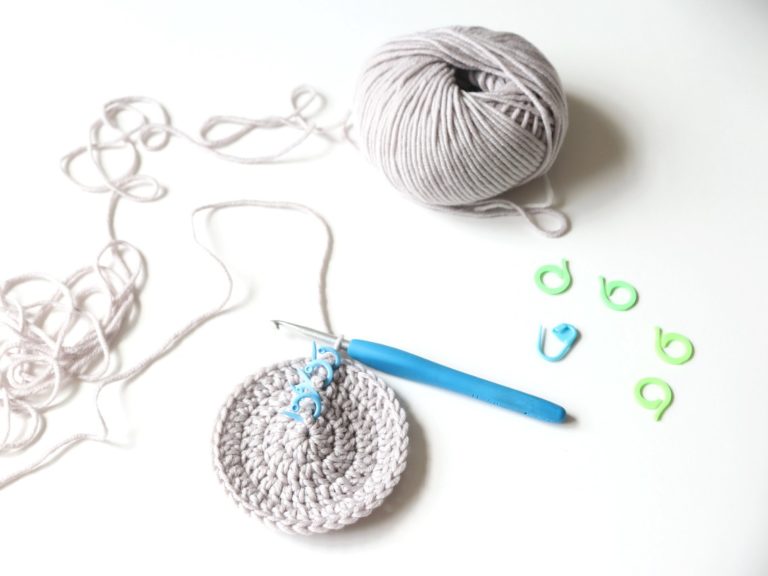
- With each body part, you will be working in continuous rounds. Do not slip stitch at the end of each round (place a stitch marker in the last stitch of each round and move it up as you go).
- If you do not wish to work in the back loop, you can work your single crochet stitches as normal. However, I suggest sizing down to about a 4.5mm crochet hook.
String Bean – The Mandala Monster Free Crochet Pattern
Monster Body Instructions
Holding double strands throughout,
Round 1: 6sc in mag cir
Working in the back loop only
Round 2: 2sc each st around (12)
Round 3: [2sc next st, sc next st] Rep [ ] around. (18)
Round 4: [2sc next st, sc next 2 st] Rep [ ] around. (24)
Round 5: [2sc next st, sc next 3 st] Rep [ ] around. (30)
Round 6: [2sc next st, sc next 4 st] Rep [ ] around. (36)
Round 7: [2sc next st, sc next 5 st] Rep [ ] around. (42)
Round 8: [2sc next st, sc next 6 st] Rep [ ] around. (48)
Round 9: [2sc next st, sc next 7 st] Rep [ ] around. (54)
Round 10: [2sc next st, sc next 8 st] Rep [ ] around. (60)
Rounds 11-17: Sc each st around (60)
Round 18: [Sc2tog, sc next 8 st] Rep [ ] around (54)
Rounds 19-20: Sc each st around (54)
Round 21: [Sc2tog, sc next 7 st] Rep [ ] around (48)
Round 22: Sc each st around (48)
Round 23: [Sc2tog, sc next 6 st] Rep [ ] around (42)
Round 24: Sc each st around (42)
Round 25: [Sc2tog, sc next 5 st] Rep [ ] around (36)
Round 26: Sc each st around (36)
Round 27: [Sc2tog, sc next 4 st] Rep [ ] around (30)
Rounds 28-30: Sc each st around (30)
Round 31: [Sc2tog, sc next 3 st] Rep [ ] around (24)
Round 32: Sc each st around (24)
Round 33: [Sc2tog, sc next 2 st] Rep [ ] around (18)
Round 34: [Sc2tog, sc next st] Rep [ ] around (12)
Tie off, leave long tail for sewing
Feet Instructions (make 2)
Holding double strands throughout,
Round 1: 6sc in mag cir
Working in the back loop only
Round 2: 2sc each st around (12)
Round 3: [2sc next st, sc next st] Rep [ ] around. (18)
Round 4: [2sc next st, sc next 2 st] Rep [ ] around. (24)
Round 5: Sc each st around (24)
Round 6: Sc next 7 st, sc2tog, sc next st, [sc2tog] twice, sc next st, sc2tog, sc next 7 st (20)
Round 7: Sc next 6 st, Sc2tog, sc next st, sc2tog, sc next st, sc2tog, sc next 6 st (17)
Round 8: Sc next 6 st, sc2tog, sc next st, sc2tog, sc next 6 st (15)
Rounds 9-15: Sc each st around (15)
Tie off leaving long tail for sewing
Arm Instructions (make 2)
Holding double strands throughout,
Round 1: 6sc in mag cir
Working in the back loop only
Round 2: 2sc each st around (12)
Round 3: [2sc next st, sc next st] Rep [ ] around. (18)
Round 4: [2sc next st, sc next 2 st] Rep [ ] around. (24)
Round 5: Sc each st around (24)
Round 6: [Sc2tog, sc next 2 st] Rep [ ] around. (18)
Round 7: Sc each st around (18)
Round 8: [Sc2tog, sc next st] Rep [ ] around. (12)
Rounds 9-18: Sc each st around (12)
Tie off leaving long tail for sewing
Monster Head Instructions
Holding double strands throughout,
Round 1: 6sc in mag cir
Working in the back loop only
Round 2: 2sc each st around (12)
Round 3: [2sc next st, sc next st] Rep [ ] around. (18)
Round 4: [2sc next st, sc next 2 st] Rep [ ] around. (24)
Round 5: [2sc next st, sc next 3 st] Rep [ ] around. (30)
Round 6: Sc each st around (30)
Round 7: [2sc next st, sc next 4 st] Rep [ ] around. (36)
Round 8: Sc each st around (36)
Round 9: [2sc next st, sc next 5 st] Rep [ ] around. (42)
Rounds 10-16: Sc each st around (42)
Round 17: [Sc2tog, sc next 5 st] Rep [ ] around (36)
Rounds 18: Sc each st around (36)
Round 19: [Sc2tog, sc next 4 st] Rep [ ] around (24)
Round 20: Sc each st around (24)
Round 21: [Sc2tog, sc next 3 st] Rep [ ] around (18)
Round 22: [Sc2tog, sc next 2 st] Rep [ ] around (12)
Round 23: [Sc2tog, sc next st] Rep [ ] around (6)
Tie off and weave in ends
Eye Tube Instructions (make 2)
Holding double strands throughout, Ch 10. Sl st to first st to form circle
Round 1: Ch 1, sc each st around (10)
Working in the back loop only
Rounds 2-14: Ch 1, sc each st around (10)
Tie off and leave long tail for sewing
Eyes Instructions (make 2)
Holding one strand of white yarn,
Round 1: 6sc in mag cir
Round 2: 2sc each st around (12)
Round 3: [2sc next st, sc next st] Rep [ ] around. (18)
Round 4: [2sc next st, sc next 2 st] Rep [ ] around. (24)
Rounds 5-7: Sc each st around (24)
Round 8: [Sc2tog, sc next 2 st] Rep [ ] around (18)
Round 9: [Sc2tog, sc next st] Rep [ ] around (12)
Attach safety eye between rows 6-7 and stuff lightly with polyfil
Round 10: Sc2tog around (6)
Tie off leaving long tail for sewing
Assembly:
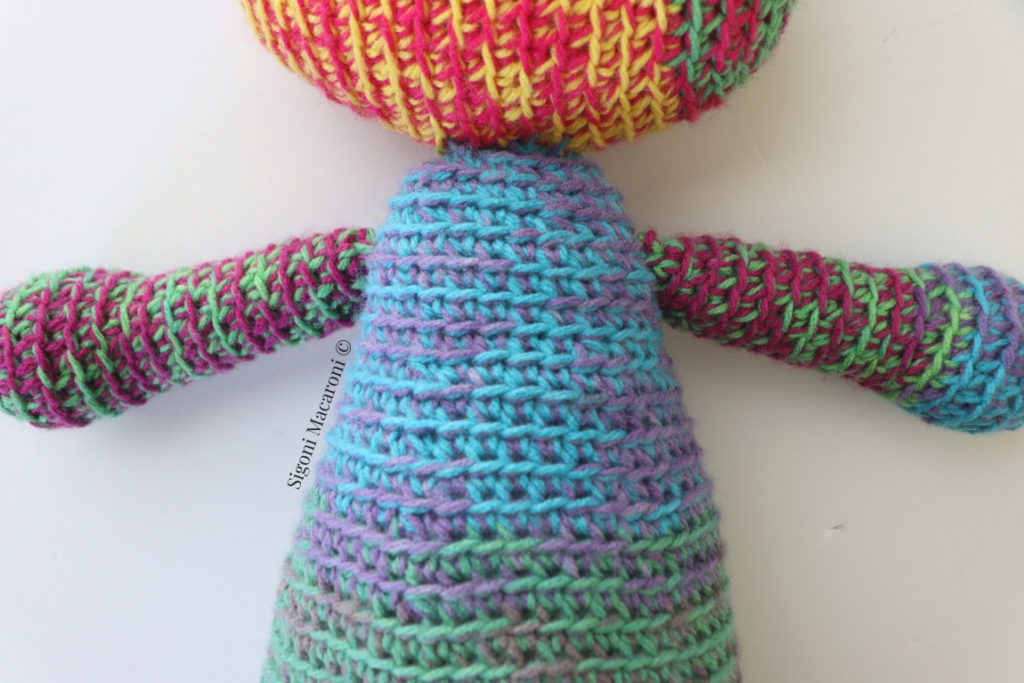
Turn the head of your monster horizontally so that the beginning and end rows are on the side. Sew the head onto the body so that it’s stable enough to not flop around. It still will a little bit so don’t stress too much about it.
Stuff the arms with stuffing and sew them shut. Attach the arms around the 5th row down from the top of the body, on either side of the head.
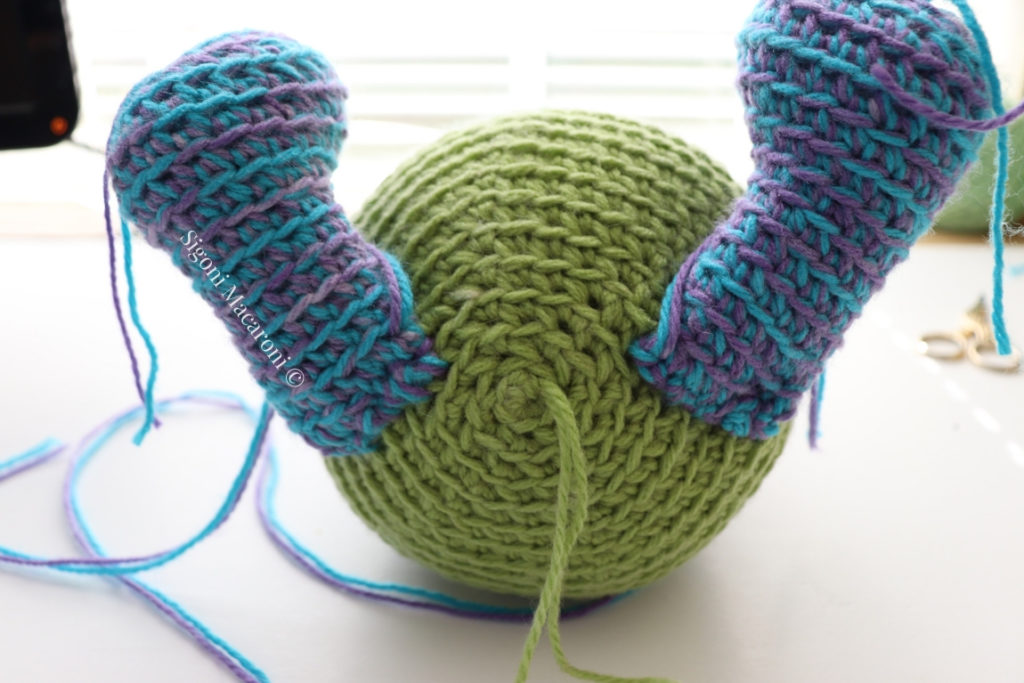
Stuff the feet with stuffing and sew them shut. Attach them around the 4th row from the center of the bottom circle, about an inch and a half apart.
Tightly stuff your eye tubes with polyfit to ensure they are able to stand without falling. Sew both tubes to the top of the monster’s head with about 5 rows in between.
Sew the eyes on top of the tubes.
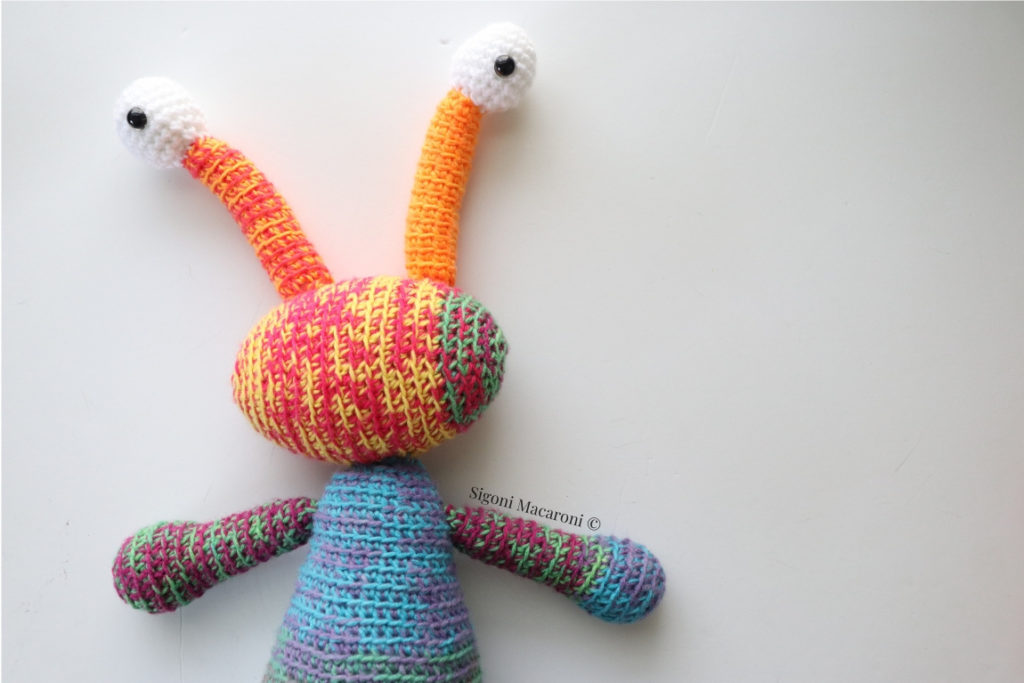
String Bean is one of the five cutest monsters you have ever seen. Am I right? These monsters would be really great gift ideas for the children in your life! If they’re scared of monsters being under the bed or in the closet, they won’t be once they see how goofy monsters can be!
I created a short little back story for each of the monsters to give them a little more character. If you do make one and you’re giving it to a little one, give your monster even more personality by telling them their backstory or create one of your own! Kids love crazy stories!
If you find any mistakes within the pattern, please let me know by emailing me at [email protected] and I will fix them right away (but let’s hope there aren’t any!)
Share your finished monsters with me by tagging me on Instagram @sigonimacaroni and using the hashtag #mandalamonsters
This pattern is an original pattern by Sigoni of Sigoni Macaroni. Please do not claim this pattern as your own. If you wish to share this pattern, you may link to this pattern but please do not reprint it on your site. You may keep a copy for your own personal use but please DO NOT sell the pattern or distribute it.
You may sell products made from this pattern but please clearly credit the design to me and provide a link to my blog www.SigoniMacaroni.com. Thank you for being respectful and for your understanding!