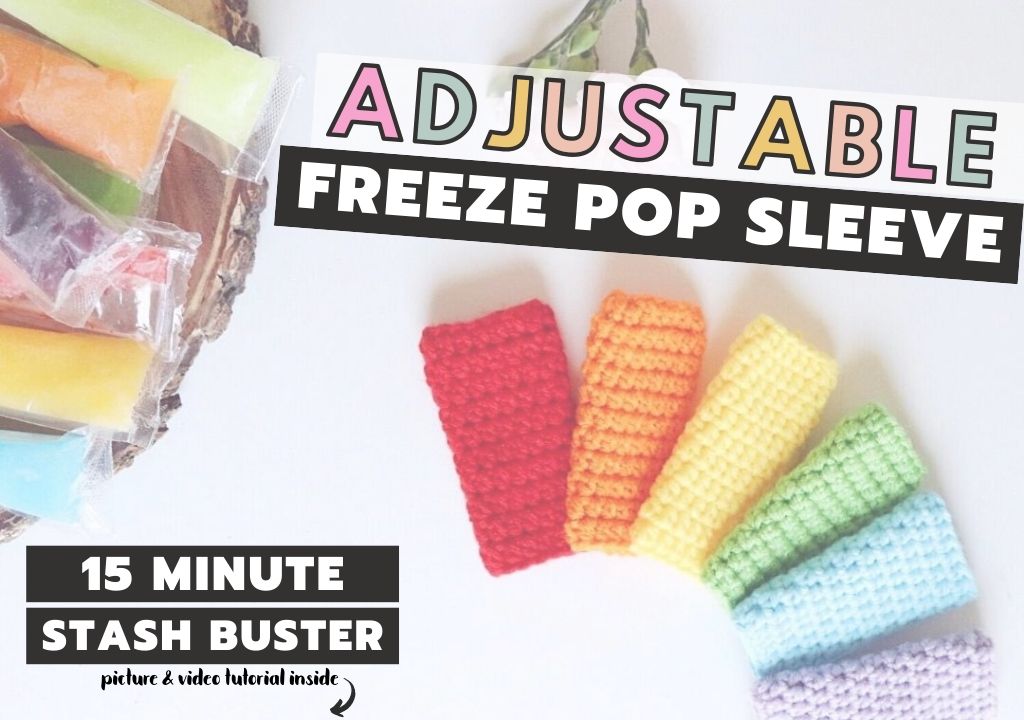
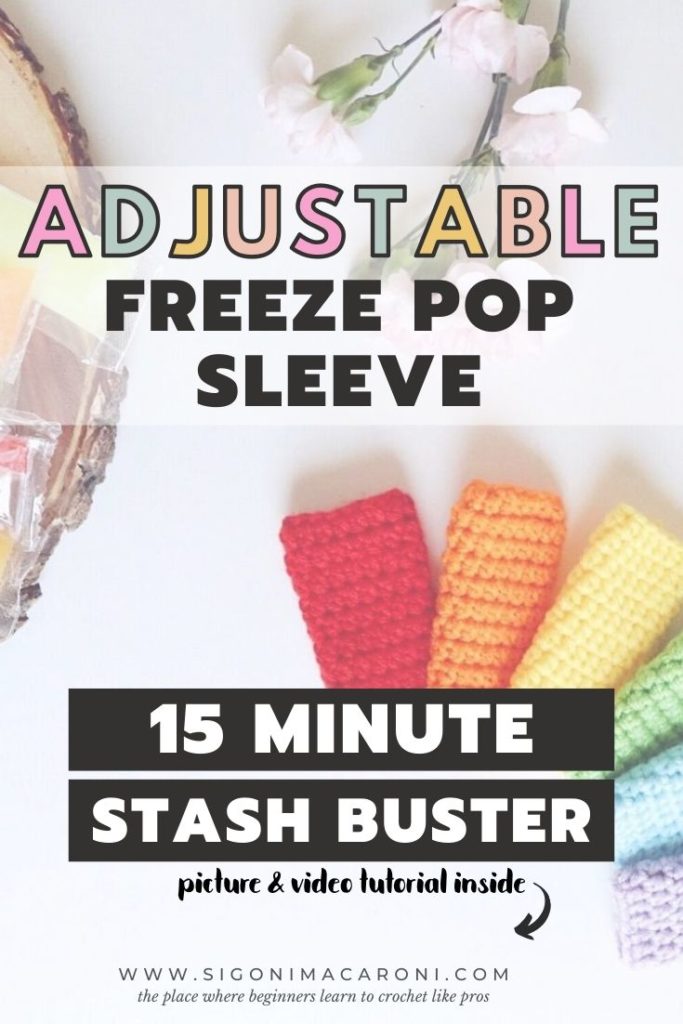
DIY Adjustable Freeze Pop Sleeve – Free Crochet Pattern
It’s sunny, hot, and time for a popsicle (or an ice pop, a freeze pop, an ice lolly; whatever you want to call them)! If you have kids, or you frequently participate in craft shows, this is probably the best stash busting crochet pattern out there. This DIY, adjustable freeze pop sleeve is a quick and easy crochet pattern to make plus it sells like hotcakes at craft fairs!
When I came across the perfect opportunity to be a vendor at a local craft fair, I had no idea what I was going to make. Because it’s currently springtime and summer isn’t far away (not to mention the number of kids around here), I thought adjustable popsicle sleeves would be a phenomenal idea. Boy, was I right. They were my best seller!
Of course, I also have a little one of my own and he loves ice pops (I mean, what kid doesn’t?). I knew if no one else bought them, that I could at least make a few for him!
THIS CROCHET PATTERN IS FEATURED IN WEEK 2 OF THE STASH BUSTING CHALLENGE! CHECK OUT THE ROUNDUP TO FIND MORE STASH BUSTERS.
Why You Need an Adjustable Crochet Freeze Pop Sleeve
- So your little one’s fingers won’t freeze
- You can slide the cozy up and down
- Make it for your kids, your friends kids, or a bunch for a summer birthday party!
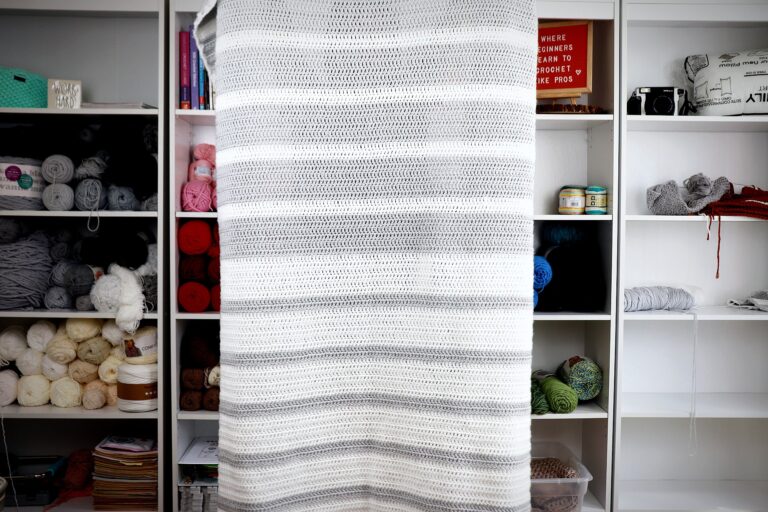
- It’s a great stash busting crochet project
- It’s quick and easy to make
- & it helps you practice crocheting in the round
The best part about this popsicle sleeve is that it’s adjustable. You don’t want the cozy to only be at the bottom because then when you go to push up the ice, your (or your kid’s) hands will freeze. No one likes that.
About the Yarn
For this popsicle sleeve crochet pattern, you can use any medium weight yarn. I used 100% acrylic yarn for one and 100% cotton for the other. There honestly isn’t much of a difference, which is why it’s a great stash buster.
How long does it take to make a freeze pop sleeve?
This freeze pop sleeve will only take you about 20 minutes at the most. This is why it is a great addition to your spring or summer craft fair inventory. And if you’re not planning on being a vendor in a fair, you could also sell these online or make them as a simple gift for the kids in your neighborhood!
DIY Adjustable Freeze Pop Sleeve – Free Crochet Pattern
This post may contain affiliate links, please view my disclosure policy for details.
Materials Used:
- I used Red Heart Scrubbie Smoothie (but you can use any medium weight yarn)
- 4mm Crochet Hook
- Tapestry Needle
- Scissors
Abbreviations Used:
- Half Double Crochet (hdc)
- Chain (ch)
| US TERMS | UK TERMS |
| half double crochet (hdc) | half treble crochet (htr) |
Helpful Tutorials:
- Half Double Crochet Tutorial
- Chain Stitch Tutorial
- How to Crochet in the Round
- DIY Adjustable Popsicle Sleeve Video Tutorial
Notes:
- Ch 1 at beginning of round does not count as stitch
- After row 1, flip your work inside-out so that the right side is facing outward
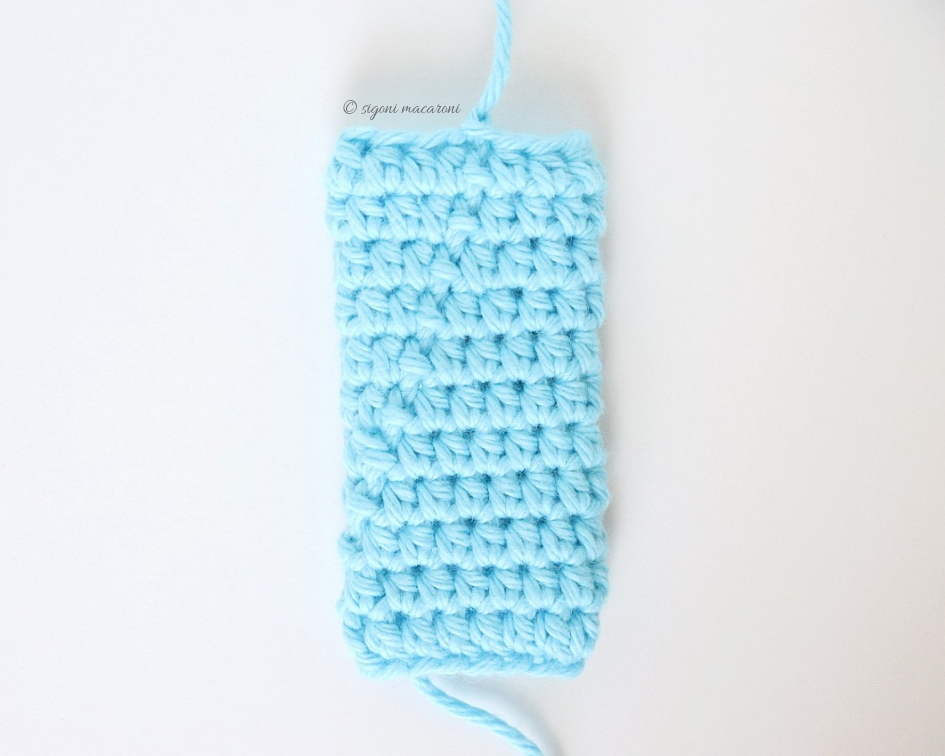
- I worked half double crochet stitches for 11 rounds, but if you would like a longer sleeve, feel free to add more rows.
Freeze Pop Sleeve Crochet Pattern:
Some popsicles or ice pops have different widths. After you chain 16, wrap the chain around the popsicle to make sure it fits. It should be a little snug. If your popsicle is thicker, it doesn’t hurt to chain a few more. The pattern is still the same!
Ch 15, sl st to first ch to form circle being careful not to twist ch
Round 1: Ch 1, hdc in same st as chain one and in each st around. Sl st to join. (15)
Rounds 2-11: Ch 1, hdc in each st around (15)

That’s all there is to it! If you’re more of a “I need to see it in order to make it” person, then head over to watch the video tutorial! (Psst.. don’t forget to subscribe for more pattern tutorials!)
Not only is this adjustable popsicle sleeve an easy crochet pattern, but it’s quick to make and a tremendous stash buster.
I’m curious, what do you call them? Here in Florida we just call them popsicles. But I’ve heard all kinds of other names like ice pop, freeze pop, and even ice lolly!
Like this pattern? Share it with your crafty friends!
Pin this pattern to your Pinterest boards or share it with your friends on Facebook!
This pattern is an original pattern by Sigoni of Sigoni Macaroni. Please do not claim this pattern as your own. If you wish to share this pattern, you may link to this pattern but please do not reprint it on your site and please DO NOT sell the pattern or distribute it.
You may sell products made from this pattern but please clearly credit the design to me and provide a link to my blog www.SigoniMacaroni.com. Thank you for being respectful and for your understanding!