Cheaters Gingham Blanket Crochet Along – Week 3
Wow we’re already onto week 3 and we’re finally ready to see what exactly we’re going to do with these panels! I assume you’ve already figured it out, but today I’m going to show you how to sew together the panels of the Gingham Blanket Crochet Along pattern.
This pattern release is for the third section of the Gingham Blanket Crochet Along. If you haven’t heard about the CAL yet, you can read the full details here. You will also find links to each link of the pattern as they come out.
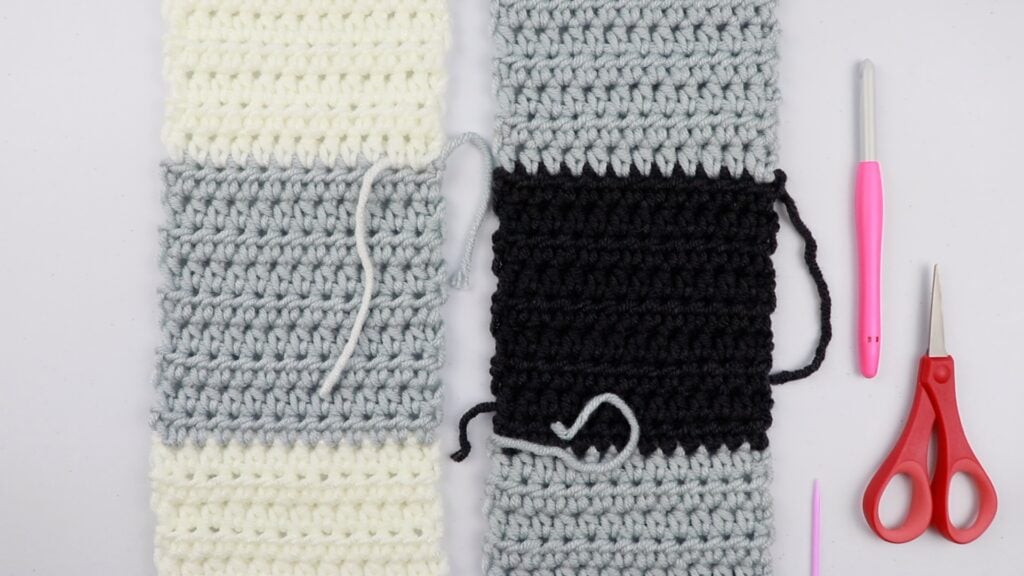
Cheaters Gingham Blanket CAL – Week 3 Assignment
Using a tapestry needle and any color of your leftover yarn, sew each of the panels together. I’ve included a photo tutorial below, but if you need more of a visual I’ve also included a video tutorial that you can find at the bottom of the post.
You can seam your panels together with a tapestry needle or with your crochet hook. Below I will show you how to join with a tapestry needle because this is the method I found to be the most seamless and effective.
There are definitely pros and cons to each method so in the end, it’s up to you what you decide to do. I’ll list my personal opinion on the pros and cons of each. (Then you can let me know in the comments which method of seaming you like better, because I’m very interested in knowing!)
Want to snag the entire pattern ahead of time? Use the code “GINGHAM” on Etsy or Ravelry to get 25% off until 10/31.
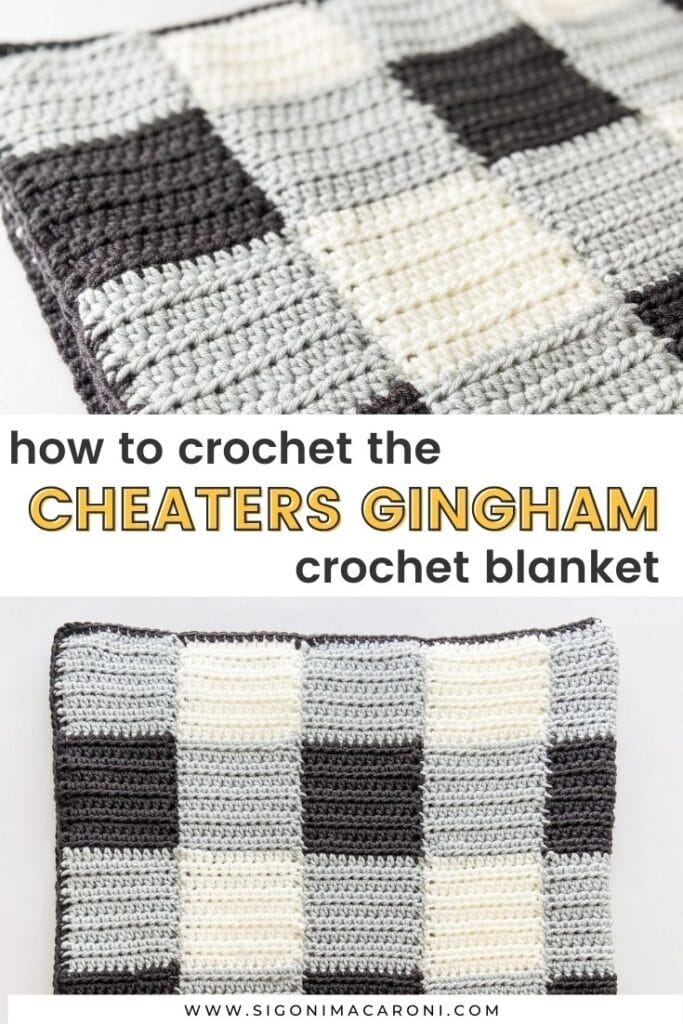
Tapestry Needle vs. Crochet Hook – Pros & Cons
| Tapestry Needle: PROS | No bulkiness at the seam on the back of your work | You can slightly see the seam, but it’s not too noticeable |
| Tapestry Needle: CONS | It might take longer | Sewing can be daunting to some people |
| Crochet Hook: PROS | Completely seamless on one side | Easier, maybe faster |
| Crochet Hook: CONS | Quite a bit of bulk on the back side of the blanket |
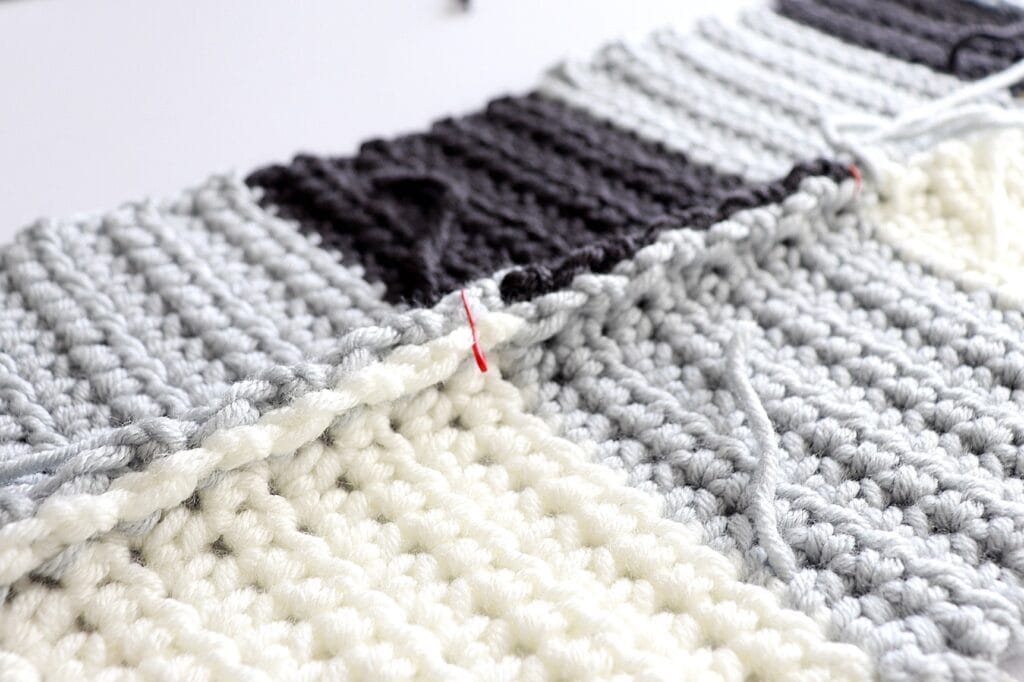
Cheaters Gingham Blanket CAL – Week 3 Pattern
Some of the links below are affiliate links. Please see my disclaimer for details.
- Get the ad-free, full printable PDF pattern (on Etsy) HERE.
- Add to your Ravelry Queue HERE.
- PIN this pattern to your Pinterest boards for later HERE.
SIGN UP FOR MY NEWSLETTER TO RECEIVE DISCOUNTS ON THE PDF DOWNLOAD FOR EACH NEW PATTERN.. & A WHOLE LOT MORE 😉
Materials Needed:
- Large eyed tapestry needle
- Locking stitch markers to hold panels in place – I like to use bulb safety pins because they offer more flexibility. You can also use regular safety pins or bobby pins if you have them on hand. Just be careful not to snag the yarn in your blanket.
Helpful Tutorials
Cheaters Gingham Blanket CAL – Week 3 Video Tutorial
Notes:
- I personally used the last of my gray yarn to seam my panels since there is a gray square in each row. You can use whichever color you’d like.
- When you’re lining up your panels, make sure that the stitches on each panel are facing the same direction. Your starting tail from your foundation chain should be at the bottom on the left side (if you’re a right handed crocheter – on the right side if you’re left handed) and your ending tail should be on the same side as your starting.
- Use locking stitch markers to line up your panels and hold them in place. I marked the last row of every square – I like to use bulb safety pins because they’re more flexible
- If you prefer to seam your panels together a different way you can do that too! Whatever is easiest for you.
Joining Your Panels With A Tapestry Needle
To join your blanket panels with a tapestry needle, you’re going to need one with a large eye. The large eye will help us thread our bulky yarn easier.
In this tutorial we will be using the whip stitch method to seam together our crocheted panels. There are many different ways to seam crocheted fabric with a tapestry needle so if this method doesn’t work for you, you can always try something different.
Step 1:
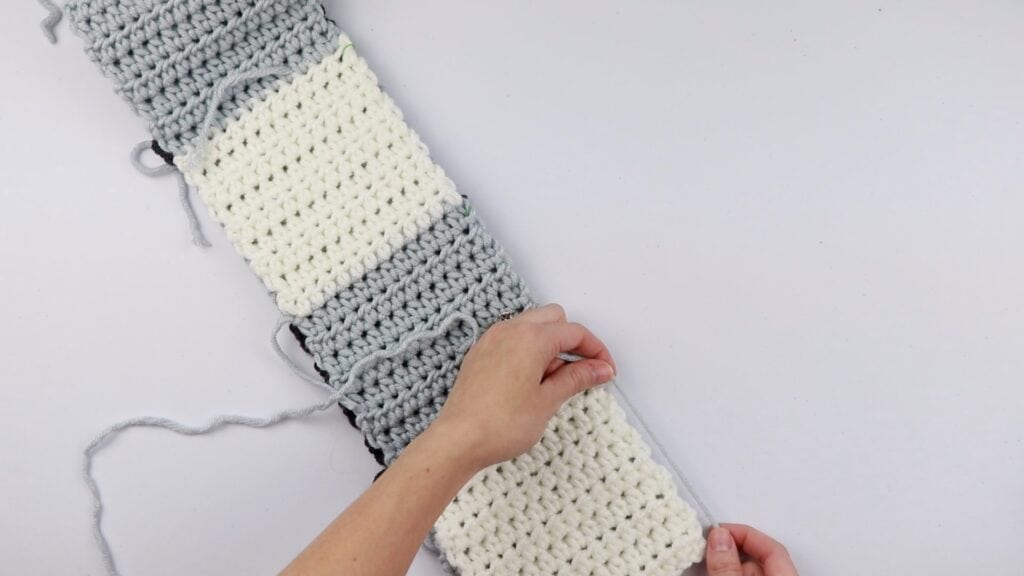
Start with two panels at a time. It would be easiest to line up each panel on a table or a bed in front of you. Use locking stitch markers to match up each square (I marked the last row of every square) and hold the panels in place.
**See the Notes section above for additional tips on making sure your panels are positioned correctly.
Make sure that your panels are facing right side up and then fold them on top of each other. Both of the right sides should be facing each other.
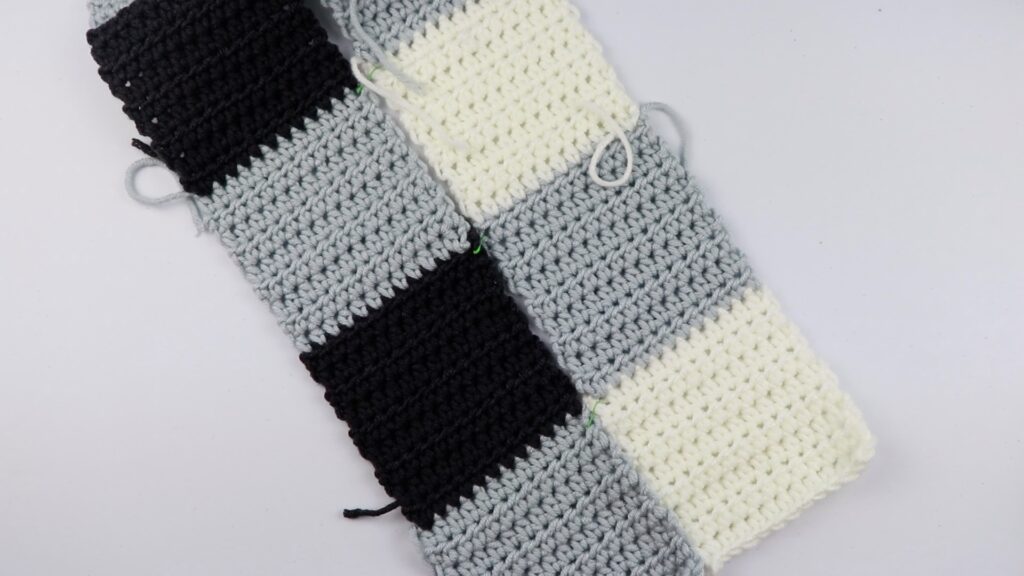
Step 2:
To sew the entire panel, you’ll need a strand of yarn that’s almost three times the length of the panels. You can do this with the yarn still attached to the ball, or you can measure it out and cut accordingly.
**Note: If you run out of yarn as you’re sewing, don’t worry. Leave a tail long enough so that you can weave it in and just sew the rest with another strand.
Step 3:
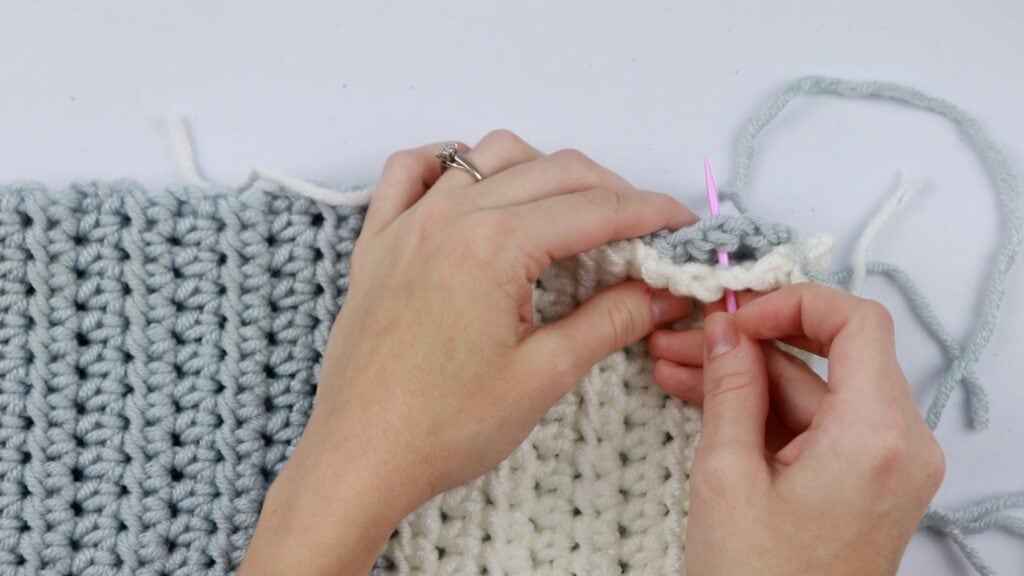
Thread your tapestry needle. Starting from the bottom, whip stitch your way to the top, taking out the stitch markers as you reach them. I show you exactly what to do in this video tutorial.
When you’re finished, cut off your yarn a few inches and weave in your ends. Make sure they’re nice and secure! I like to weave my ends in three different directions.
Step 4:
Grab the next panel and repeat steps 1-3!
Cheaters Gingham Blanket CAL – Week 3 Wrap Up
Thanks so much for joining me for Week 3 of the Gingham Blanket Crochet Along! I can’t wait to see all of your progress photos.
Now go start working on Part 4 of of the Cheaters Gingham Blanket!
Next week we will crochet a border around our blanket and then we’ll be completely finished! We’re almost there!
Don’t forget to share them in the folder within the Facebook group and on Ravelry or Instagram. Use the hashtag #ginghamcrochetalong so we can see everyone’s beautiful works of art!
I like to see mine together. I’m on a bit of hold here with my blanket, the store has to get some more gray yarn for me. I can’t wait to see it done. Thank you so much for the pattern.
You’re welcome Lois! I’m so glad you’re enjoying the pattern and I hope you love the way it looks when you’re finished.
It’s going to be a wedding gift for my son and new daughter-in-law.I’m planning on making one for myself next. When I finish it I will send you a picture