Grumly the Crochet Monster Pillow
Are you getting tired of these crochet monster pillows yet? I hope not! Because I have one more to show you! Personally, there’s no possible way you can ever get tired of these crazy adorable monsters! Especially you’re children! As I stated in Marty’s post I wanted to make sure these monsters were more goofy rather than spooky. With Grumly the Crochet Monster Pillow, I think I hit the jackpot.
The reason why I love Grumly is because he is goofy as hell and he is super huggable. Wrap your arms around and squeeze squeeze squeeze!
If you’re interested in the other two super awesome, super squishy crochet monster pillows, you can find them here:
This post may contain affiliate links, please view my disclosure policy for details.
Materials:
- 8mm Crochet Hook
- 1 ball Bernat Blanket Brights – Pow Purple
- Small amount in Black & White
- Scissors
- Large Eyed Tapestry Needle
- Large amount of Polyfil Stuffing
Abbreviations Used:
- Sc (single crochet)
- Hdc (half double crochet)
- Hdc2tog – (half double crochet 2 together) – yarn over, insert your hook into the indicated st, yarn over, pull up a loop. Yarn over, insert your hook into the NEXT st. Yarn over, pull up a loop. Yarn over, pull through all 5 loops on your hook.
- Dc (double crochet)
- Sl st (slip stitch)
- Ch (chain)
Notes:
- This monster is created making TWO separate panels and sewing them together in the end
- Ch 1 or 2 at beginning of round/row does NOT count as st
Grumly the Crochet Monster Pillow Pattern
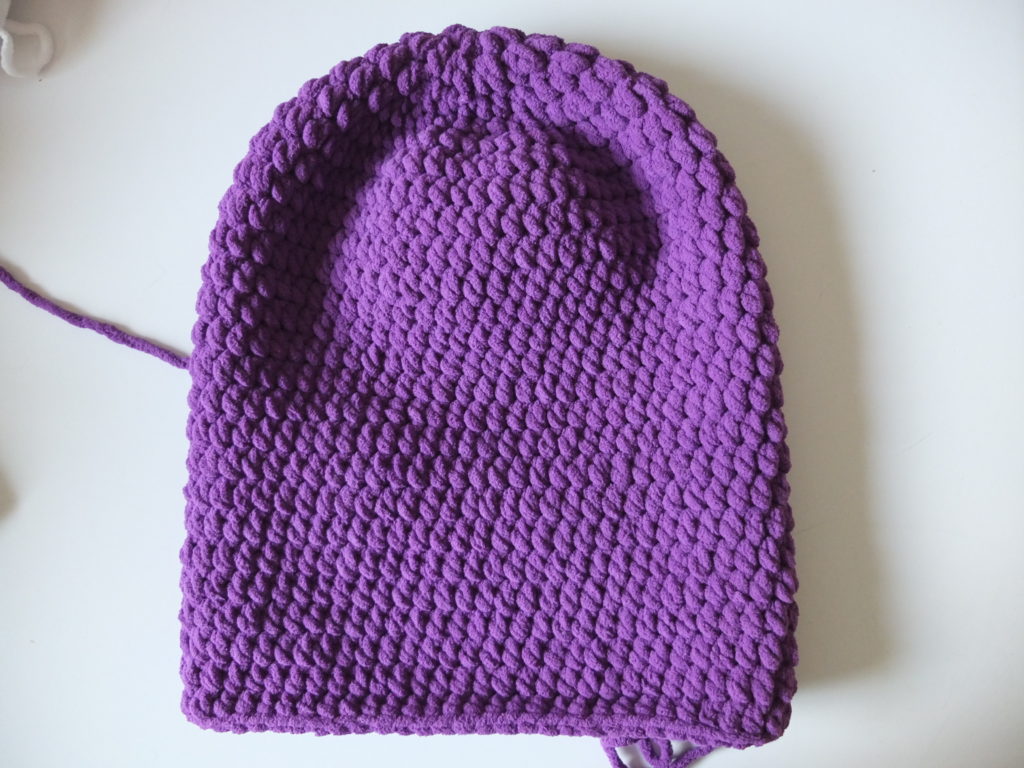
Monster Body:
Create mag cir, ch 1
Round 1: 10 hdc in mag cir (10)
Round 2: Ch 1, 2 hdc in first st and each st around. Sl st to join. (20)
Round 3: Ch 1, 2 hdc in first st. 1 hdc in next. [2 hdc in next st, 1 hdc in next]. Rep [ ] around. Sl st to join. (30)
Round 4: Ch 1, 2 hdc in first st. 1 hdc in next two. [2 hdc in next st, 1 hdc in next two]. Rep [ ] around. Sl st to join. (40)
Round 5: Ch 1, 2 hdc in first st. 1 hdc in next three. [2 hdc in next st, 1 hdc in next three]. Rep [ ] around. Sl st to join. (50)
Round 6: Ch 1, 2 hdc in first st. 1 hdc in next four. [2 hdc in next st, 1 hdc in next four]. Rep [ ] around. Sl st to join. (60)
Round 7: Ch 1, 1 hdc in each st around. Sl st to join. (60)
Rounds 8-25: Repeat Row 7
Tie off
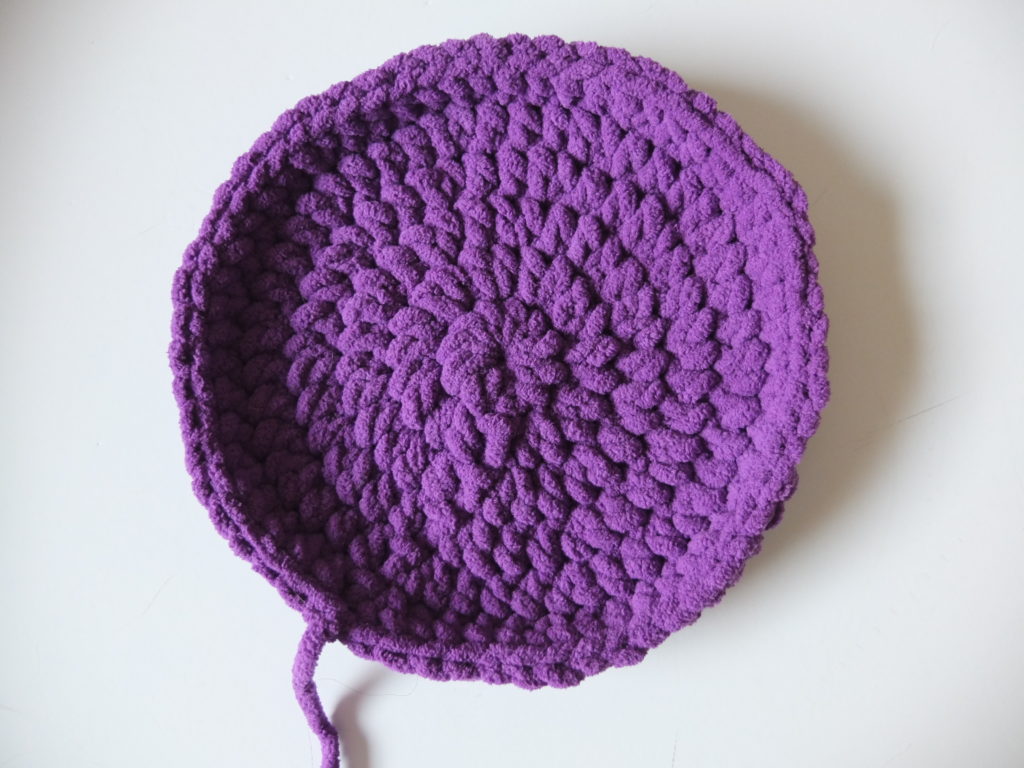
Base Panel:
Create mag cir, ch 1
Round 1: 10 hdc in mag cir (10)
Round 2: Ch 1, 2 hdc in first st and each st around. Sl st to join. (20)
Round 3: Ch 1, 2 hdc in first st. 1 hdc in next. [2 hdc in next st, 1 hdc in next]. Rep [ ] around. Sl st to join. (30)
Round 4: Ch 1, 2 hdc in first st. 1 hdc in next two. [2 hdc in next st, 1 hdc in next two]. Rep [ ] around. Sl st to join. (40)
Round 5: Ch 1, 2 hdc in first st. 1 hdc in next three. [2 hdc in next st, 1 hdc in next three]. Rep [ ] around. Sl st to join. (50)
Round 6: Ch 1, 2 hdc in first st. 1 hdc in next four. [2 hdc in next st, 1 hdc in next four]. Rep [ ] around. Sl st to join. (60)
Tie off, leaving long tail (about two times the circumference of the circ)
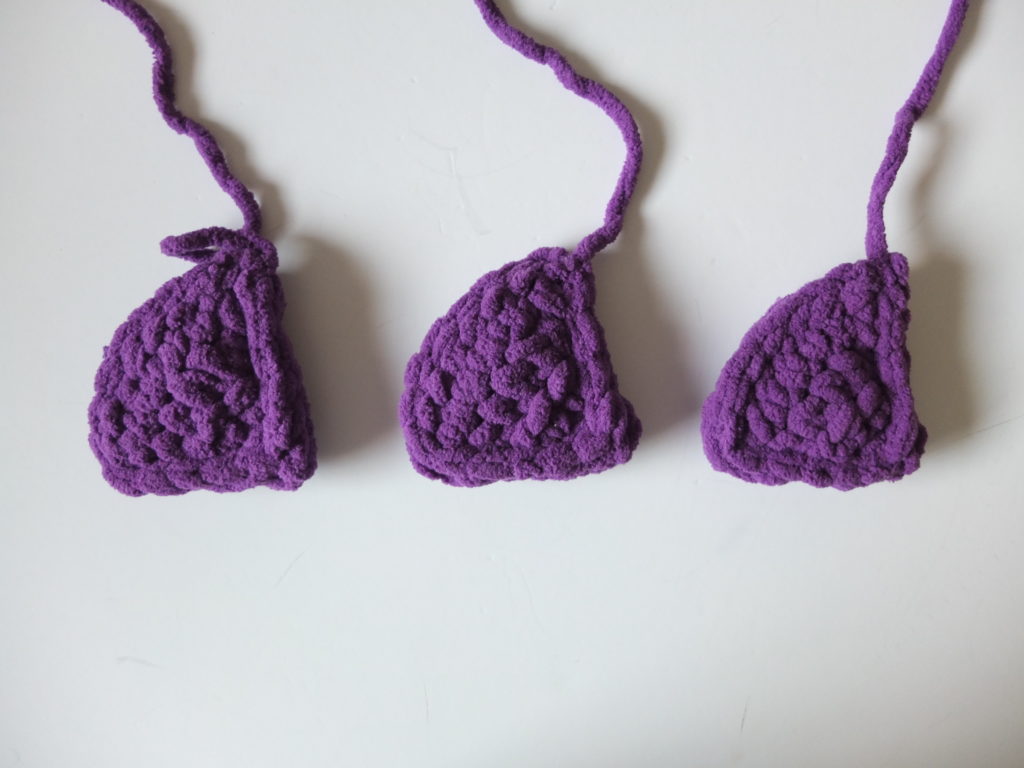
Spikes: (make 3)
Ch 7
Row 1: Hdc in 2nd ch and in each ch down. (6)
Row 2: Ch 1, hdc2tog in first 2 st, 1 hdc in each of the next 2 st, hdc2tog in last 2 st. (4) Turn work.
Row 3: Ch 1, hdc2tog in first 2 st, hdc2tog in last 2 st. (2) Turn work.
Row 4: Ch 1, hdc2tog. (1) Turn work.
Row 5: Ch 3, 2 hdc in 2nd ch from hook. (2) Turn work.
Row 6: Ch 1, 2 hdc in each of the next 2 st. (4) Turn work.
Row 7: Ch 1, 2 hdc in the first st. 1 hdc in next 2 st, 2 hdc in last st. (6) Turn work.
Row 8: Ch 1, 2 hdc in the first st. 1 hdc in next 4 st, 2 hdc in last st. (8) Turn work.
Row 9: Ch 1, fold the ends together to form the spike shape and sl st them together.
Tie off leaving long tail.
Big Eye:
With white,
Create a mag cir, ch 3
Round 1: 11 dc in mag cir. Sl st to join. (11)
Round 2: Ch 2, 2 dc in first st and each st around. Sl st to join. (22)
Round 3: Ch 1, 2 hdc in first st, 1 hdc in next. [2 hdc in next st, 1 hdc in next]. Rep [ ] around.
Tie off, leaving long tail.
Small Eyes: (make 2)
With white,
Create a magic circle, ch 3
Round 1: 11 dc in mag cir, sl st to join. (11)
Round 2: Ch 1, 2 hdc in first st and in each st around. (22)
Tie off, leaving long tail.
Big Pupil:
Create magic circle, ch 1
Round 1: 6 sc in mag cir. (6)
Round 2: Ch 1, 2 sc in each st around. (12)
Tie off, leaving long tail.
Small Pupils: (make 2)
Create magic circle, ch 1
Round 1: 6 sc in mag cir.
Tie off, leaving long tail.
Mouth:
Ch 13
Row 1: Hdc in 2nd ch and in each ch down. (12) Turn work.
Row 2: Ch 1, hdc in first st and each st down row. (12) Turn work.
Rows 3-5: Rep row 2
Tie off, leaving long tail for sewing
Teeth: (make 2)
Ch 4
Row 1: Sc in 2nd ch from hook and in next 2 ch. (3) Turn work.
Row 2: Ch 1, 1 sc in each of the next 3 st. (3) Turn work.
Row 3: Rep Row 2
Tie off, leaving long tail for sewing
Assembly:
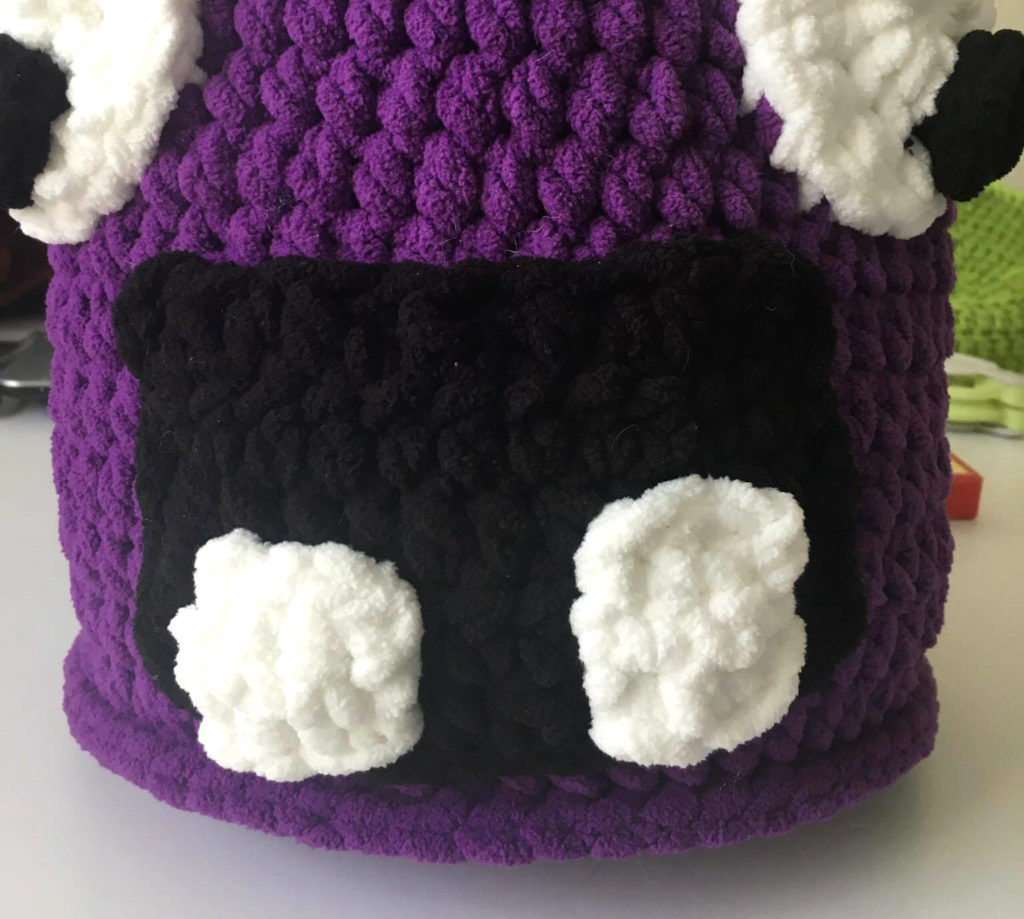
Sew the pupils onto the eyes.
Sew the big eye 5 rows down from the top and the two smaller eyes one row below the big eye on either side.
Sew the mouth directly below the big eye, but underneath the two smaller eyes
Sew the teeth on top of the mouth.
Stuff your monster profusely until he reaches the perfect huggable capacity!
Sc the body of the monster to the bottom panel
Sew the spikes starting from the very top of the head and in line behind the next.
And like I said previously,
hug, Hug, HUG!!
I truly hope you enjoy this pattern for Grumly the Crochet Monster Pillow!
And as I always say,
Comment below or email me with any questions you may have!
Don’t forget to share your work with me! I’d love to see it. I’m the most active on Instagram @sigonimacaroni <3
Again, be sure to check out the next two crochet monster pillow friends!
This pattern is an original pattern by Sigoni of Sigoni Macaroni. Please do not claim this pattern as your own. If you wish to share this pattern, you may link to this pattern but please do not reprint it on your site. You may keep a copy for your own personal use but please DO NOT sell the pattern or distribute it.
You may sell products made from this pattern but please clearly credit the design to me, Sigoni of Sigoni Macaroni, and provide a link to my blog www.SigoniMacaroni.com. Permission is NOT granted for mass production or factory manufacturing of any kind. Thank you for being respectful and for your understanding!


The body does not look anything like the picture. I followed the directions ad stated, I believe row 8-11 is not written correctly because it added stitches.
You are completely right, I am so sorry. I just corrected it. I’m not sure what happened, but if you have any more problems please let me know