Crochet Pumpkin Drawstring Backpack | FREE Halloween Crochet Pattern
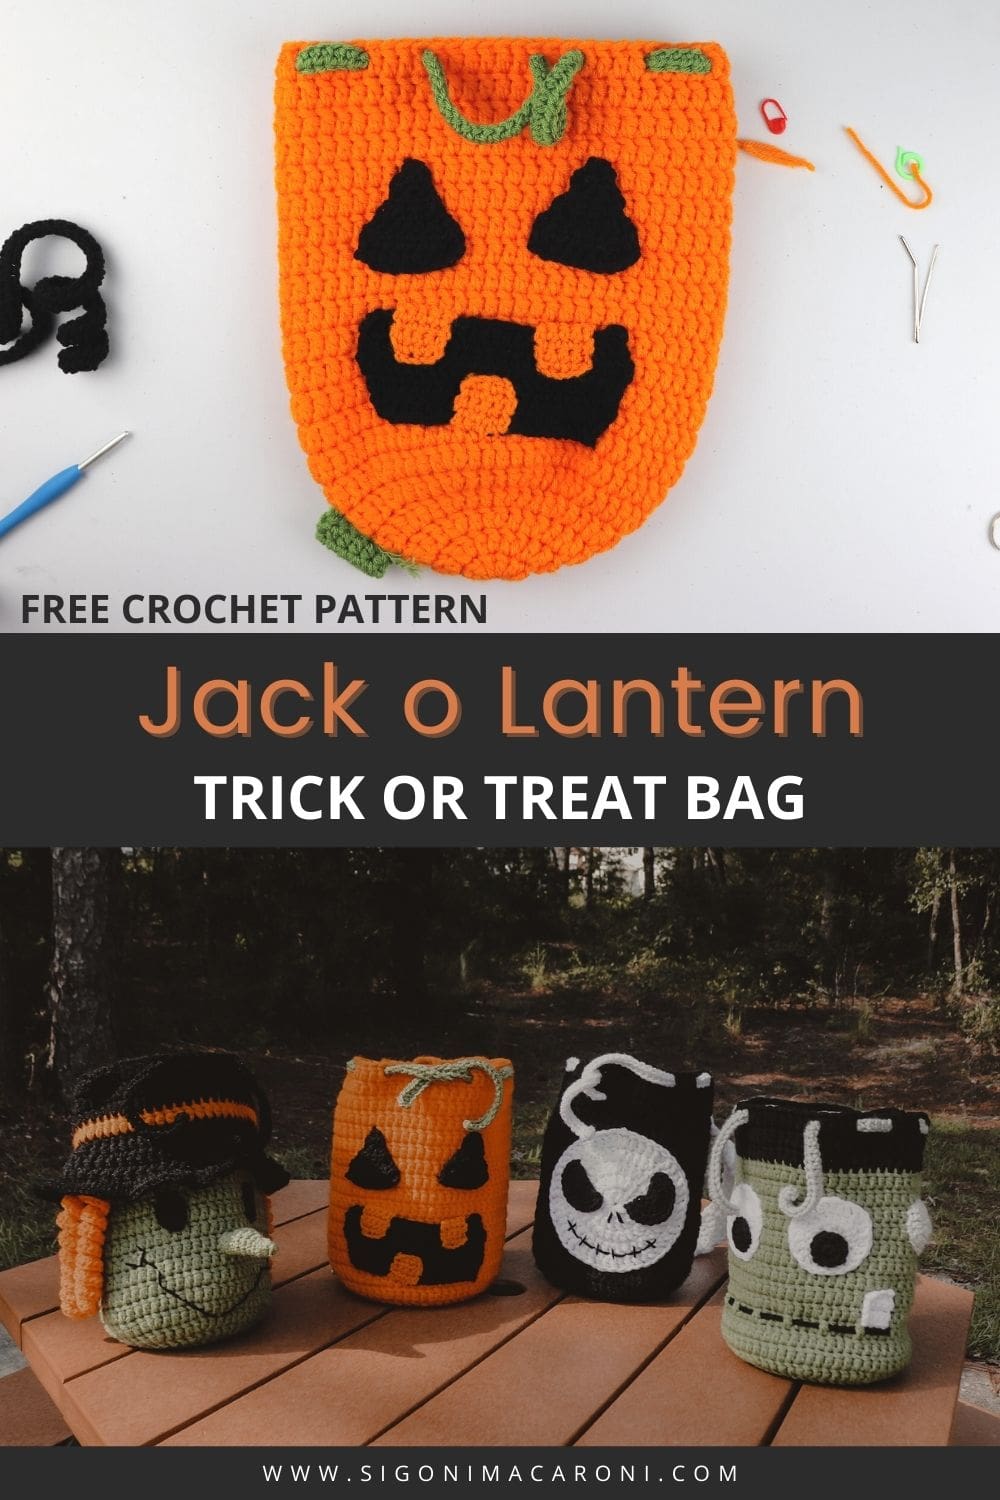
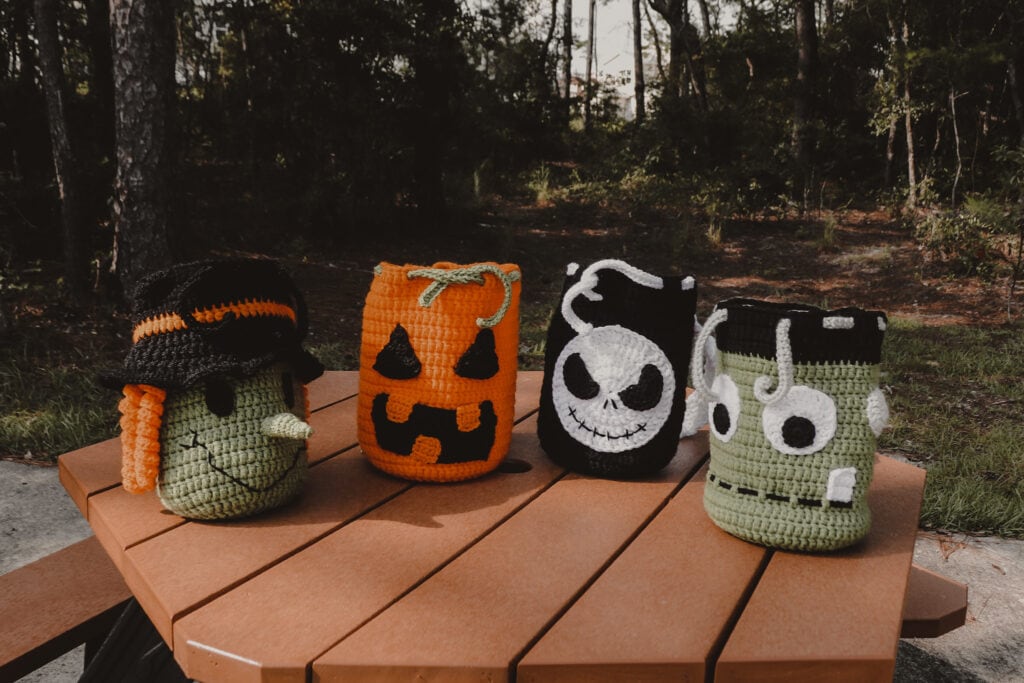
The crochet Pumpkin Drawstring Backpack is back for a refresh and he’s brought some friends along! This pumpkin bag, which is really more of a Jack-o-Lantern is a perfect addition to your kid’s Fall themed toys and can be used as a trick or treat bag or just to carry toys around!
I remember when I used to go Trick-or-Treating, we would use pillow cases to collect MOUNDS of candy and by the end of the night I would get tired of holding my pillow case in front of me so I would swing it over my shoulder and carry it like a giant bindle (minus the stick)
My point is, I thought it would be fun to make a crochet drawstring Halloween candy bag with a sort of saddle bag strap that could be used to throw over one shoulder! I absolutely LOVE the way it turned out and I can’t wait for my kids to use them this year!
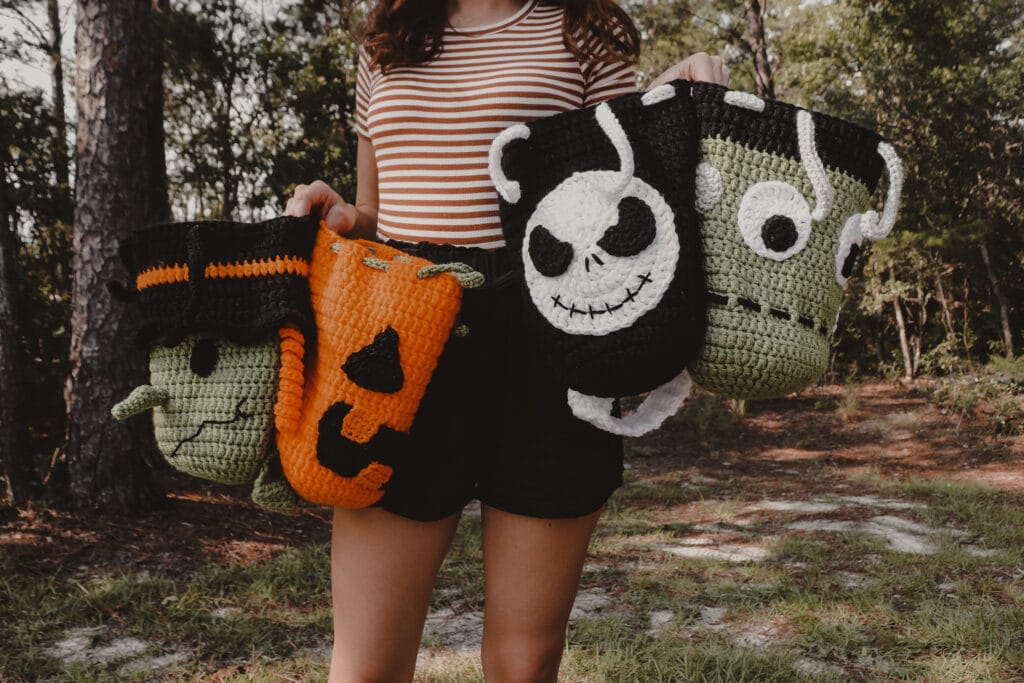
Want to know the best part? I created an entire set of these Halloween Candy Bags and you can find them all here.
This post may contain affiliate links, please view my disclosure policy for details.
Pattern:
- Get the ad-free, discounted bundle PDF pattern HERE on Etsy
- Or you can grab it over on Ravelry instead
- PIN this pattern to your Pinterest boards for later HERE.
Materials:
- 5.5 mm crochet hook
- Red Heart Super Saver in the colors:
- Tapestry Needle
- Scissors
Abbreviations used:
- Dc – double crochet
- Dc2tog (double crochet 2 together) – Yarn over, insert your hook into the indicated st, yarn over, pull up a loop. Yarn over, pull through two loops. Yarn over, insert your hook into the NEXT st. Yarn over, pull up a loop. Yarn over, pull through two loops. Yo pull through remaining three loops.
- Hdc – half double crochet
- Hdc2tog (half double crochet 2 together) – yarn over, insert your hook into the indicated st, yarn over, pull up a loop. Yarn over, insert your hook into the NEXT st. Yarn over, pull up a loop. Yarn over, pull through all 5 loops on your hook.
- Sl st – slip stitch
- Ch – chain
Notes:
- The body of the bag and the backpack strap will be made holding TWO strands of yarn. Every other piece is made using one strand.
- The ch 1 or ch 2 at the beginning of each round or row DOES NOT count as a st.
- The number in parentheses at the end of each row tells you how many stitches you should have left by the end of the row.
- For the backpack strap, these are the measurements I chose for my kids. However, your strap may need to be longer or shorter depending on your child.
- 17 1/2 inches (45cm) for my 2 year old
- 19 1/2 inches (50cm) for my 7 year old
- This pattern has a full video tutorial. If you’re having trouble with any part, watch the video here
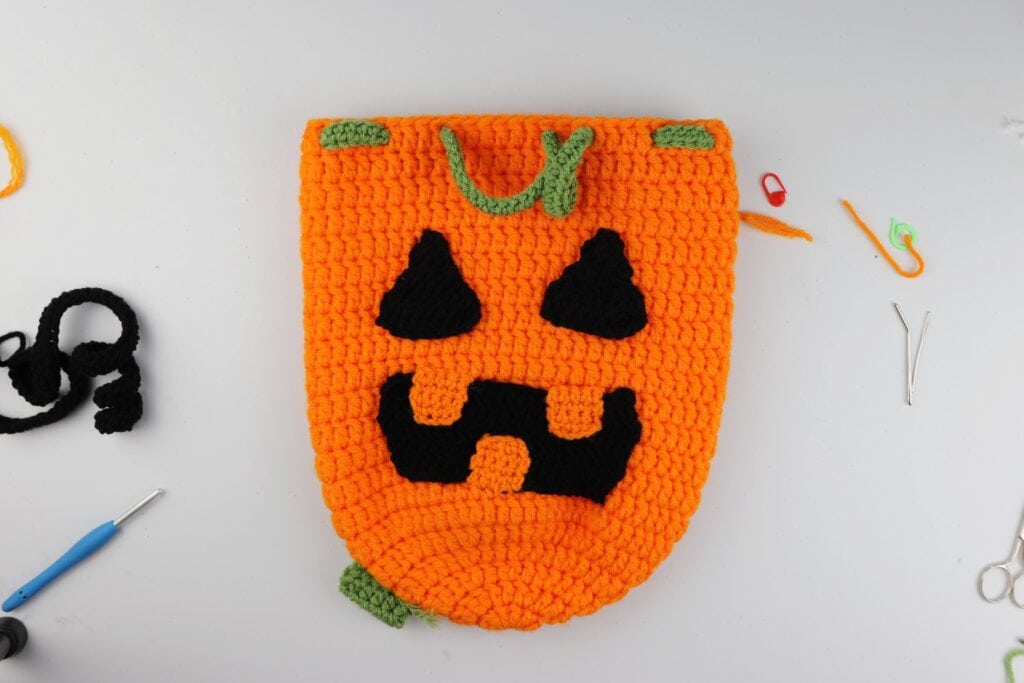
Crochet Pumpkin Drawstring Backpack – FREE Halloween Crochet Pattern
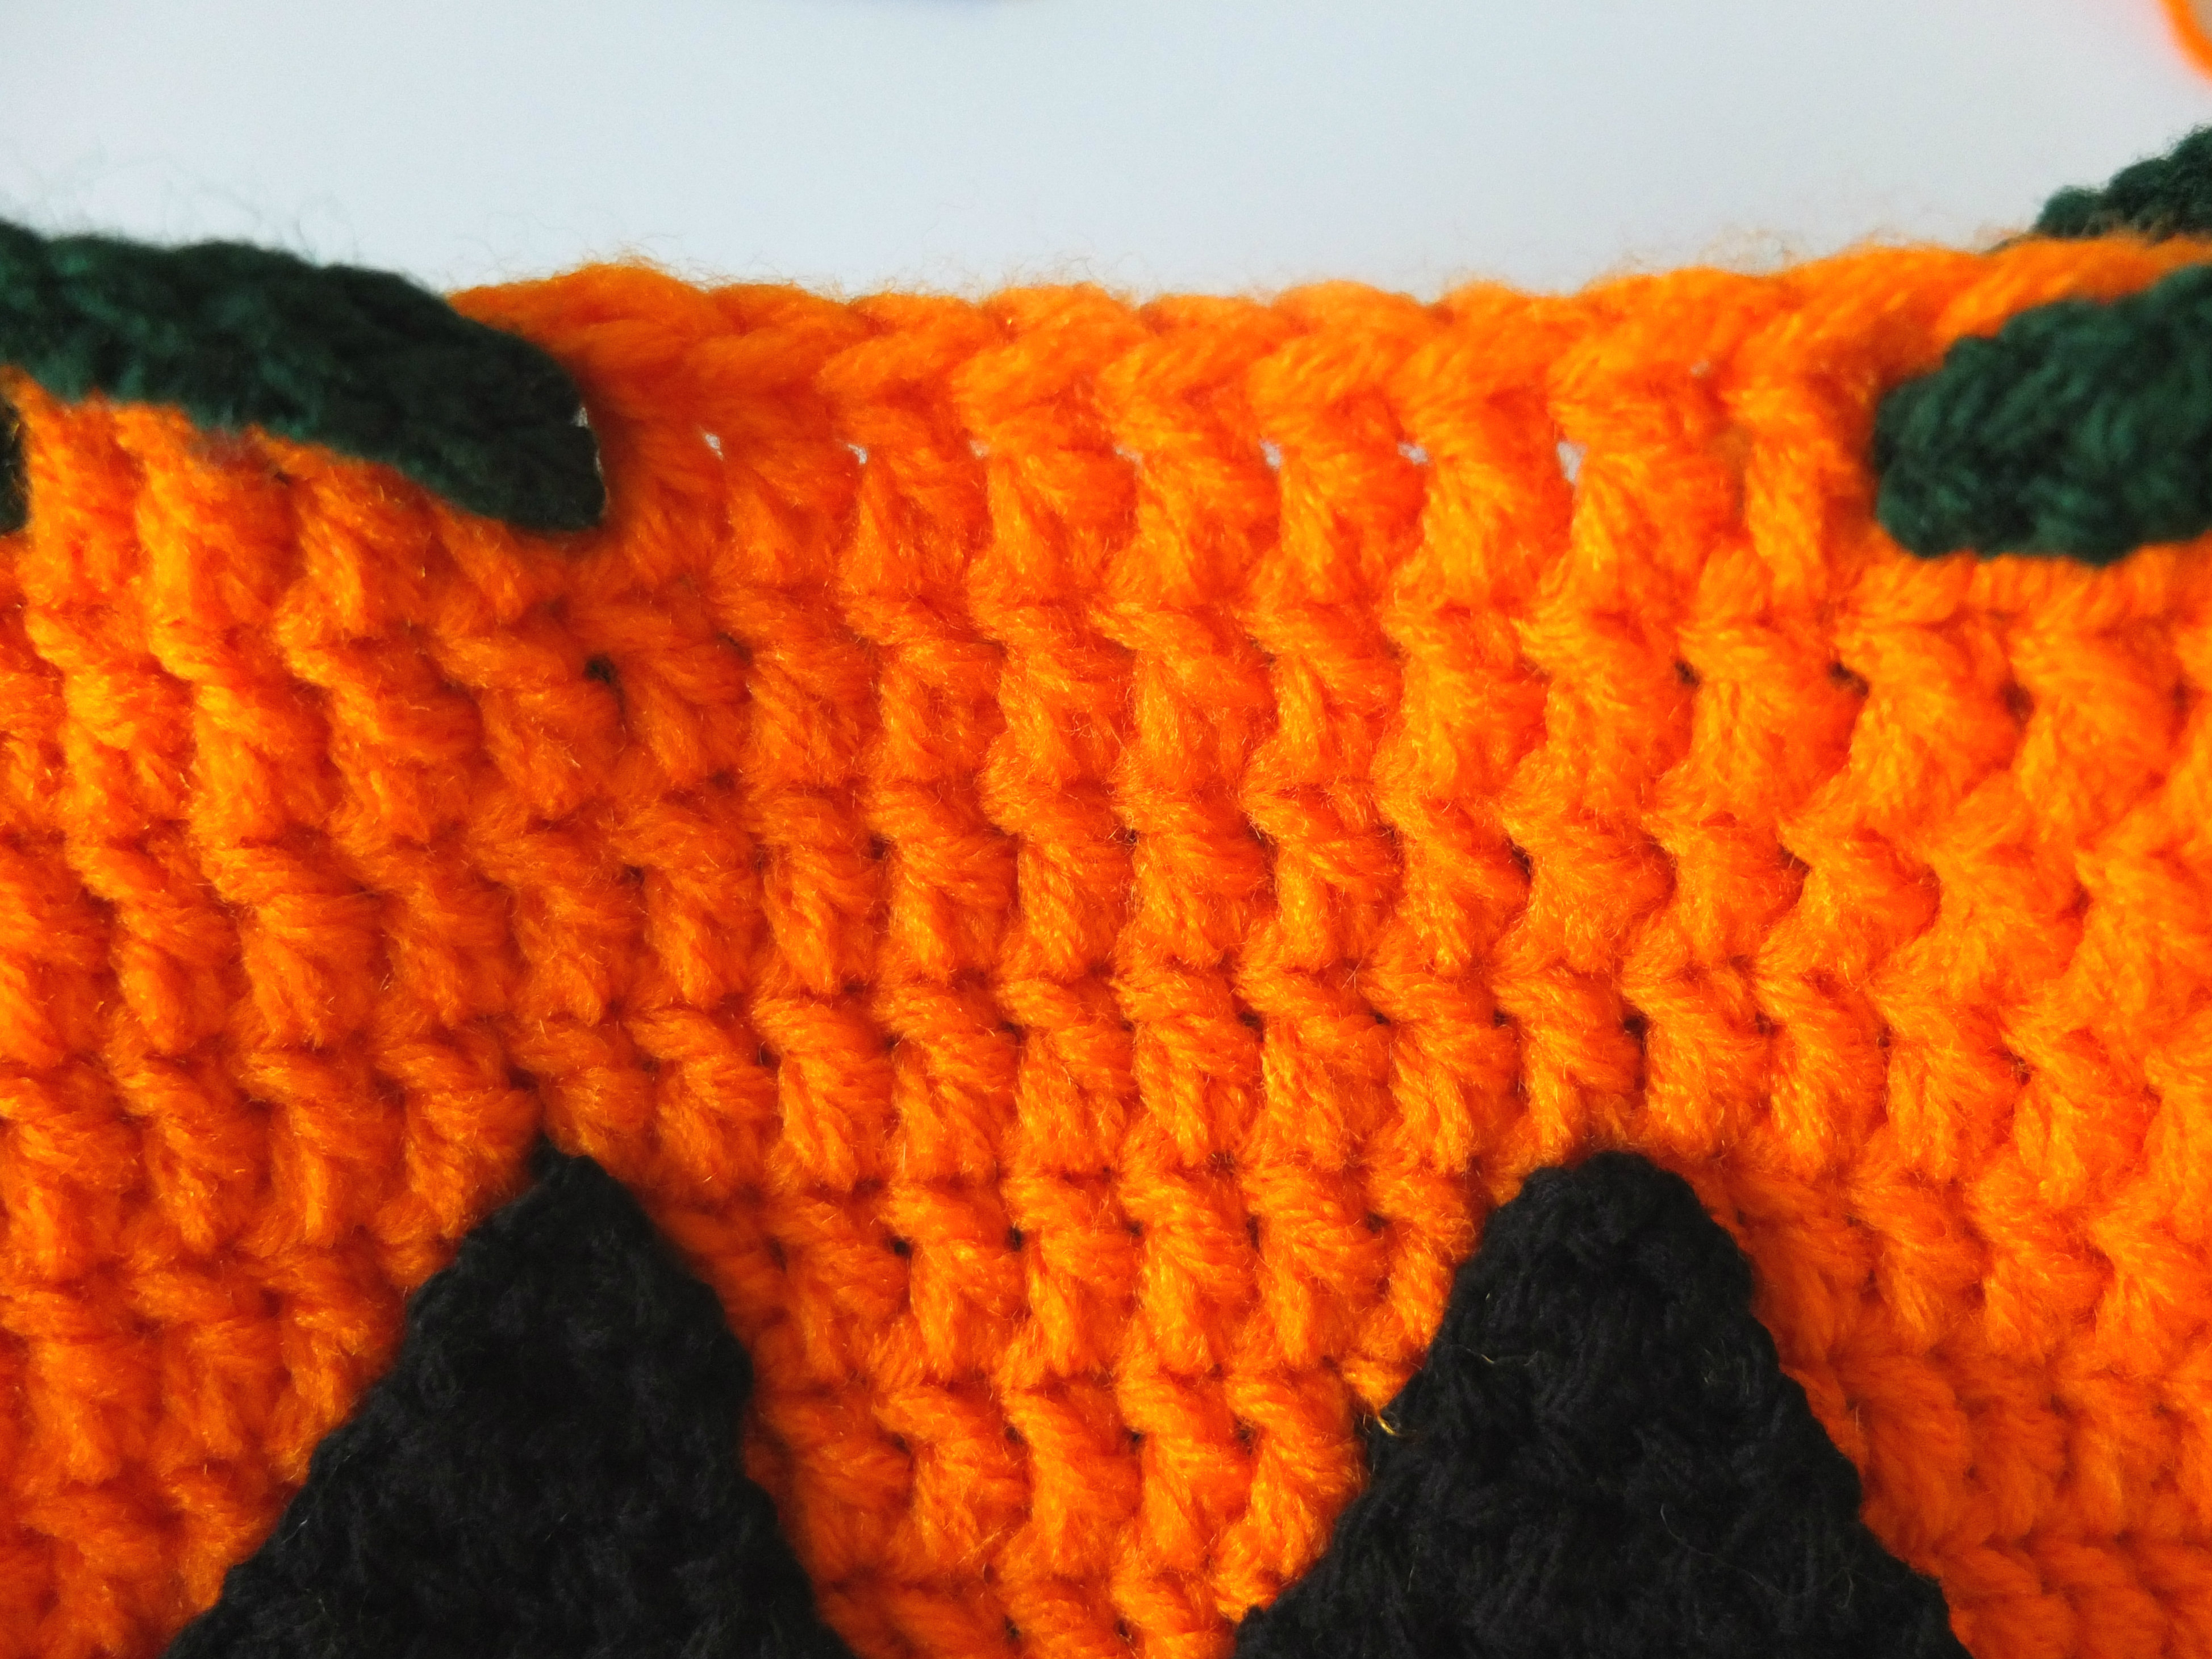
Body of Bag:
Holding two strands of yarn in the color Pumpkin, create a magic circle and ch 2.
Round 1: 10 dc in circle. Pull circle tight. Sl st to first dc. (10)
Round 2: Ch 2, 2 dc in first st and each st around. Sl st to join. (20)
Round 3: Ch 2, 2 dc in first st, 1 dc in the next. [2 dc into the next st, 1 dc into the next]. Rep [ ] to last st. Sl st to join. (30)
Round 4: Ch 2, 2 dc in the first st, 1 dc into the next two st. [2 dc into the next st, 1 dc into the next two]. Rep [ ] to last st. Sl st to join. (40)
Round 5: Ch 2, 2 dc in the first st, 1 dc into the next three st. [2 dc into the next st, 1 dc into the next three]. Rep [ ] to last st. Sl st to join. (50)
Round 6: Ch 2, 2 dc in the first st, 1 dc into the next four st. [2 dc into the next st, 1 dc into the next four]. Rep [ ] to last st. Sl st to join. (60)
Your work should measure around 8 inches in diameter.

Rounds 7-21: Ch 2, dc in first st and in each st around. Sl st to join. (60)
Tie off and weave in ends.
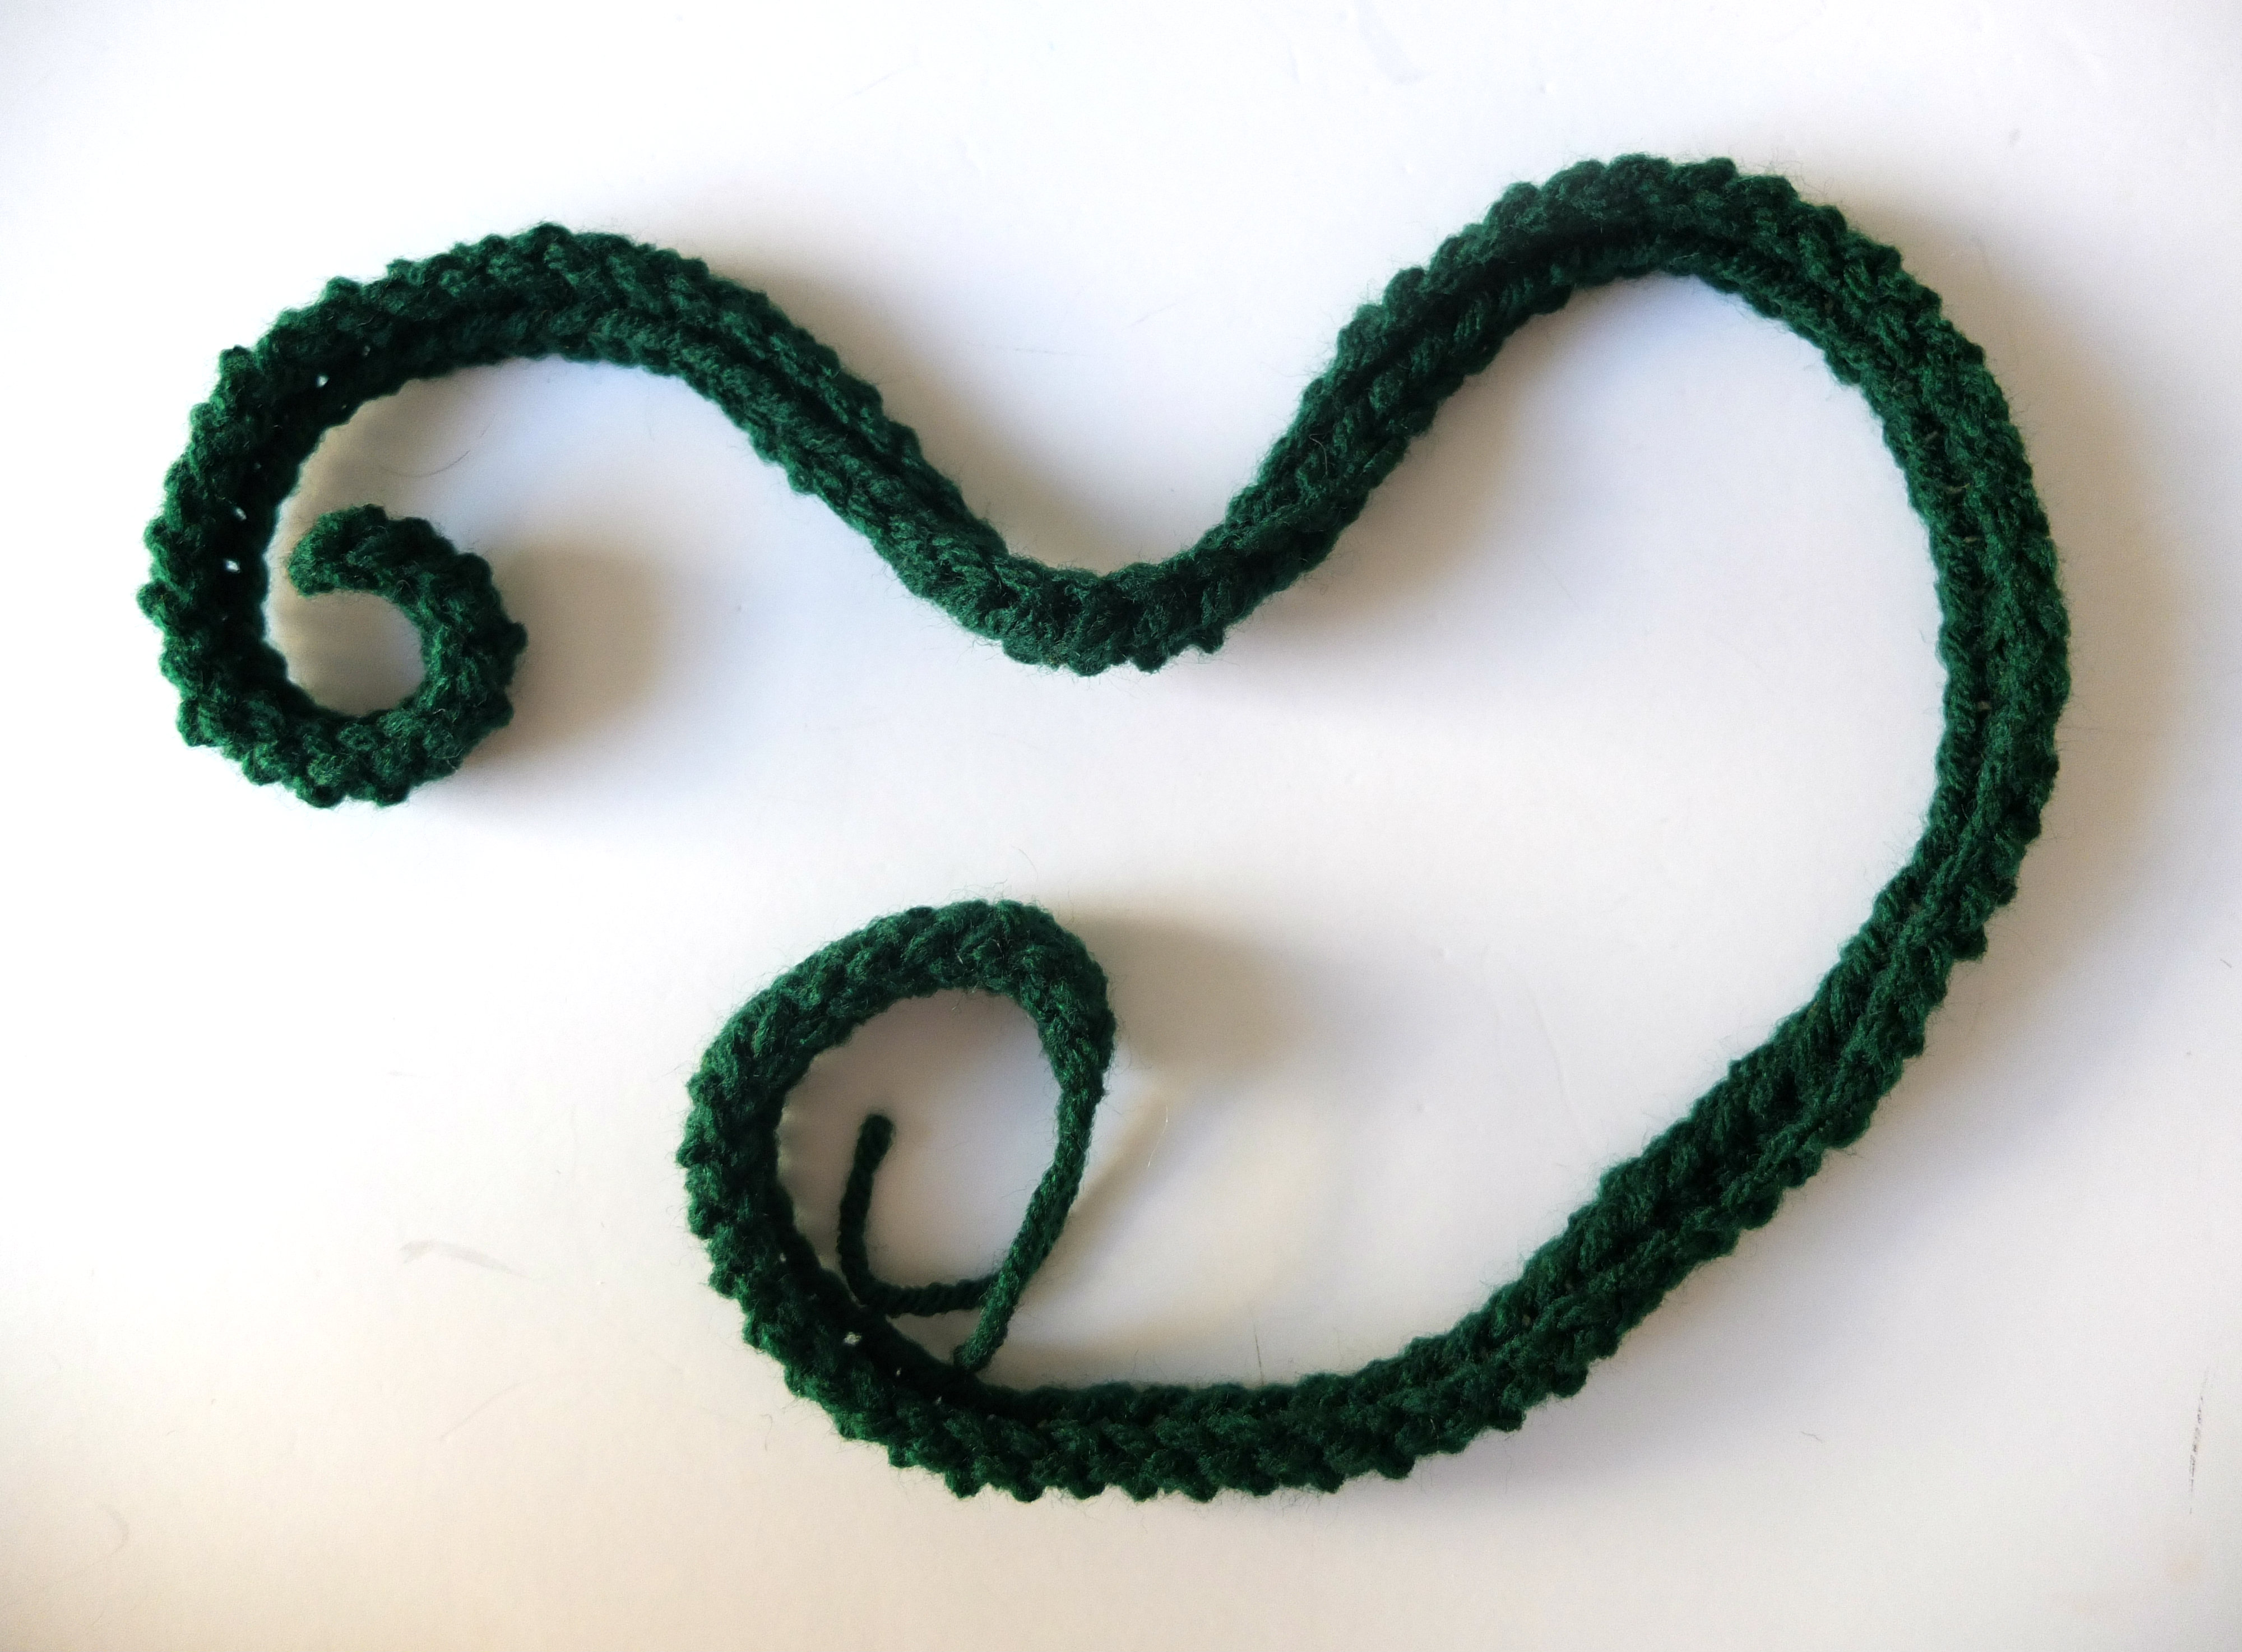
Drawstring:
With the color Tea Leaf,
Ch 100
Hdc in 2nd ch from hook and all down.
Tie off and weave in ends.
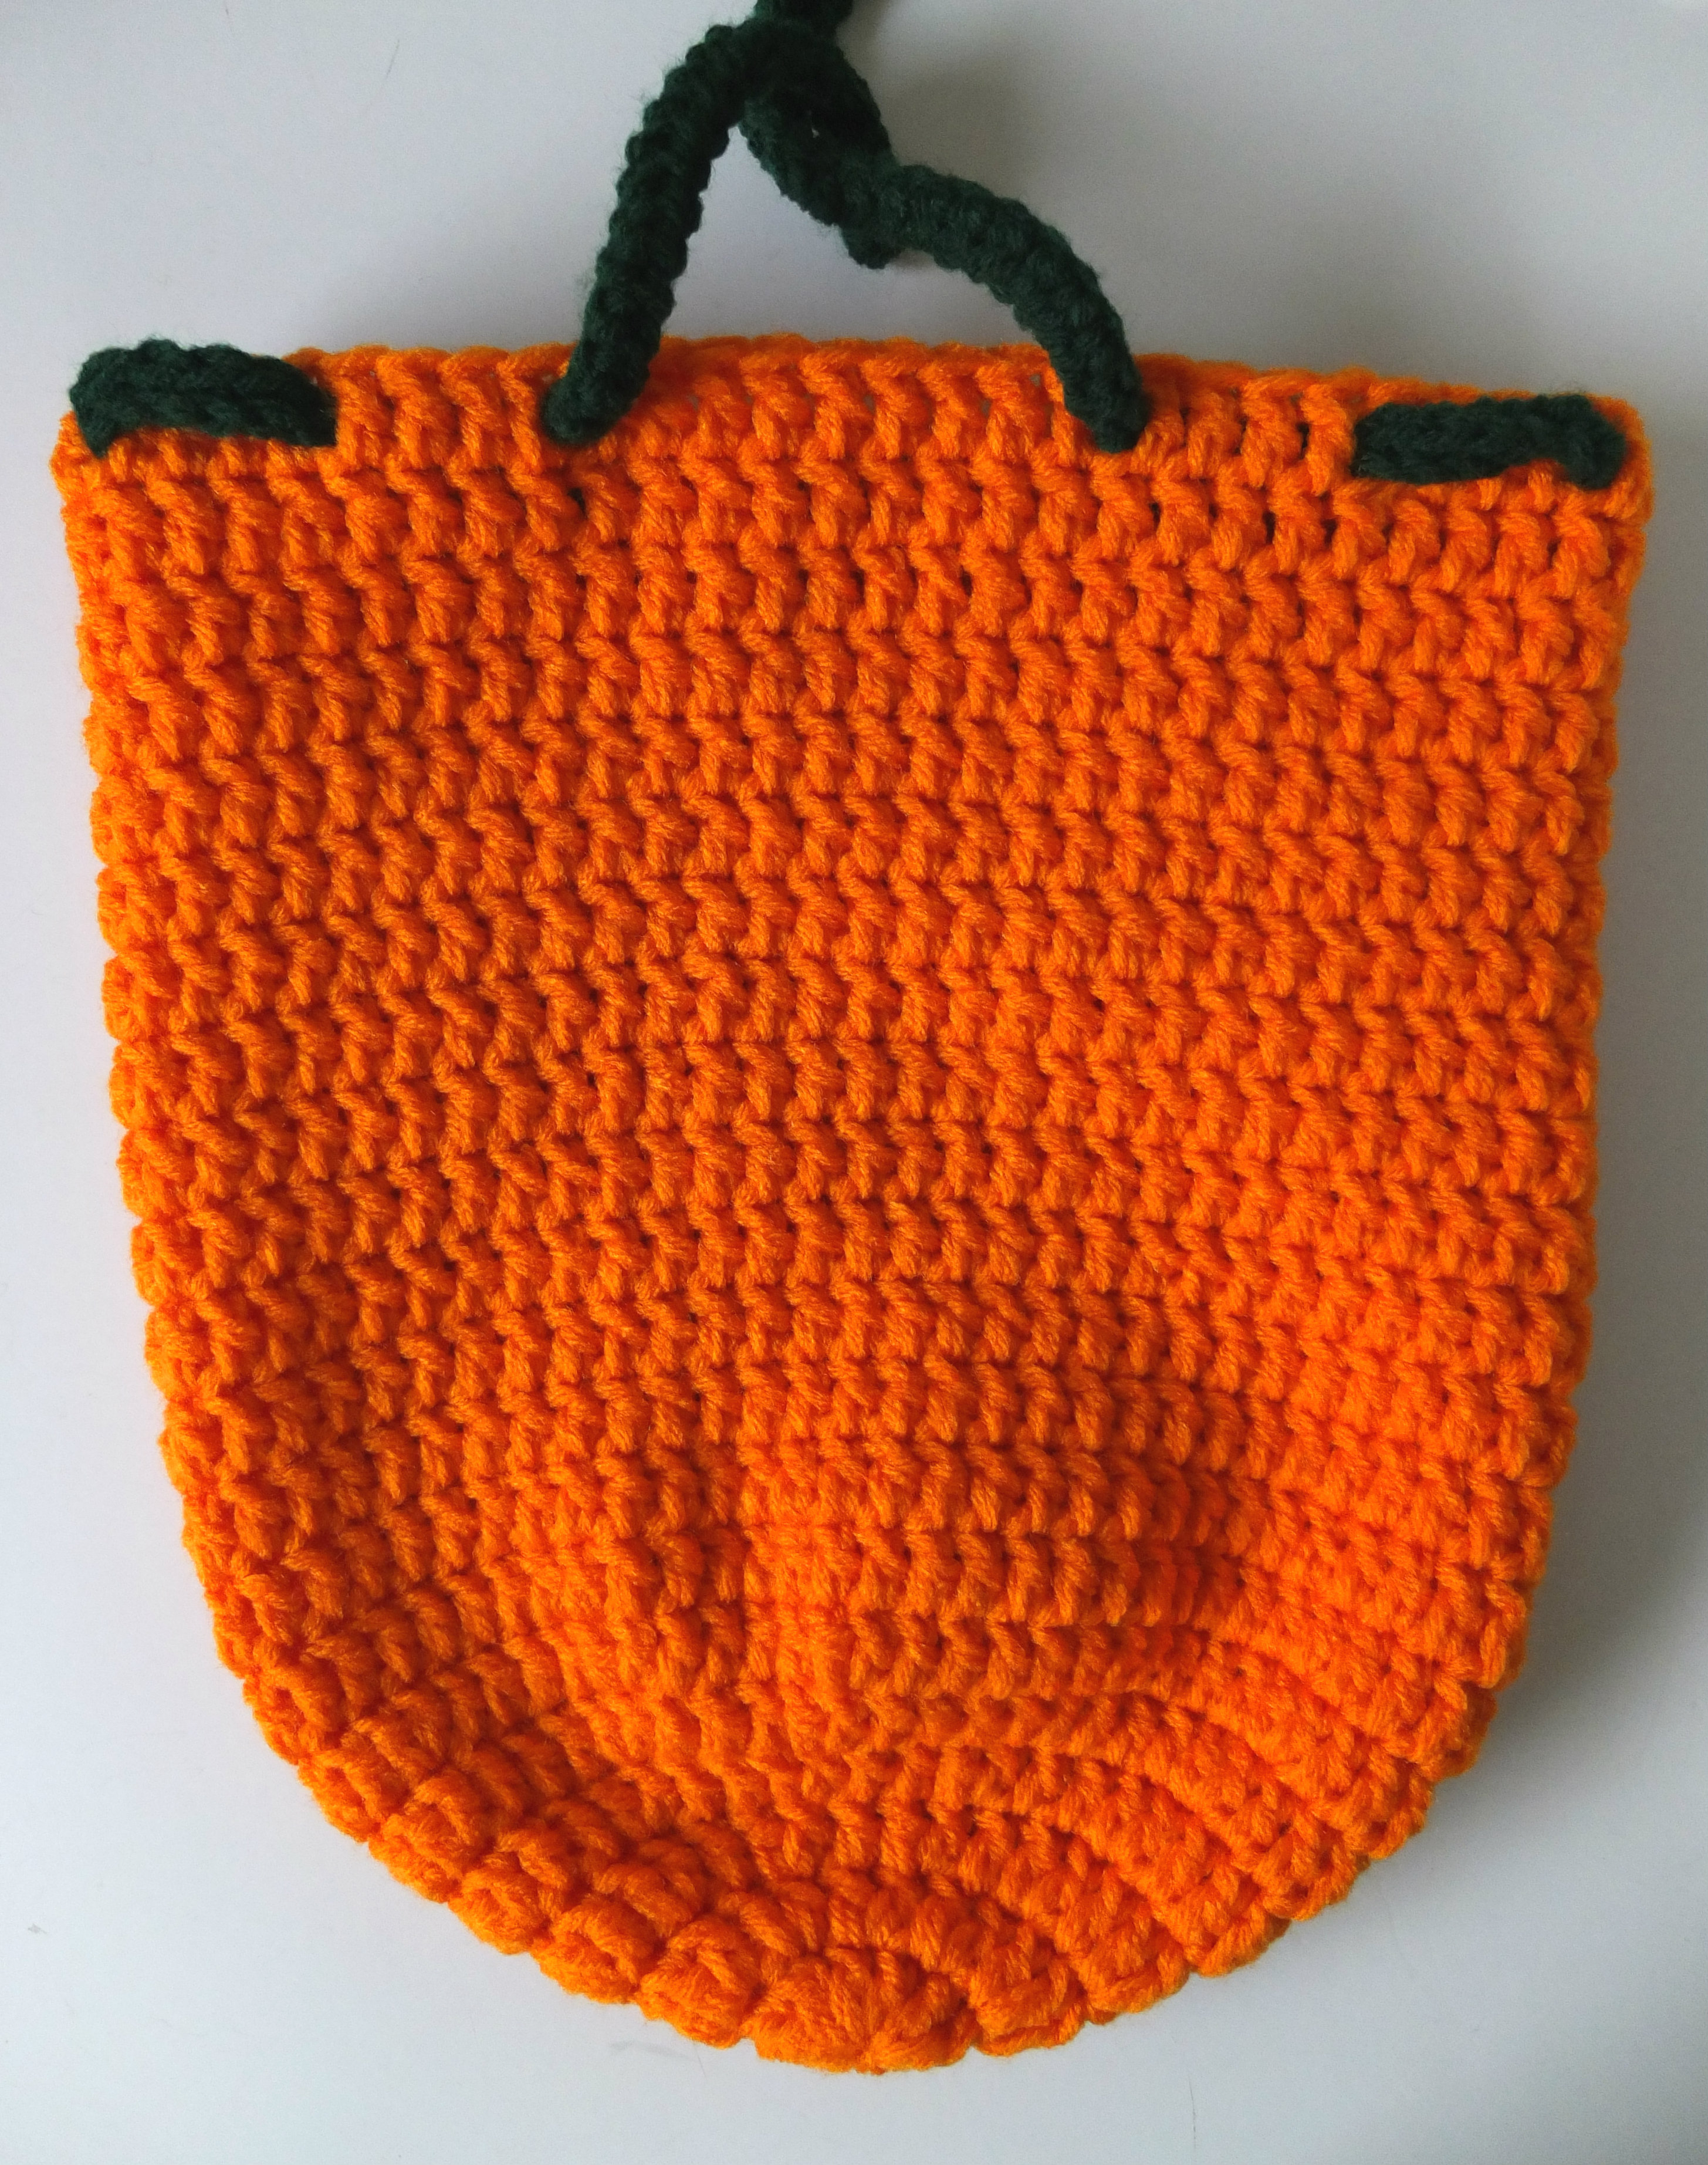
Identify the front center of your bag and if you want you can use a stitch marker to mark the center 8 dc. Insert the drawstring after the 8th dc from the outside to inside and weave through the top of the bag inserting your drawstring through every fourth dc. Once you reach back to the front of the bag, you will have both drawstrings facing outward and 9 dc between them. (If that confuses you, follow the picture! Or comment below with questions 🙂


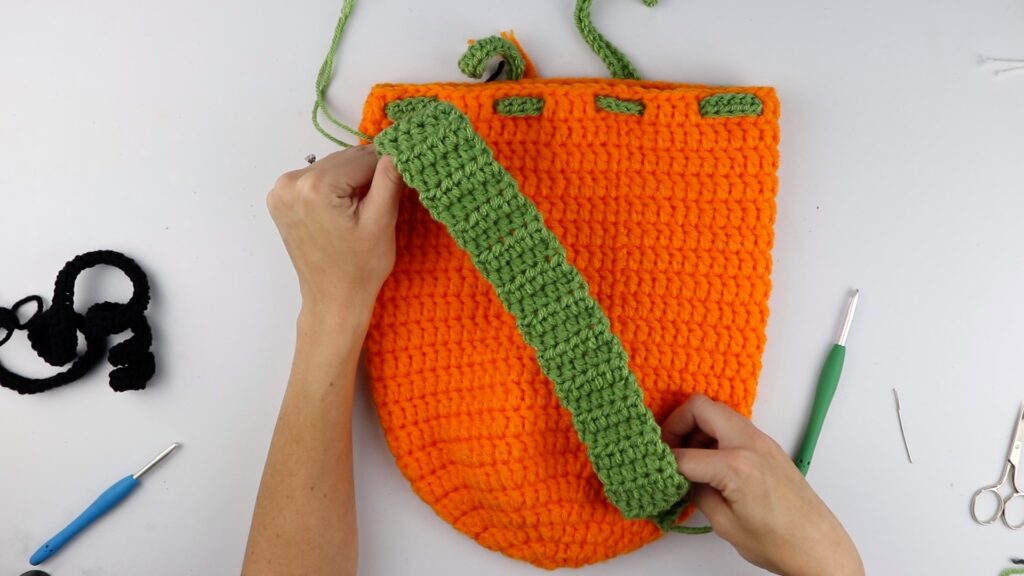
Backpack Strap
With two strands of yarn (I used Tea Leaf) and 5.5mm hook, start with long starting chain and create slip knot.
Ch 7
Row 1: Hdc in 3rd ch from hook and each ch down.
Row 2: Ch 2, turn. Hdc each st across (5)
Rep row 2 until you reach the desired length
Tie off leaving a long tail for sewing.
This strap will be sewn on later, diagonally, so measure it that way when you’re deciding on the length.
I’ve listed the length I chose for both of my kids in the “notes” section above for reference.
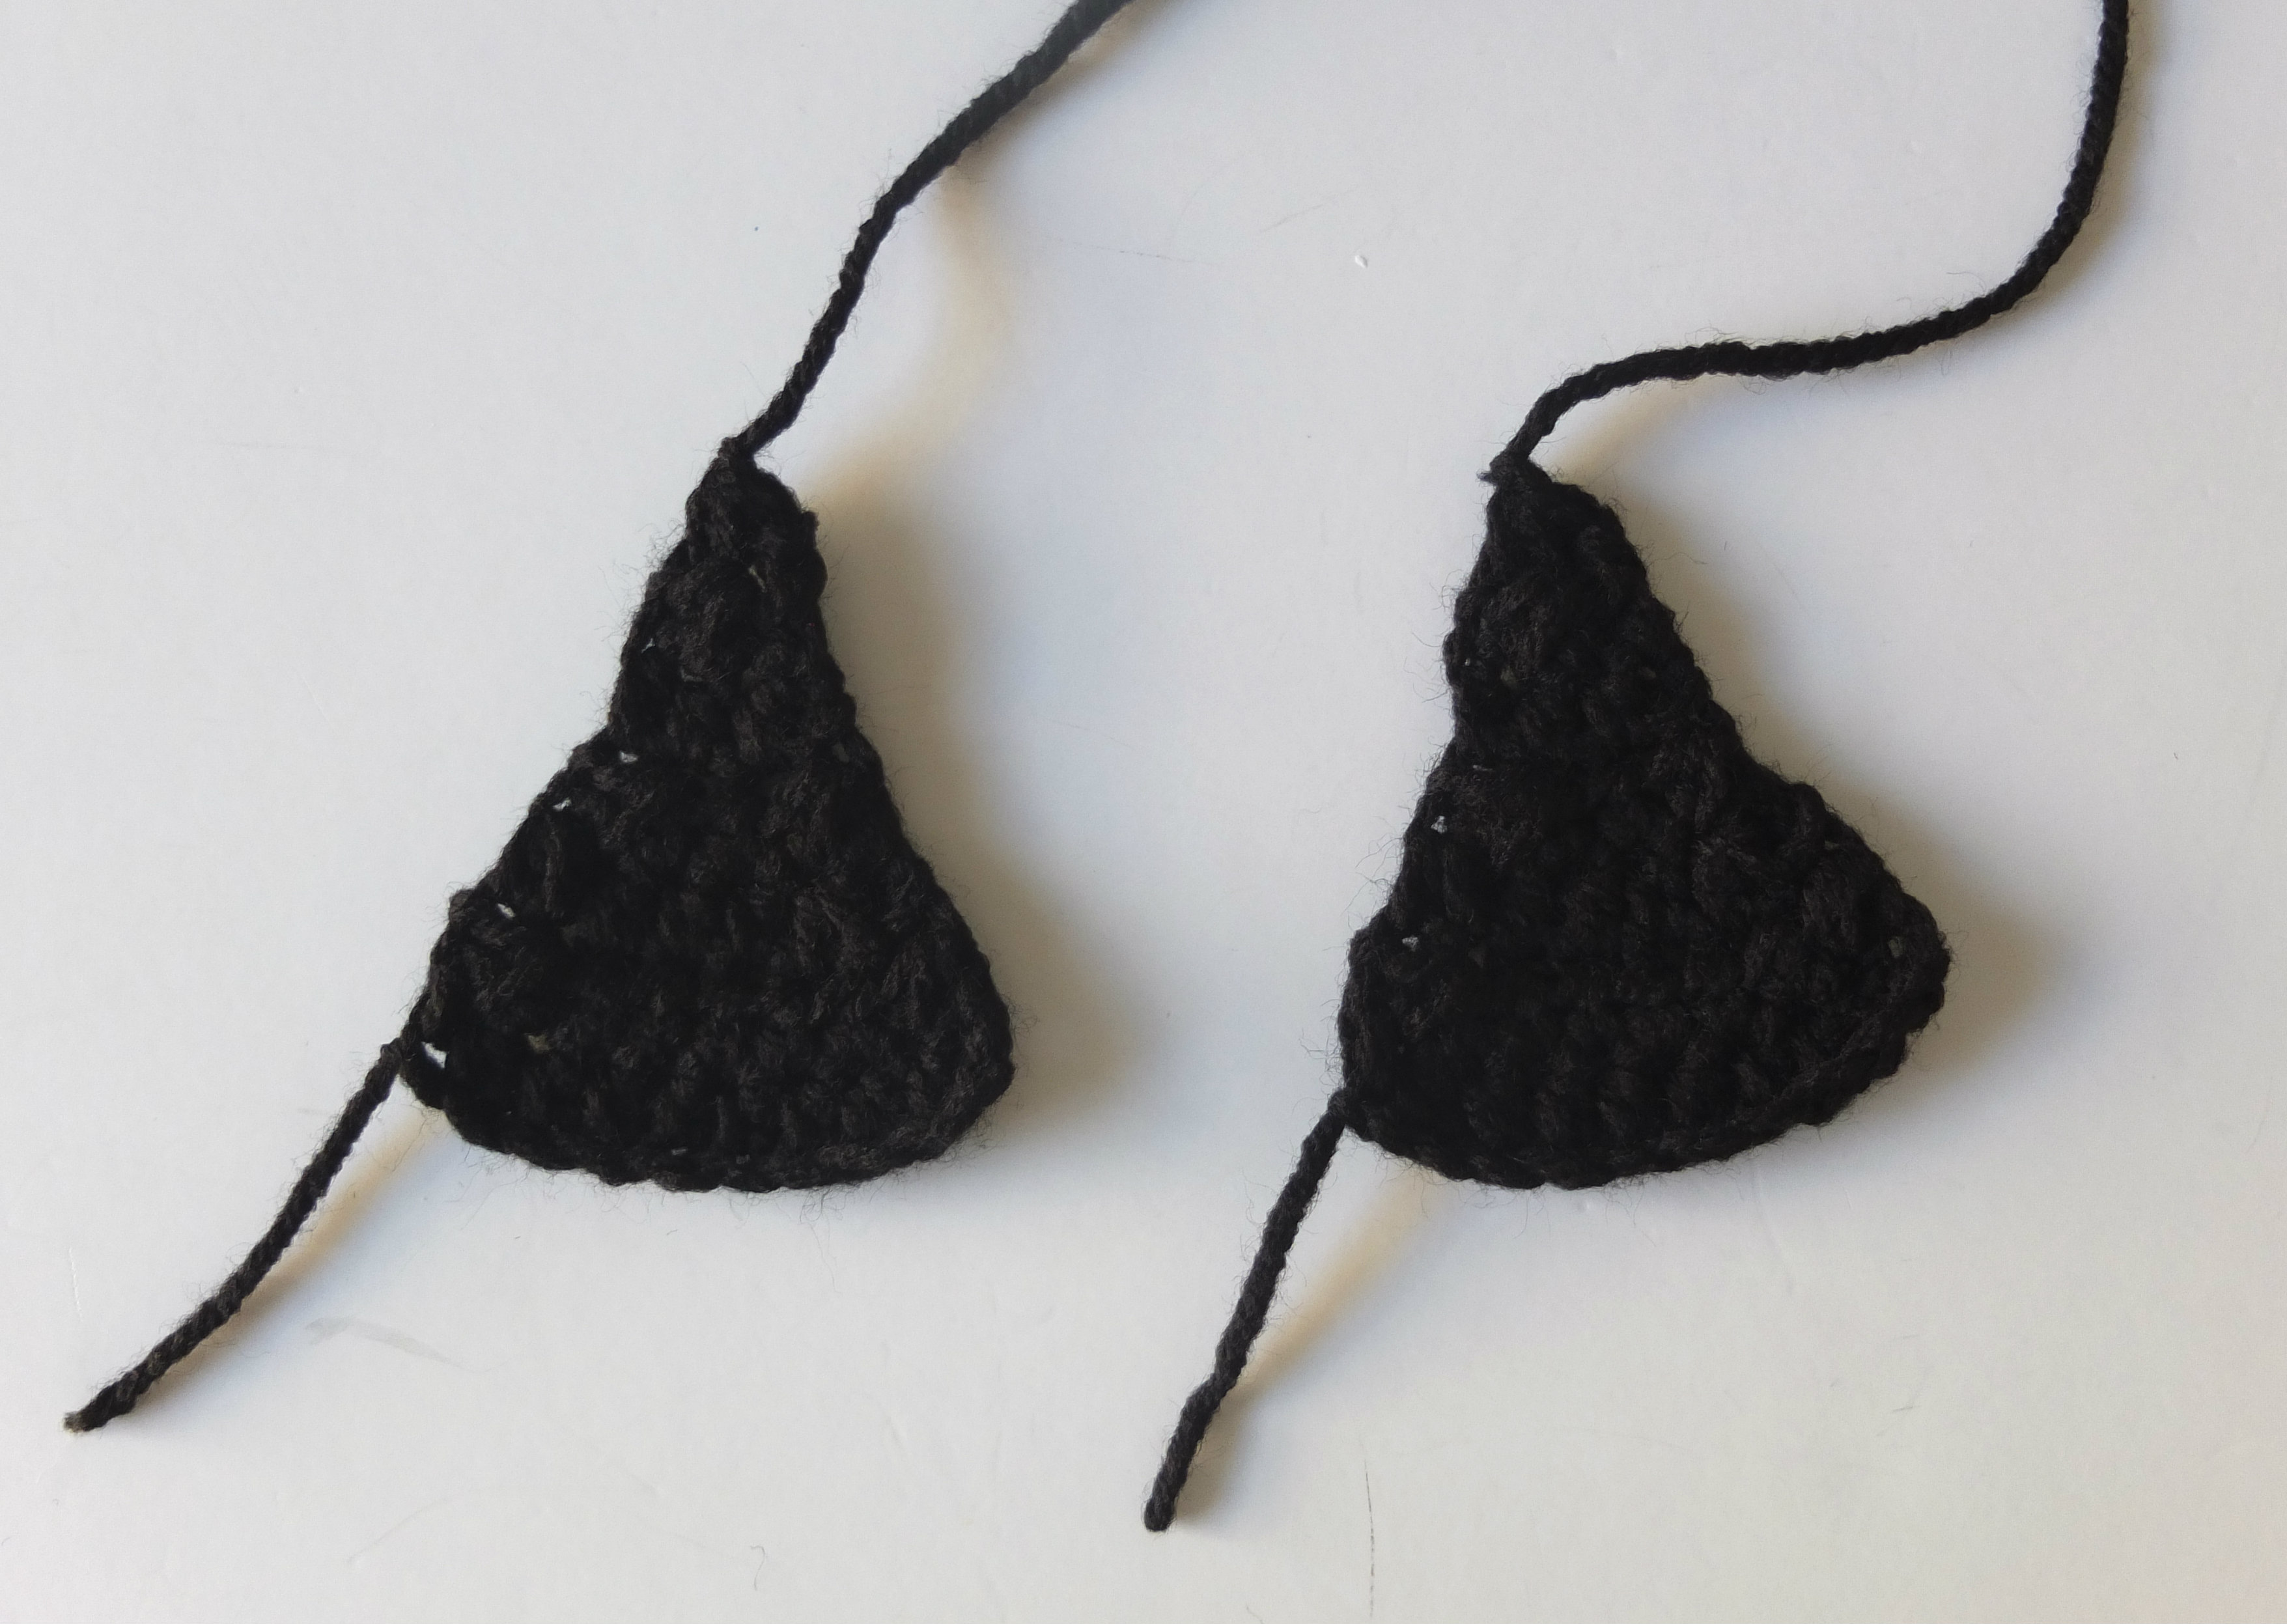
Eyes (make 2)
With black,
Ch 10
Row 1: Hdc in 2nd ch from hook and in each st down. (9)
Row 2: Ch 1, hdc2tog in the first two st. 1 hdc in the next 5 st. Hdc2tog in the last two st. (7)
Row 3: Ch 1, hdc2tog in the first two st. 1 hdc in the next 3 st. Hdc2tog in the last two st. (5)
Row 4: Ch 1, hdc2tog in the first two st. 1 hdc in the next st. Hdc2tog in last two st. (3)
Row 5: Ch 1, 1 hdc in next 3 st. (3)
Row 6: Ch 1, hdc2tog in first two st, 1 hdc in last st. (2)
Row 7: Ch 1, sc2tog. (1)
Tie off, leaving long tail for sewing.
Mouth
With black, ch 26.
Row 1: Dc in 3rd ch from hook and in each ch down. (24)
Row 2: Ch 2, dc in first st and in each st down the row. (24)
Row 3: Ch 2, dc2tog in the first two st, 1 dc in the next 20 st. dc2tog in last two st. (22)
Row 4: Ch 2, dc2tog in first two st. 1 dc in the next 18 st. dc2tog in last two st. (20)
Row 5: Ch 2, dc2tog in first two st, 1 dc in the next 16 st. dc2tog in last two st. (18)
Tie off and leave long tail for sewing.

Teeth (make 3)
With the color Pumpkin, ch 5.
Row 1: Sc in 2nd ch and in each of the next 3 st. (4)
Rows 2-4: Ch 1, sc across. (4)
Tie off leaving long tail.
You can set your Pumpkin teeth up how I did, OR you can have fun with it and choose any combination of teeth ya want!
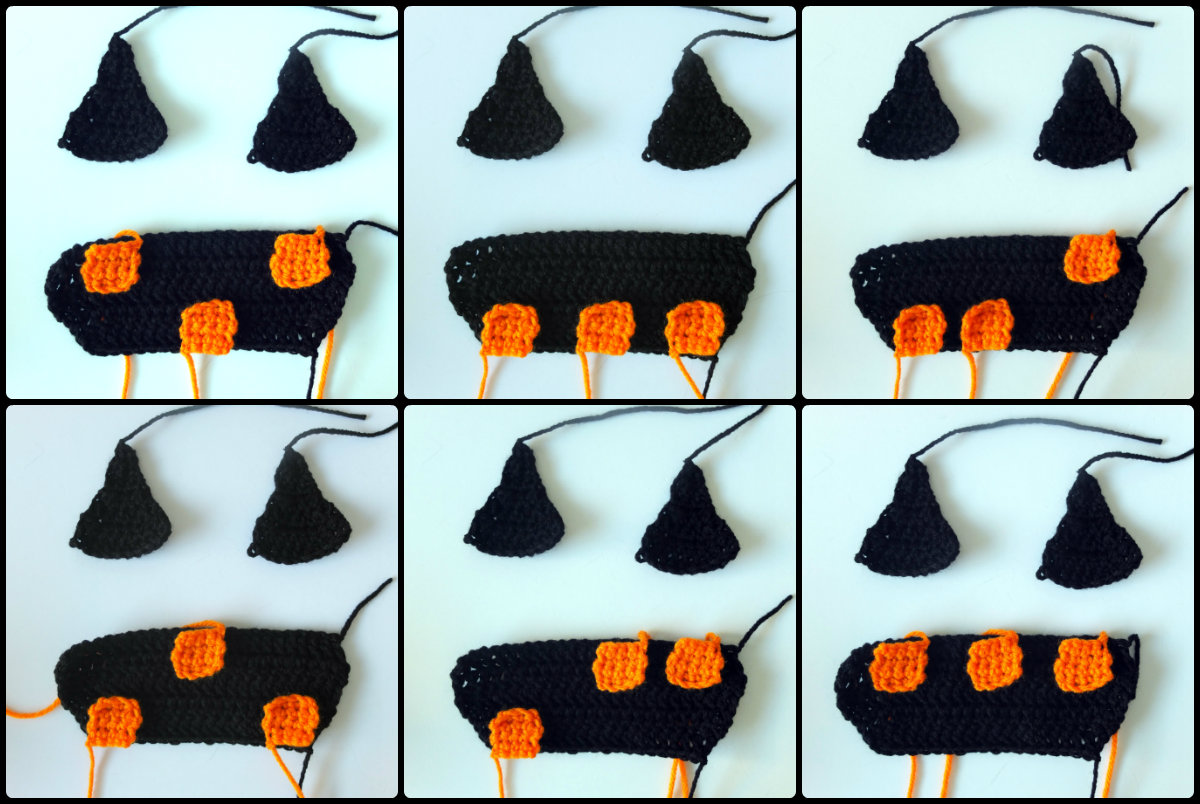
Assembly
Sew the eyes right below the fourth row from the top. Make sure they’re even!
Sew the mouth on two rows below the eyes.
Sew the teeth on over the mouth.
And that’s it! As great as this Crochet Pumpkin Drawstring Backpack would be for trick-or-treating, you can of course use it for anything else! I truly hope you enjoyed this pattern and if you make one for your child or even yourself, I would love it if you tagged me on Instagram! I love seeing your work! If you have any questions, don’t hesitate to ask! I’m here to help 🙂
Now that you’ve finished your Crochet Pumpkin Drawstring Backpack, why not make some more Halloween Candy Bags?
Are you hungry for more Halloween fun?
If you are, there’s an entire roundup with over 70 spooky fun patterns and it’s calling your name. There are patterns like:
- Halloween amigurimi
- Spooky decorations for your home
- Costume ideas for adults & children
- and much more!
Head over to the Halloween Crochet Pattern Roundup to find your next favorite Halloween project.
This pattern is an original pattern by Sigoni of Sigoni Macaroni. Please do not claim this pattern as your own. If you wish to share this pattern, you may link to this pattern but please do not reprint it on your site. You may keep a copy for your own personal use but please DO NOT sell the pattern or distribute it.
You may sell products made from this pattern but please clearly credit the design to me and provide a link to my blog www.SigoniMacaroni.com. Thank you for being respectful and for your understanding!