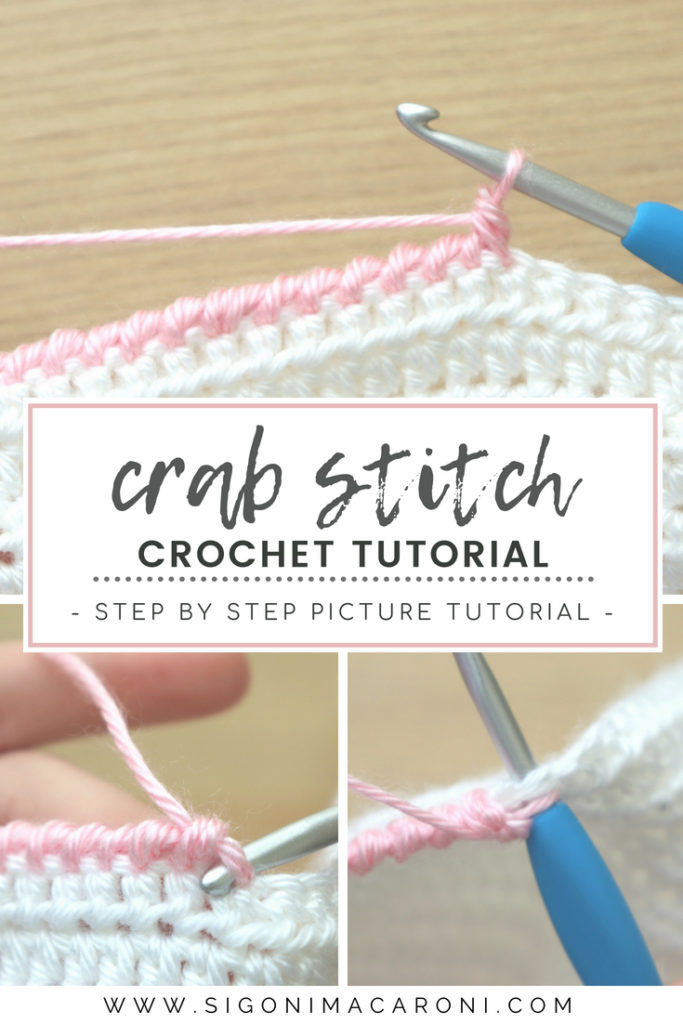
Crab Stitch Crochet Tutorial
The Crab Stitch is used as a decorative edging for a variety of projects. It is also known as the Reverse Single Crochet Stitch. Today we’re going to go over a step-by-step picture tutorial of Crab Stitch. Practice, practice, practice and this stitch will be your new favorite edging! Without further adieu, let’s get to the Crab Stitch Crochet Tutorial.
If there is any stitch that has a bad rep, it’s the Crab Stitch! It’s a bit tricky when you first start out, but just like anything the more you practice, the better you’ll get. You’ve probably come across it once or twice, saw it in action, and thought, “Oh no. I can’t do that,” and moved on without even trying. Not today lady!
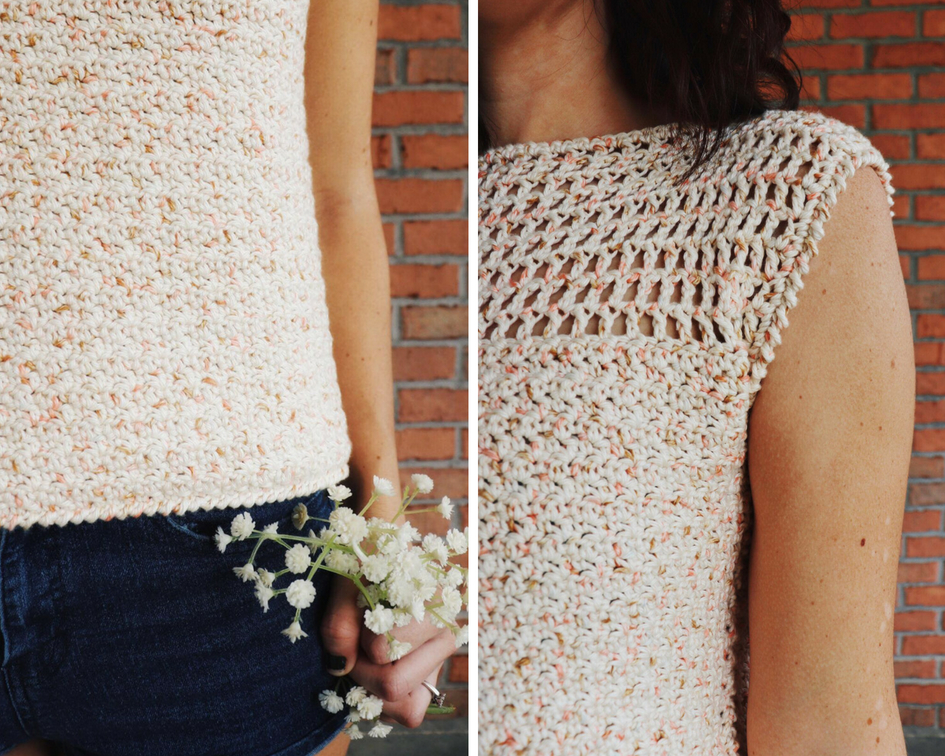
The Crab Stitch is not a stitch that you can work in to. It’s a type of decorative edging. You can use it to line blankets, washcloths, garments (like the Dreamsicle Tee coming out tomorrow!), etc.
The Crab Stitch is also called the Reverse Single Crochet. Why? Because it is exactly that. The Crab Stitch is simply a single crochet, but worked in the opposite direction. Let me elaborate.
Normally, right-handed crocheters crochet from right to left and left-handed crocheters crochet from left to right.
To crochet the Crab Stitch we’re going to be working in the opposite direction than what we’re used to.
If you are right-handed, you will insert your hook into the stitch to the right and if you are left-handed, you will insert your hook into the stitch to the left.
It sounds scary, but like I said, it takes practice and you can do it.
It is difficult to show you in a photo tutorial how exactly this works so I have created a video tutorial that you can find in the Crochet’dy Bunch Facebook Group! If video interests you more than photo tutorials, come join us and receive a video tutorial with every photo tutorial I release! I’m going to create a YouTube channel at some point in the future. As of right now, the Facebook group is the only place where I can upload video.
Crab Stitch Crochet Tutorial
As I stated above, the Crab Stitch is used to line a number of different types of projects. It is not a stitch you can work into. That being the case, we’re going to create a simple swatch of half double crochets and then we will line it with the Crab Stitch edging.
For my sample, I crocheted 10 rows of 15 hdc stitches.
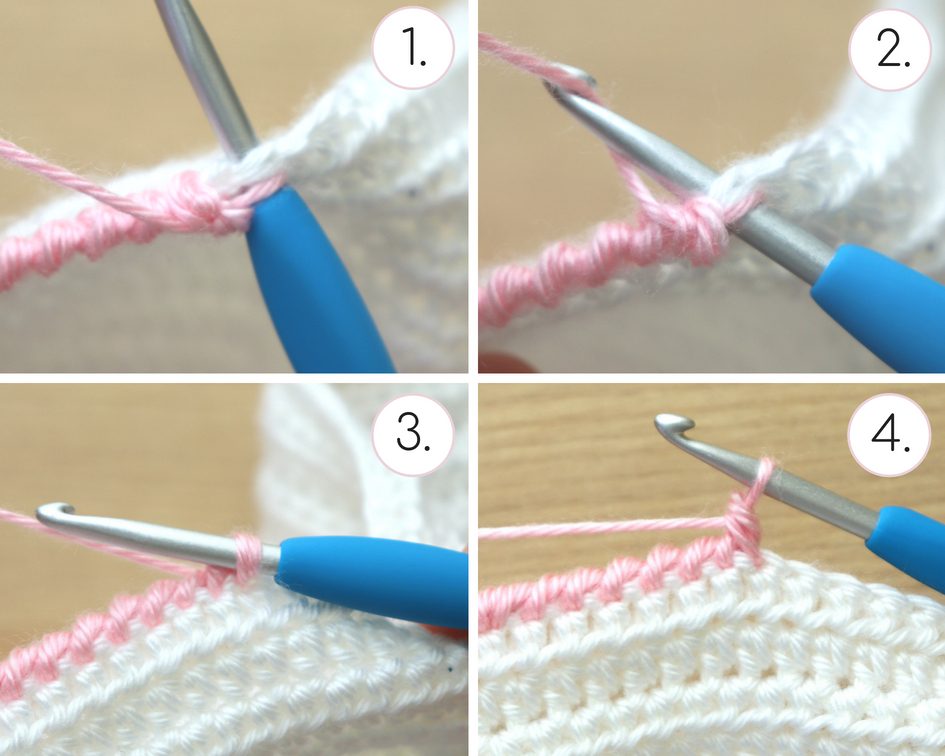
Once you reach the end of your last row, ch 1 but do not turn your work. We’re now going to be working in the opposite direction.
(Note: Both the photo and video tutorial are shown right-handed because I am right handed. However, if you are left-handed you will be doing the same motions, just in the opposite direction. If it’s confusing you, you can find a really great left-handed tutorial here.)
Insert your hook into the next stitch to the right. Grab the yarn and pull it through. You’ll have two loops on your hook. Yarn over and pull through both of those loops just like you would with the single crochet stitch.
Continue this pattern down the row. The first few stitches will look a little crazy, but the farther you go down the row, the more you’ll see the edging start to form.
There you have it! That is how you crochet the Crab Stitch, or the Reverse Single Crochet. Practice, practice, practice and then come back and try it on the Dreamsicle Tee! I would love to see your progress. Tag me over on Instagram @sigonimacaroni to show off your Crab Stitch edging! <3
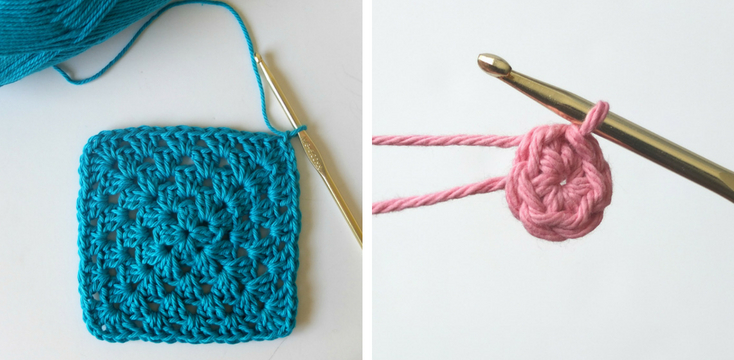
Here are a few other much-loved tutorials
Traditional Granny Square Tutorial | Magic Circle Crochet Tutorial