How To Crochet a Magic Ring (Magic Circle) Photo & Video Tutorial
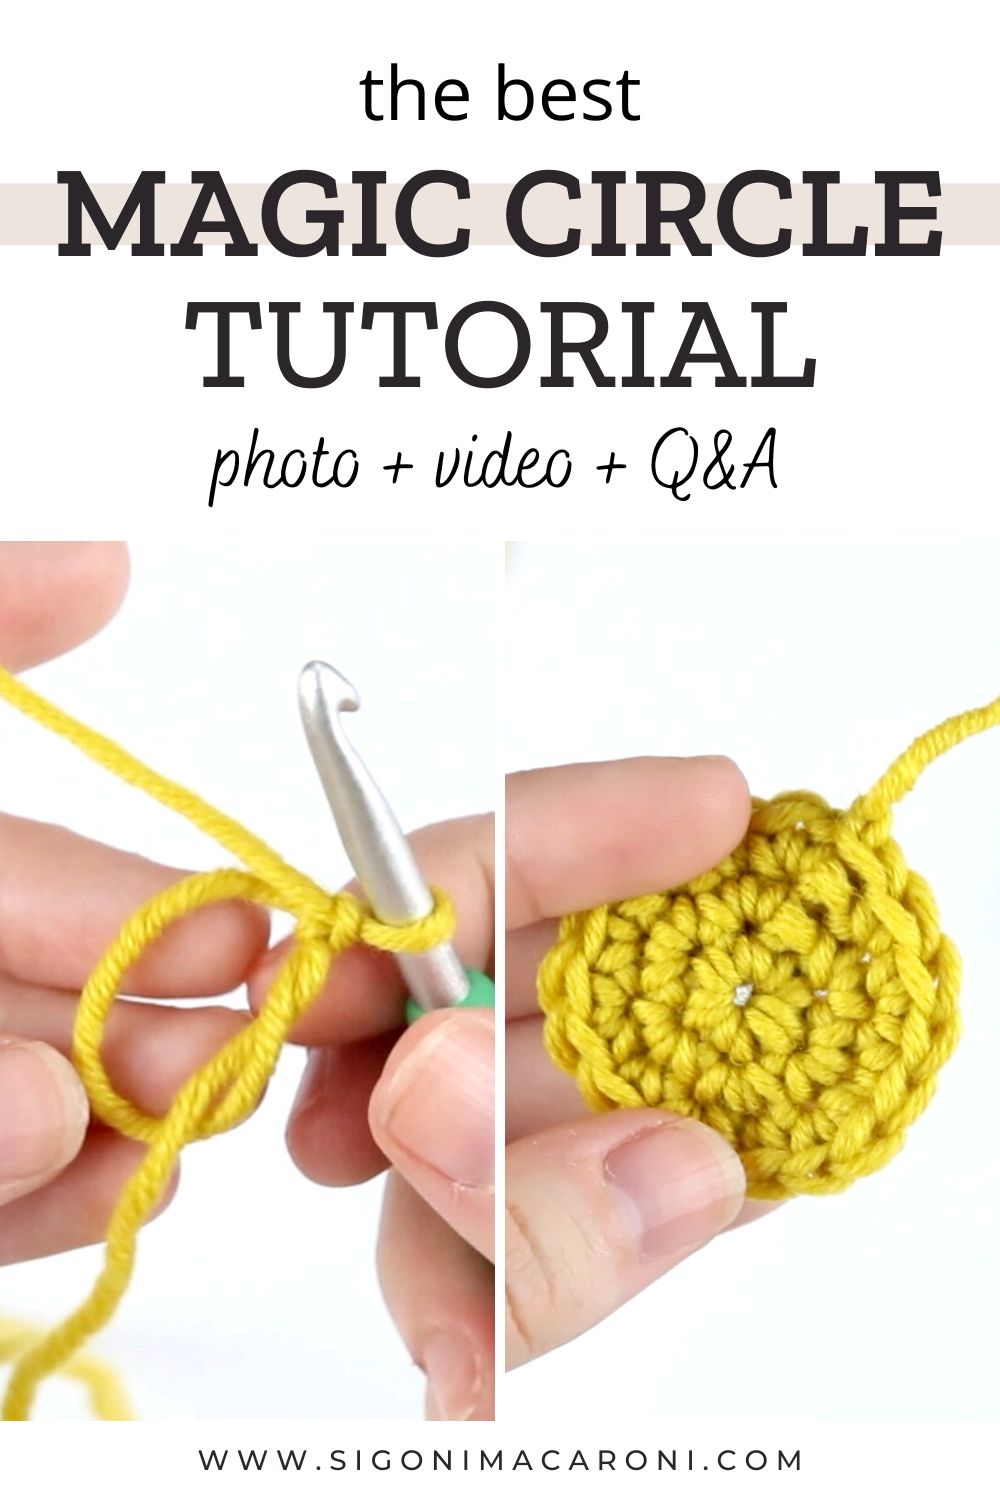
Let’s face it. The magic ring (aka magic circle) is one of the most frustrating techniques to learn. But boy, is it a necessary skill! Today I’m going to share a photo and video tutorial showing how to crochet a magic ring. But I’m also going to share TWO alternatives to the magic ring. I’ll explain why later.
It will take some practice, but once you get the hang of the magic ring, it’s even easier to do than two alternatives I’ll share at the end of this post.
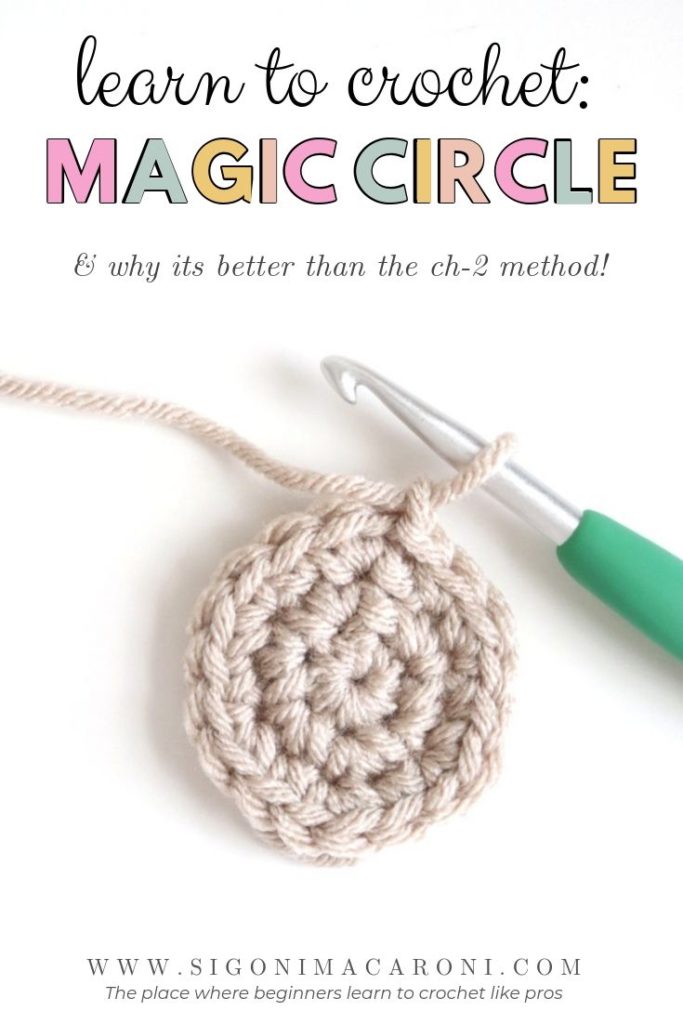
When it comes to crocheting in the round, there are two ways to start your project. You can start with a foundation chain (usually 2-4 chains depending on the stitch) or you can start with the magic circle, also know as a magic loop or an adjustable loop.
First, we’ll cover why starting with a magic circle is better than using a starting chain. Then we will go over how to crochet the magic circle (also known as the magic loop).
Learn to FIX these 6 Mistakes
Nothing is more frustrating than when you continue to make the same mistakes but you don’t know how to fix them. This free ebook will solve that problem.
Is this magic ring tutorial for beginner crocheters?
If you are new to crochet, you do not have to learn the magic circle. It is not a requirement to crocheting in the round.
That being said, it is possible to learn the magic ring as a beginner. However, if you are getting frustrated, take a break and use the alternative methods for now. After a few weeks, try the magic circle again and you just might get it!
Why should I learn the magic circle?
Although I said the magic circle isn’t a REQUIRED skill, it is still a great technique to learn.
Both alternatives I share below are great starting off points. But eventually you’re going to prefer the cleaner look that the magic circle will give you.
I’ll talk more about the alternatives below and give you a visual.
When to Use the Magic Ring
Why should you even learn the magic ring crochet technique in the first place? Good question!
The magic ring is one of the ways you can begin crocheting in the round. Lots and lots of projects are crocheted in the round and that’s why it’s such a popular technique to learn!
Here are some examples of crochet projects that start in the round:
- Hats
- Blankets
- Amigurumi projects (stuffed animals)
- Cup cozies
- Reusable water balloons
- Granny squares
- Face scrubbies
I could keep going but I’ll stop there. What crochet project are you planning to make in the round?
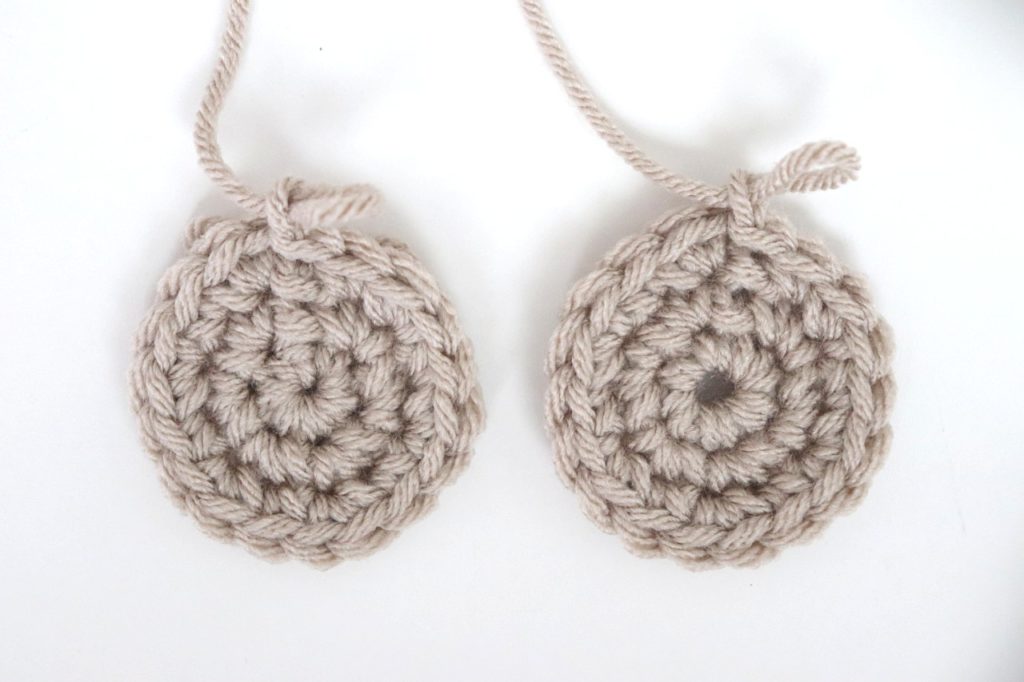
Now the reason why the magic circle in particular is highly sought out is because of the clean close it creates. You’ll see below that the magic circle offers a completely closed center space. Using the two alternative methods doesn’t give you this same look.
What can you do instead of a magic ring in crochet?
I don’t have a photo tutorial for this part, but I do have an extensive video tutorial. The tutorial shows exactly how to create a magic circle as well as these two alternative methods.
Alternative Method #1: Chain Method
The first one is what I call the “chain method”. This where you will chain a number of stitches (depending on which stitch you’re using) and work all of your stitches into that first chain.
This is my favorite of the two alternative methods. It is a great way to start in the round if you can’t make a magic circle.
Alternative Method #2: Chain Ring
For this second one, I called it magic ring in the video tutorial. I know this is confusing because I said the magic circle and the magic ring were the same thing. They are, but it seemed like the most viable name for it so forgive me.
For this alternative method, you will chain 4 or 5 and then join to the first stitch. This automatically creates a little ring that you can place your stitches into.
Both of these techniques are great if you’re still working on getting the hang of the magic circle. But it does have some downsides.
- It leaves a gaping hole in the center of the ring that you’re unable to close
- It can be hard to fit all of your stitches in one chain
- The magic circle is so much easier and cleaner once you get the hang of it!
Below is what it looks like to start with a magic circle versus a starting chain. You can clearly see that the center close is a huge advantage of the magic ring method.
Which one do you like better?
**Scroll all the way to the bottom for step-by-step instructions via video tutorial**
How To Crochet a Magic Ring Photo Tutorial
First things first, pull out about 10 inches of yarn from your skein.
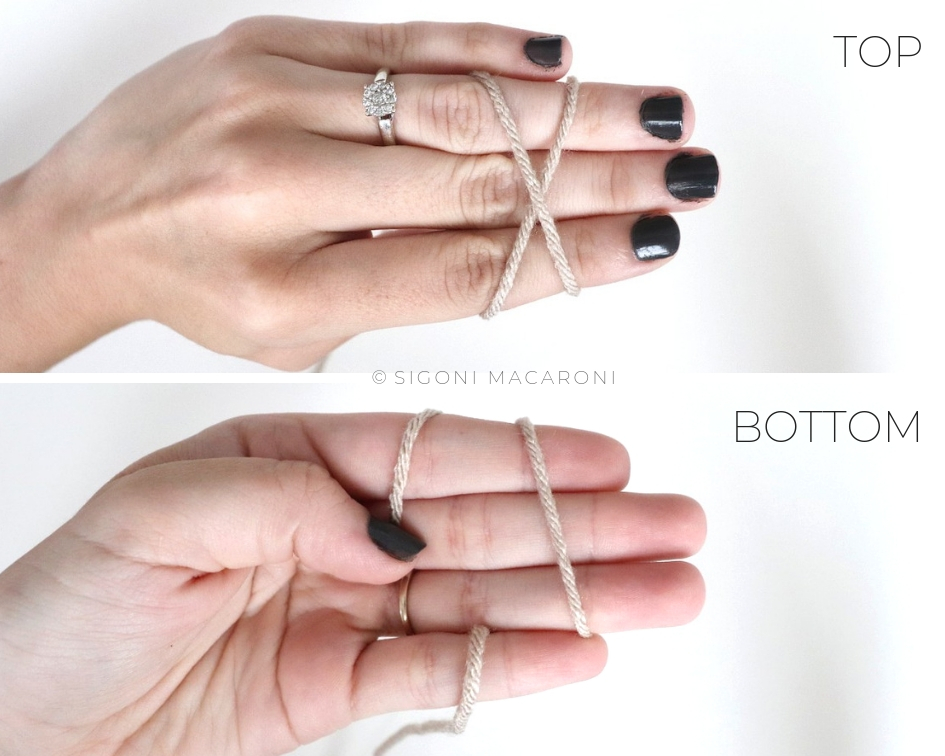
Hold the tail end of your yarn with your thumb (of your left hand if you are a righty) while you wrap the working yarn diagonally across from your pointer finger to your ring finger (you can also wrap it around your pointer and middle finger if that’s easier).
Then continue wrapping the yarn underneath your fingers and diagonally up and over the yarn, creating an ‘X’ shape. Hold the working yarn with your pinky finger to secure.
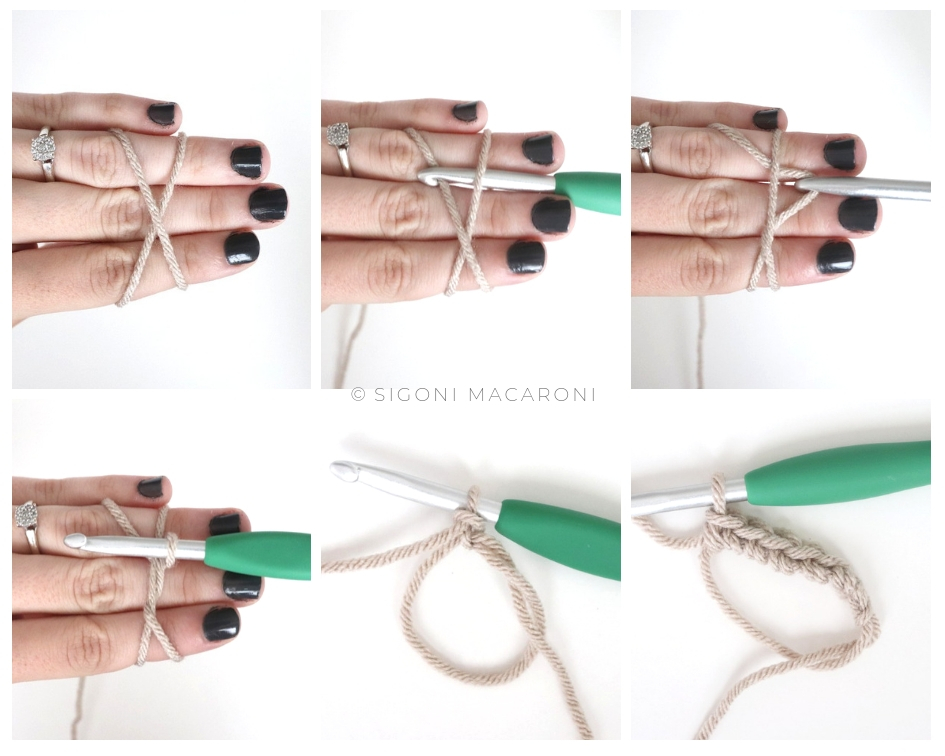
Insert your hook under the first string of yarn and over the second.
Pull the back string under the first and twist your hook towards yourself and up.
Chain 1 to secure your magic circle.
Depending on which stitch you’re using, this will determine the number you chain at the beginning. It’s important to note that this will become your turning chain.
For instance, chain 1 for single crochet, chain 2 for half double crochet, and chain 3 for double crochet.
How to Crochet INTO a Magic Ring
The first round of stitches is always the trickiest. I’m going to explain how to do it, but I highly recommend watching the video tutorial for a visual.
Insert hook into the circle. It’s a little flimsy so make sure you’re securing your magic loop with your fingers so that it doesn’t come undone.
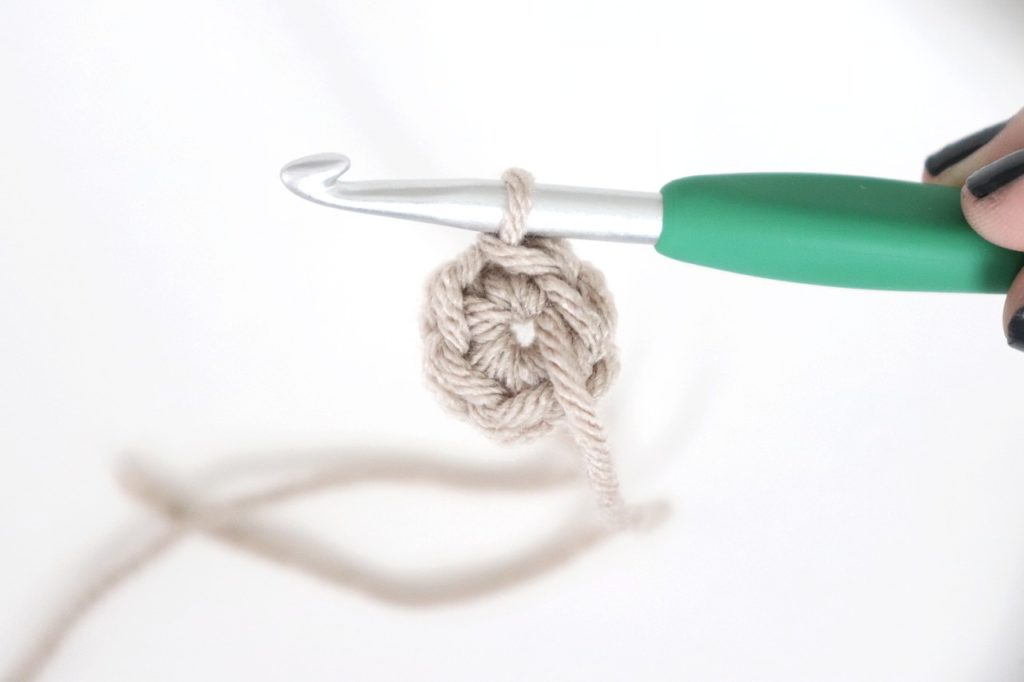
Single crochet six times into your circle (or the required number of stitches in your pattern).
After your 6th single crochet, pull tight on the tail end of the yarn to close your circle.
Depending on the pattern, you will work continuous rounds (or continuous spiral) or you will slip stitch to join the circle.
The second round and each round after will get easier, I promise!
Watch the full video tutorial for a visual on how to crochet into the magic circle.
And that’s that! Practice, practice, practice! Don’t give up. I promise you’ll love it once you get the hang of it 😉
If you’re curious about my crochet hooks, I’m using a 5.5mm Clover Amour crochet hook and these are the only hooks I ever use. I highly HIGHLY recommend getting some.
How To Crochet a Magic Ring Video Tutorial
If you’re more of a visual learner, watch how to crochet the magic circle in the video below! I will share how to crochet a magic ring and ALSO how to work single crochet stitches INTO the magic ring.
Within the video, I also go over the difference between two different techniques (Don’t forget to subscribe for more video tutorials!).
If you’re a lefty, you can watch the left handed magic circle tutorial here.
How To Crochet a Magic Ring Q&A
Is there a difference between magic ring and magic circle?
The short answer: No there is not a difference between the magic ring and magic circle. This technique actually goes by several names.
- Magic ring
- Magic circle
- Adjustable loop
- Adjustable ring
- Magic loop
Don’t ask me why because I have no idea! But what I do know is that they’re all the same thing.
Why can’t I crochet a magic circle?
You CAN crochet a magic circle, you just can’t right now.
If you’re an absolute beginner, you can’t expect you hands to be comfortable enough to make a magic ring. In some cases it’s possible, but it’s rare.
If you watched the video above, you’ll know that I cried A LOT when I was learning. I know it’s frustrating when you can’t figure something out, but please please please understand that you do NOT have to learn this right now.
Take a break and give it a try in a few weeks. I PROMISE you will see a huge difference. Either you will be able to get it next time or you will be closer than you were last time.
Take a break for your sanity. You won’t regret it.
How do you crochet a magic ring slowly?
Watch this video for the magic ring crochet tutorial. I have gotten so much positive feedback on this video saying it is the best tutorial for how to crochet a magic ring. If you don’t believe me, read the comments!
This video will show you step by step how to crochet a magic circle and it will also show you how to do the 2 alternative methods I mentioned earlier in this post.
If you still find that the video is too fast, click the three dots on the side and adjust the playback speed to a slower speed.
Why does my magic circle keep curling?
Usually, the reason why your magic circle is curling up is because your stitches are too tight. Try going up a hook size to see if it helps.
If it doesn’t, continue working in the round for a few more rows and see if it straightens out. Sometimes it only curls in the beginning and evens itself out later.
Why does my magic circle look like a hexagon?
After creating your magic circle, you will continue working in the round. I’m thinking what you mean is as you continue to work in the round, your circle looks more like a hexagon.
This is totally normal and the reason why it looks like a hexagon is because of your increases. If you’re increasing at the same point in each row, it creates more of a hexagon shape than a circle.
The more you work in the round, the less it looks like a hexagon.
Interested in learning how to crochet in continuous rounds versus joined rounds? Read all about it here.
Will a magic circle come undone?
A magic circle will not come undone as long as you weave in the yarn tail securely. You don’t have to wait until the end of the project to weave in your beginning strand. Go ahead and crochet a couple rounds, then go back and weave in your starting magic circle tail.
Make sure you securely weave in your ends by following this tutorial.
Click here to join The Crochet’dy Bunch Facebook Group!