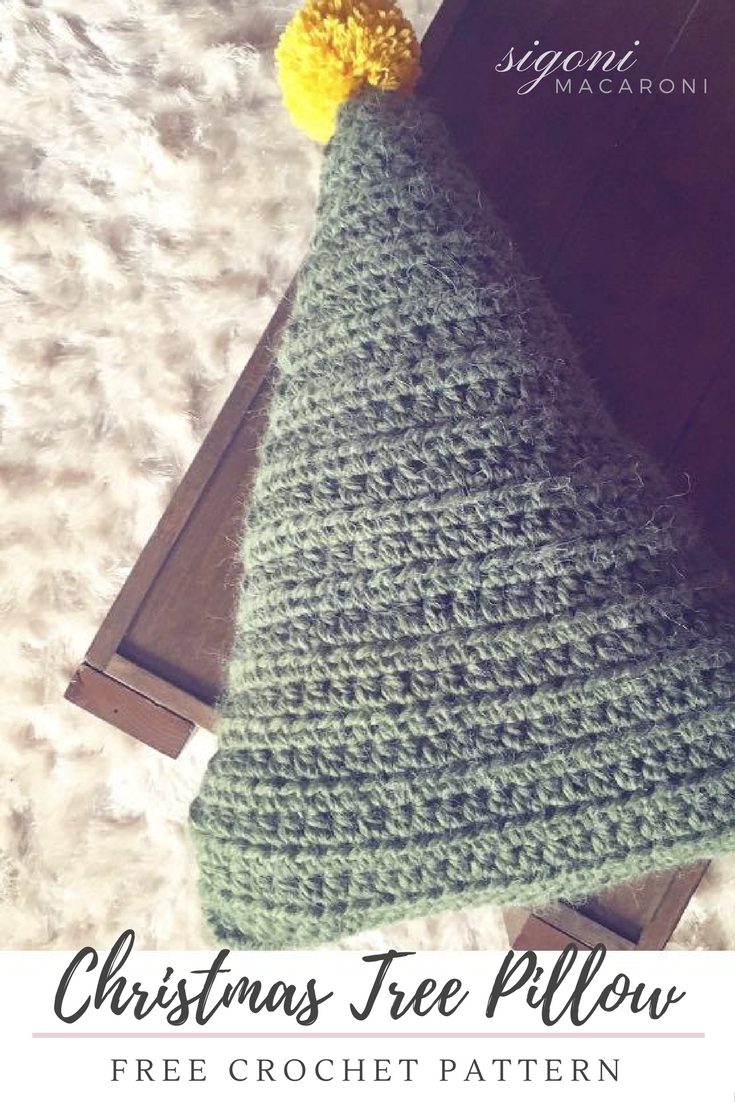
Crochet Christmas Tree Pillow – Free Crochet Pattern
Maybe your house is jam packed with holiday decorations or maybe you have none because you’re like me and have horrible taste for interior decorating. Either way, this Crochet Christmas Tree Pillow is effortless and you can have it propped up on your couch or greeting your guests from the foyer in no time.
When it comes to decorating for the holidays, I’m completely terrible. There are so many things I want to buy, especially during the Christmas season. I just never know what to buy because there’s too much to choose from. Also, as I shamefully admitted, I am just the worst interior decorator. I do, of course, put up a Christmas Tree because that’s a MUST, but not so much anything else. HOWEVER I am going to the store TOMORROW to try and find some sort of decorations that could spruce up the house and not let my Crochet Christmas Tree Pillow look all lonely and out of place.
I had someone tell me the other day that she started noticing that the simplest crochet stitches seem to make the best patterns. She was referring to my Crochet Infinity Scarf pattern at the time. I agree with her! There are so many ways to make the simplest stitches look so beautiful. That comment is one of the reasons I decided to make this Crochet Christmas Tree Pillow. I wanted to give you the chance to add a simple yet beautiful addition to your holiday décor. Which will then brighten your holiday spirit!
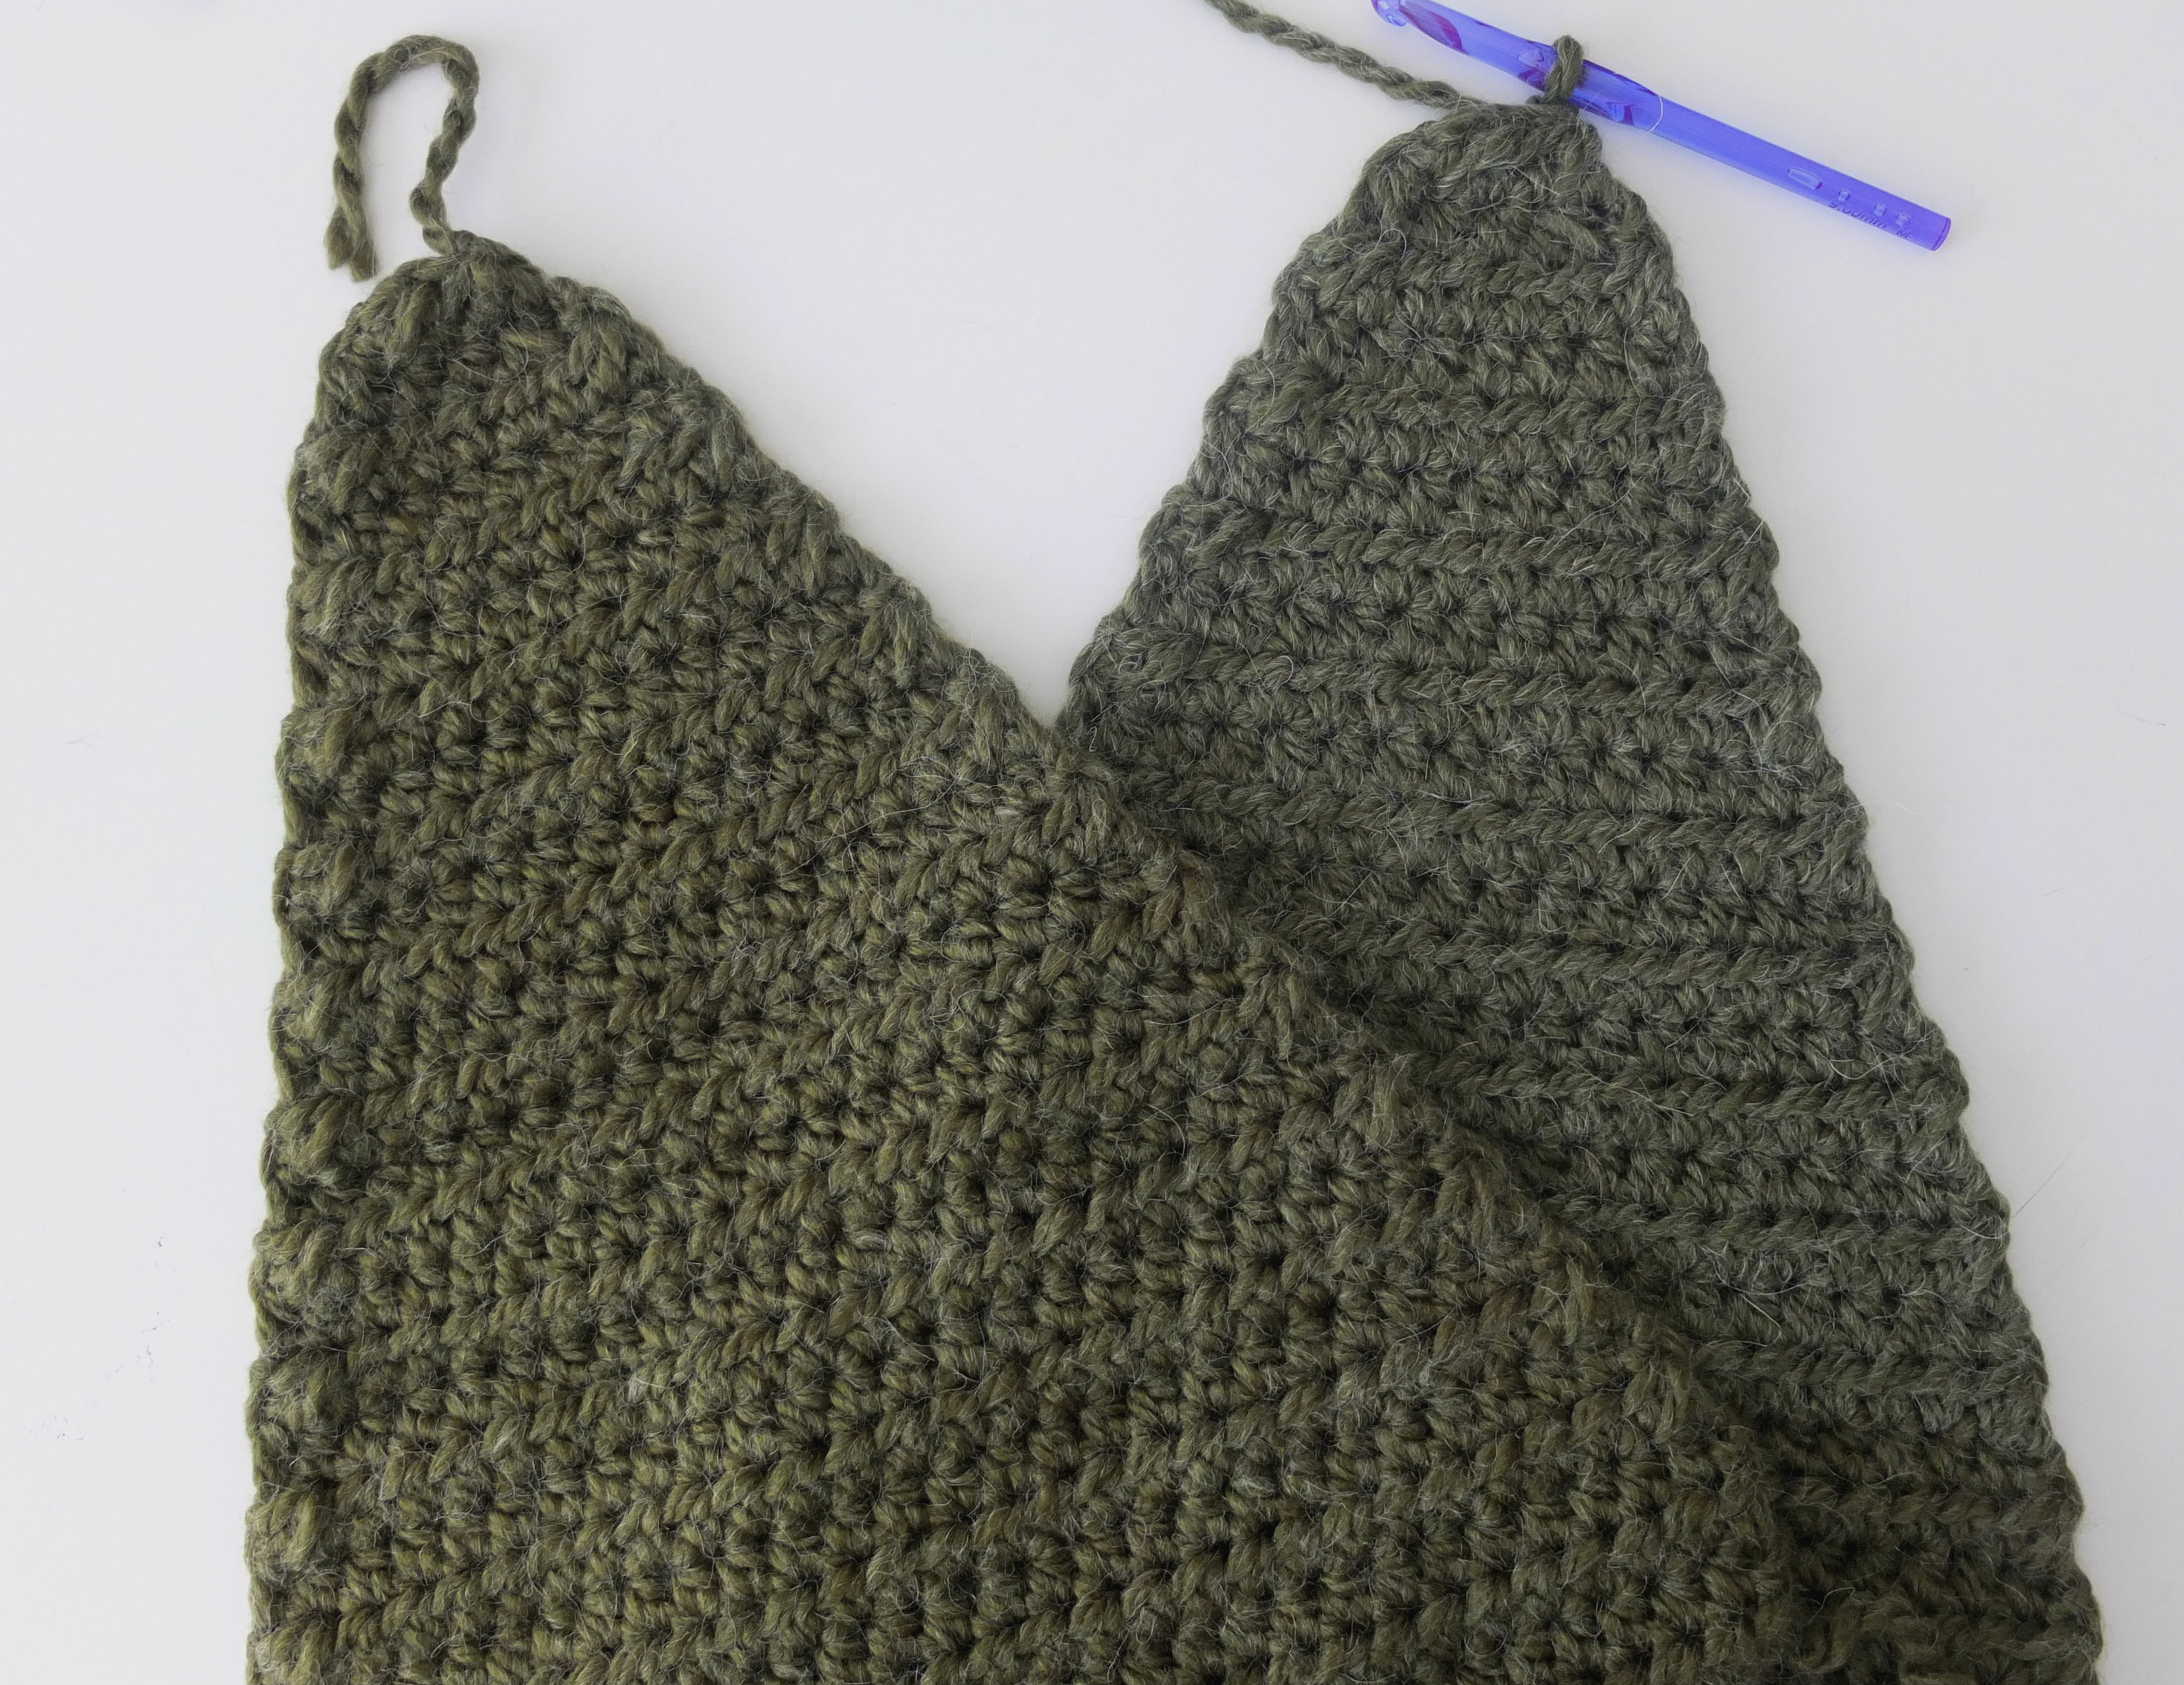
This Crochet Christmas Tree Pillow is worked by creating two separate triangular-shaped pieces that are whip stitched together in the end. Then you will stuff it profusely with Polyfil Stuffing to form the pillow shape.
The first time around I tried to single crochet the two panels together… yeah, no bueno. Whip stitching takes a little bit of time, but it is completely worth it in the end!
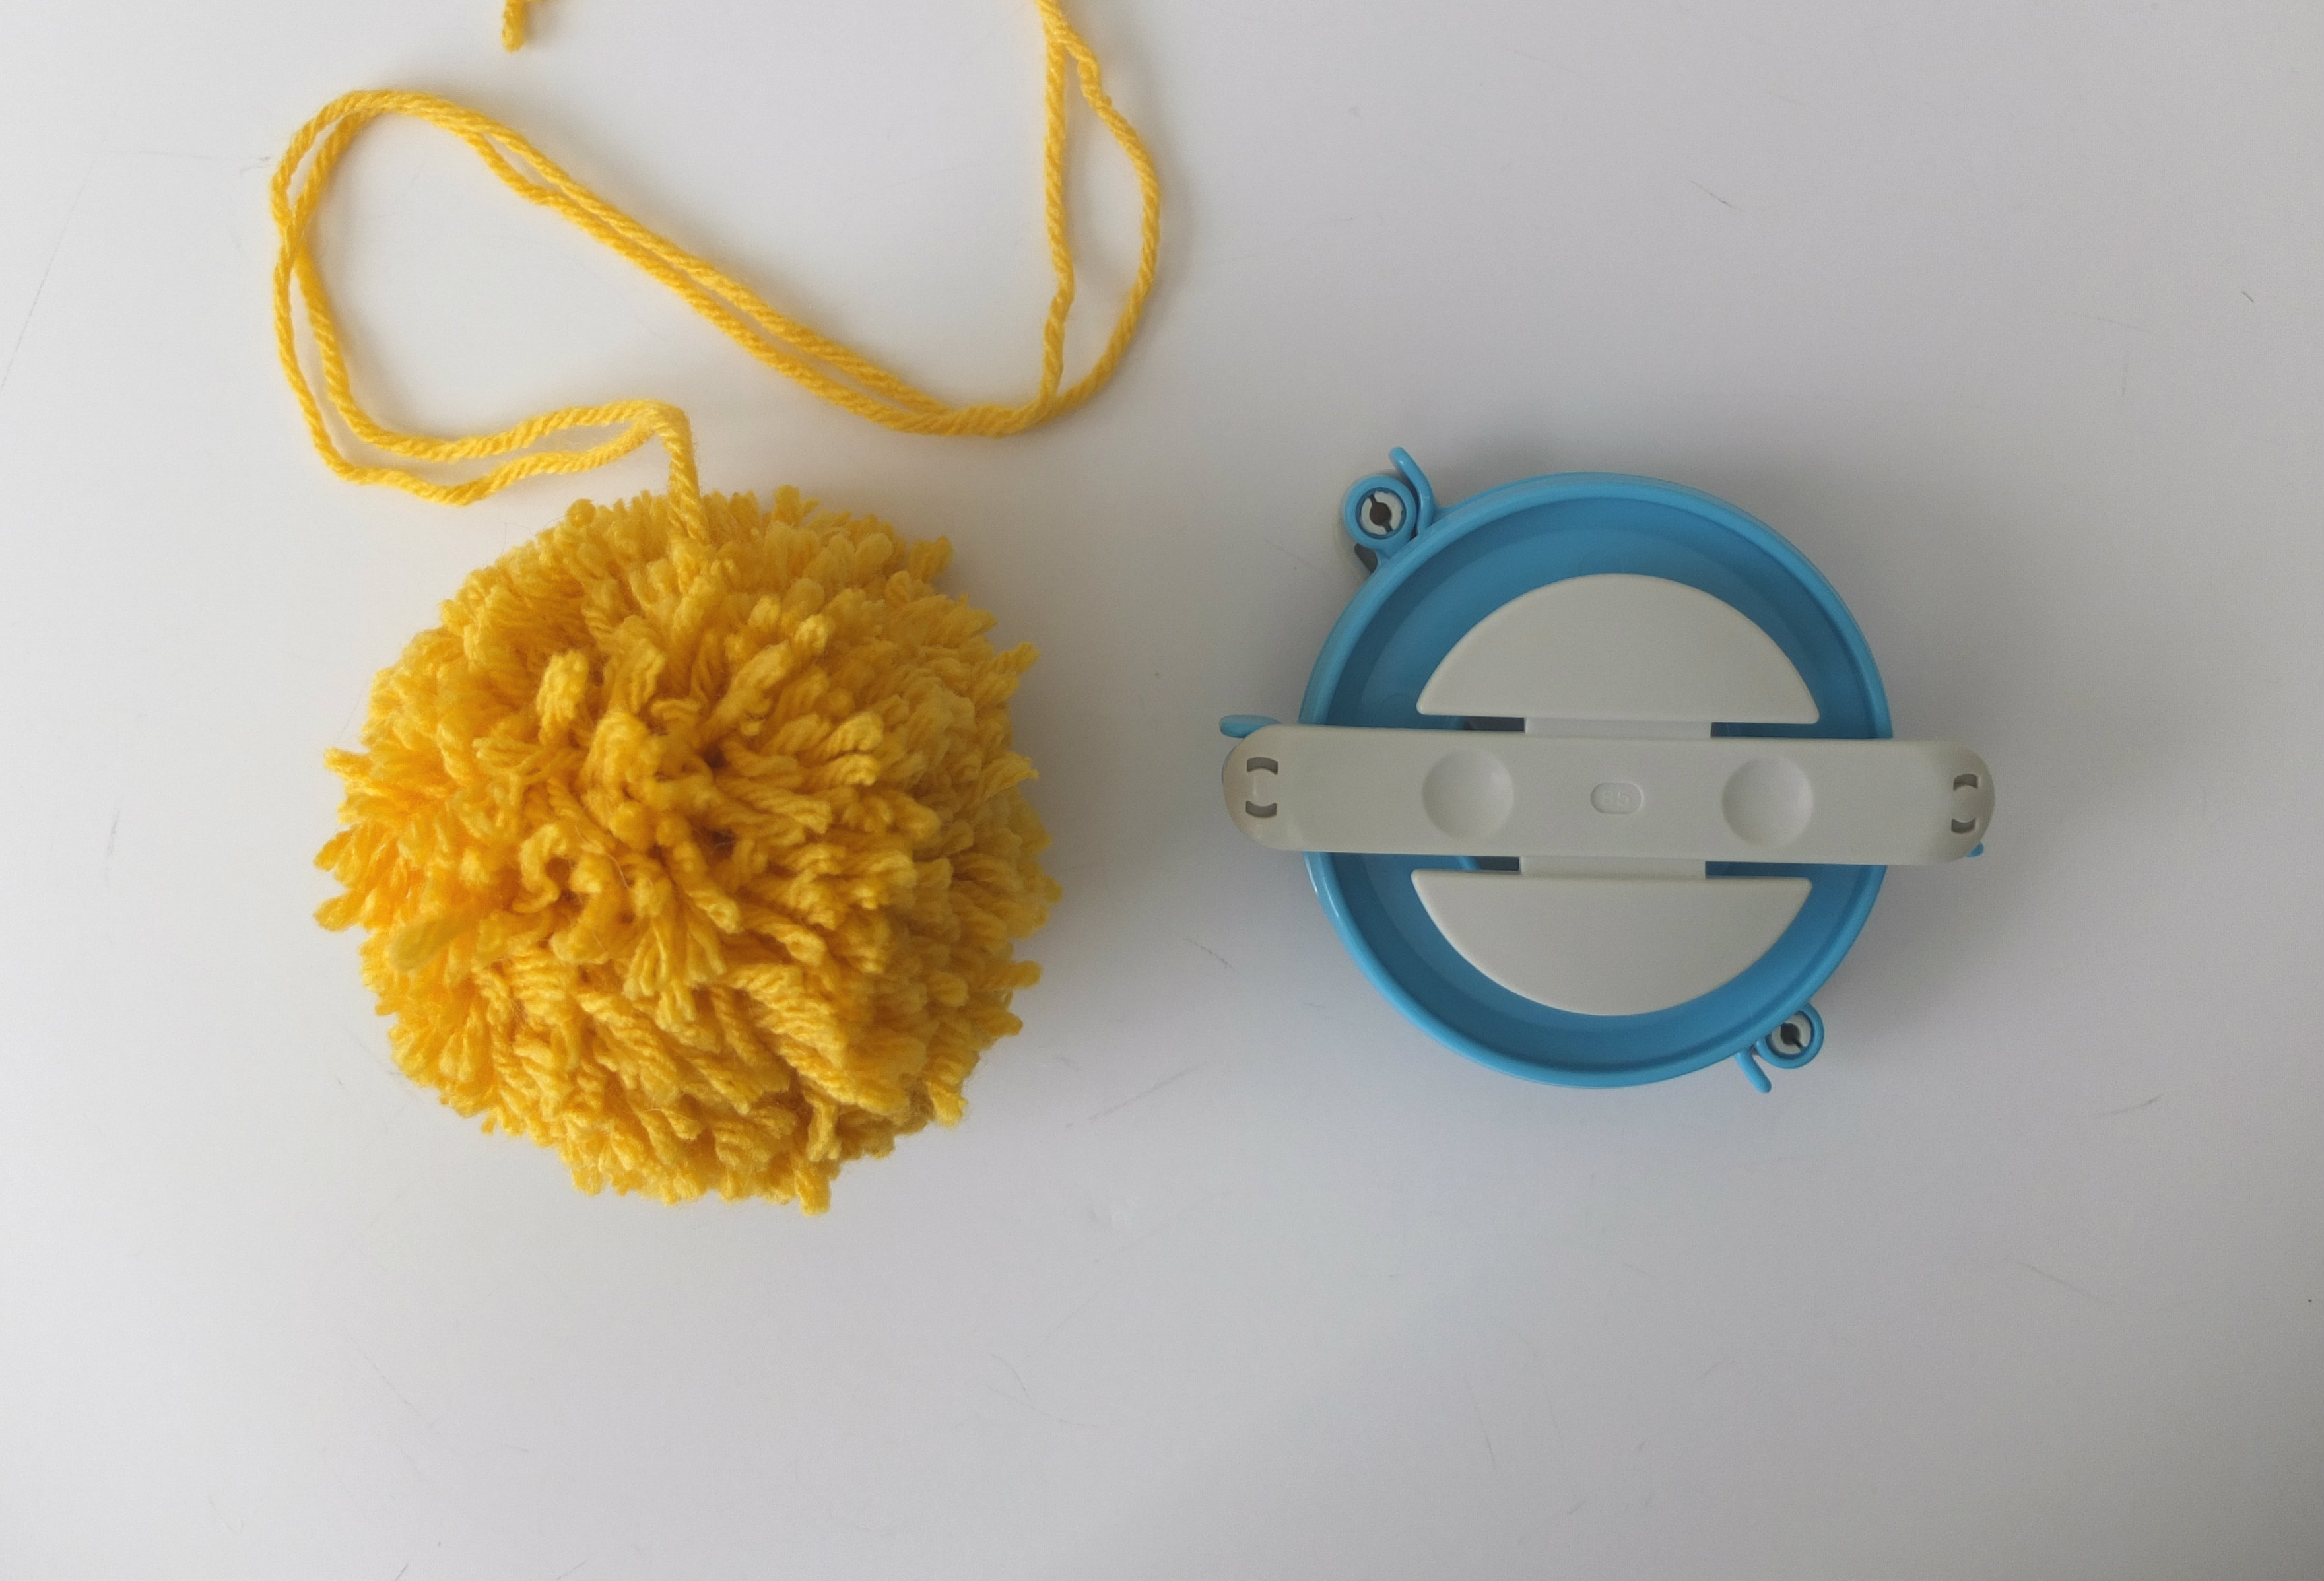
For the pom pom at the top of the tree, you can use a Clover Pom Pom Maker, which is what I used, or you can create a pom pom in whichever method you prefer. There are tons of tutorials out there! You can, of course, make the pom in any color. I chose yellow to give it more of a ‘star’ feel. 😉
This post may contain affiliate links, please view my disclosure policy for details.
Materials:
- 2 skeins Buttercream Alpaca Yarn in Green (alternatively, you can use 3 skeins of Lion Brand Wool Ease Thick and Quick in Spearmint
- 9mm Crochet Hook
- Scissors
- Large Eyed Tapestry Needle
- Polyfil Stuffing
- Clover Pom Pom Maker (optional)
Abbreviations:
- Hdc – Half Double Crochet
- Hdc2tog – Half Double Crochet 2 Together (yarn over, insert your hook into the indicated st, yarn over, pull up a loop, yarn over, insert your hook into the NEXT st. Yarn over, pull up a loop, yarn over, pull through all 5 loops on your hook.)
- Ch – Chain
Notes:
- Ch 1 at beg of row does not count as st
- The number in parentheses at the end of each row is the total number of stitches you should have in that row.
Crochet Christmas Tree Pillow
Make 2 separate panels
Ch 31
Row 1: Hdc in the 2nd ch from your hook and in each ch down the row. Turn work. (30)
Row 2: Ch 1, hdc in the first st and in each st down row. Turn work. (30)
Row 3: Repeat Row 2.
Row 4: Repeat Row 2.
Row 5: Ch 1, hdc2tog in first two st, 1 hdc in each of the next 26 st, hdc2tog in last two st. Turn work. (28)
Row 6: Ch 1, hdc in each st. Turn work. (28)
Row 7: Ch 1, hdc2tog in first two st, 1 hdc in each of the next 24 st, hdc2tog in last two st. Turn work. (26)
Row 8: Ch 1, hdc in each st. Turn work. (26)
Row 9: Ch 1, hdc2tog in first two st, 1 hdc in each of the next 22 st, hdc2tog in last two st. Turn work. (24)
Row 10: Ch 1, hdc in each st. Turn work. (24)
Row 11: Ch 1, hdc2tog in first two st, 1 hdc in each of the next 20 st, hdc2tog in last two st. Turn work. (22)
Row 12: Ch 1, hdc in each st. Turn work. (22)
Row 13: Ch 1, hdc2tog in first two st, 1 hdc in each of the next 18 st, hdc2tog in last two st. Turn work. (20)
Row 14: Ch 1, hdc in each st. Turn work. (20)
Row 15: Ch 1, hdc2tog in first two st, 1 hdc in each of the next 16 st, hdc2tog in last two st. Turn work. (18)
Row 16: Ch 1, hdc in each st. Turn work. (18)
Row 17: Ch 1, hdc2tog in first two st, 1 hdc in each of the next 14 st, hdc2tog in last two st. Turn work. (16)
Row 18: Ch 1, hdc in each st. Turn work. (16)
Row 19: Ch 1, hdc2tog in first two st, 1 hdc in each of the next 12 st, hdc2tog in last two st. Turn work. (14)
Row 20: Ch 1, hdc in each st. Turn work. (14)
Row 21: Ch 1, hdc2tog in first two st, 1 hdc in each of the next 10 st, hdc2tog in last two st. Turn work. (12)
Row 22: Ch 1, hdc in each st. Turn work. (12)
Row 23: Ch 1, hdc2tog in first two st, 1 hdc in each of the next 8 st, hdc2tog in last two st. Turn work. (10)
Row 24: Ch 1, hdc in each st. Turn work. (10)
Row 25: Ch 1, hdc2tog in first two st, 1 hdc in each of the next 6 st, hdc2tog in last two st. Turn work. (8)
Row 26: Ch 1, hdc in each st. Turn work. (8)
Row 27: Ch 1, hdc2tog in first two st, 1 hdc in each of the next 4 st, hdc2tog in last two st. Turn work. (6)
Row 28: Ch 1, hdc2tog in first two st, 1 hdc in each of the next 2 st, hdc2tog in last two st. Turn work. (4)
Row 29: Ch 1, hdc2tog twice. (2)
Tie off
Assembly:
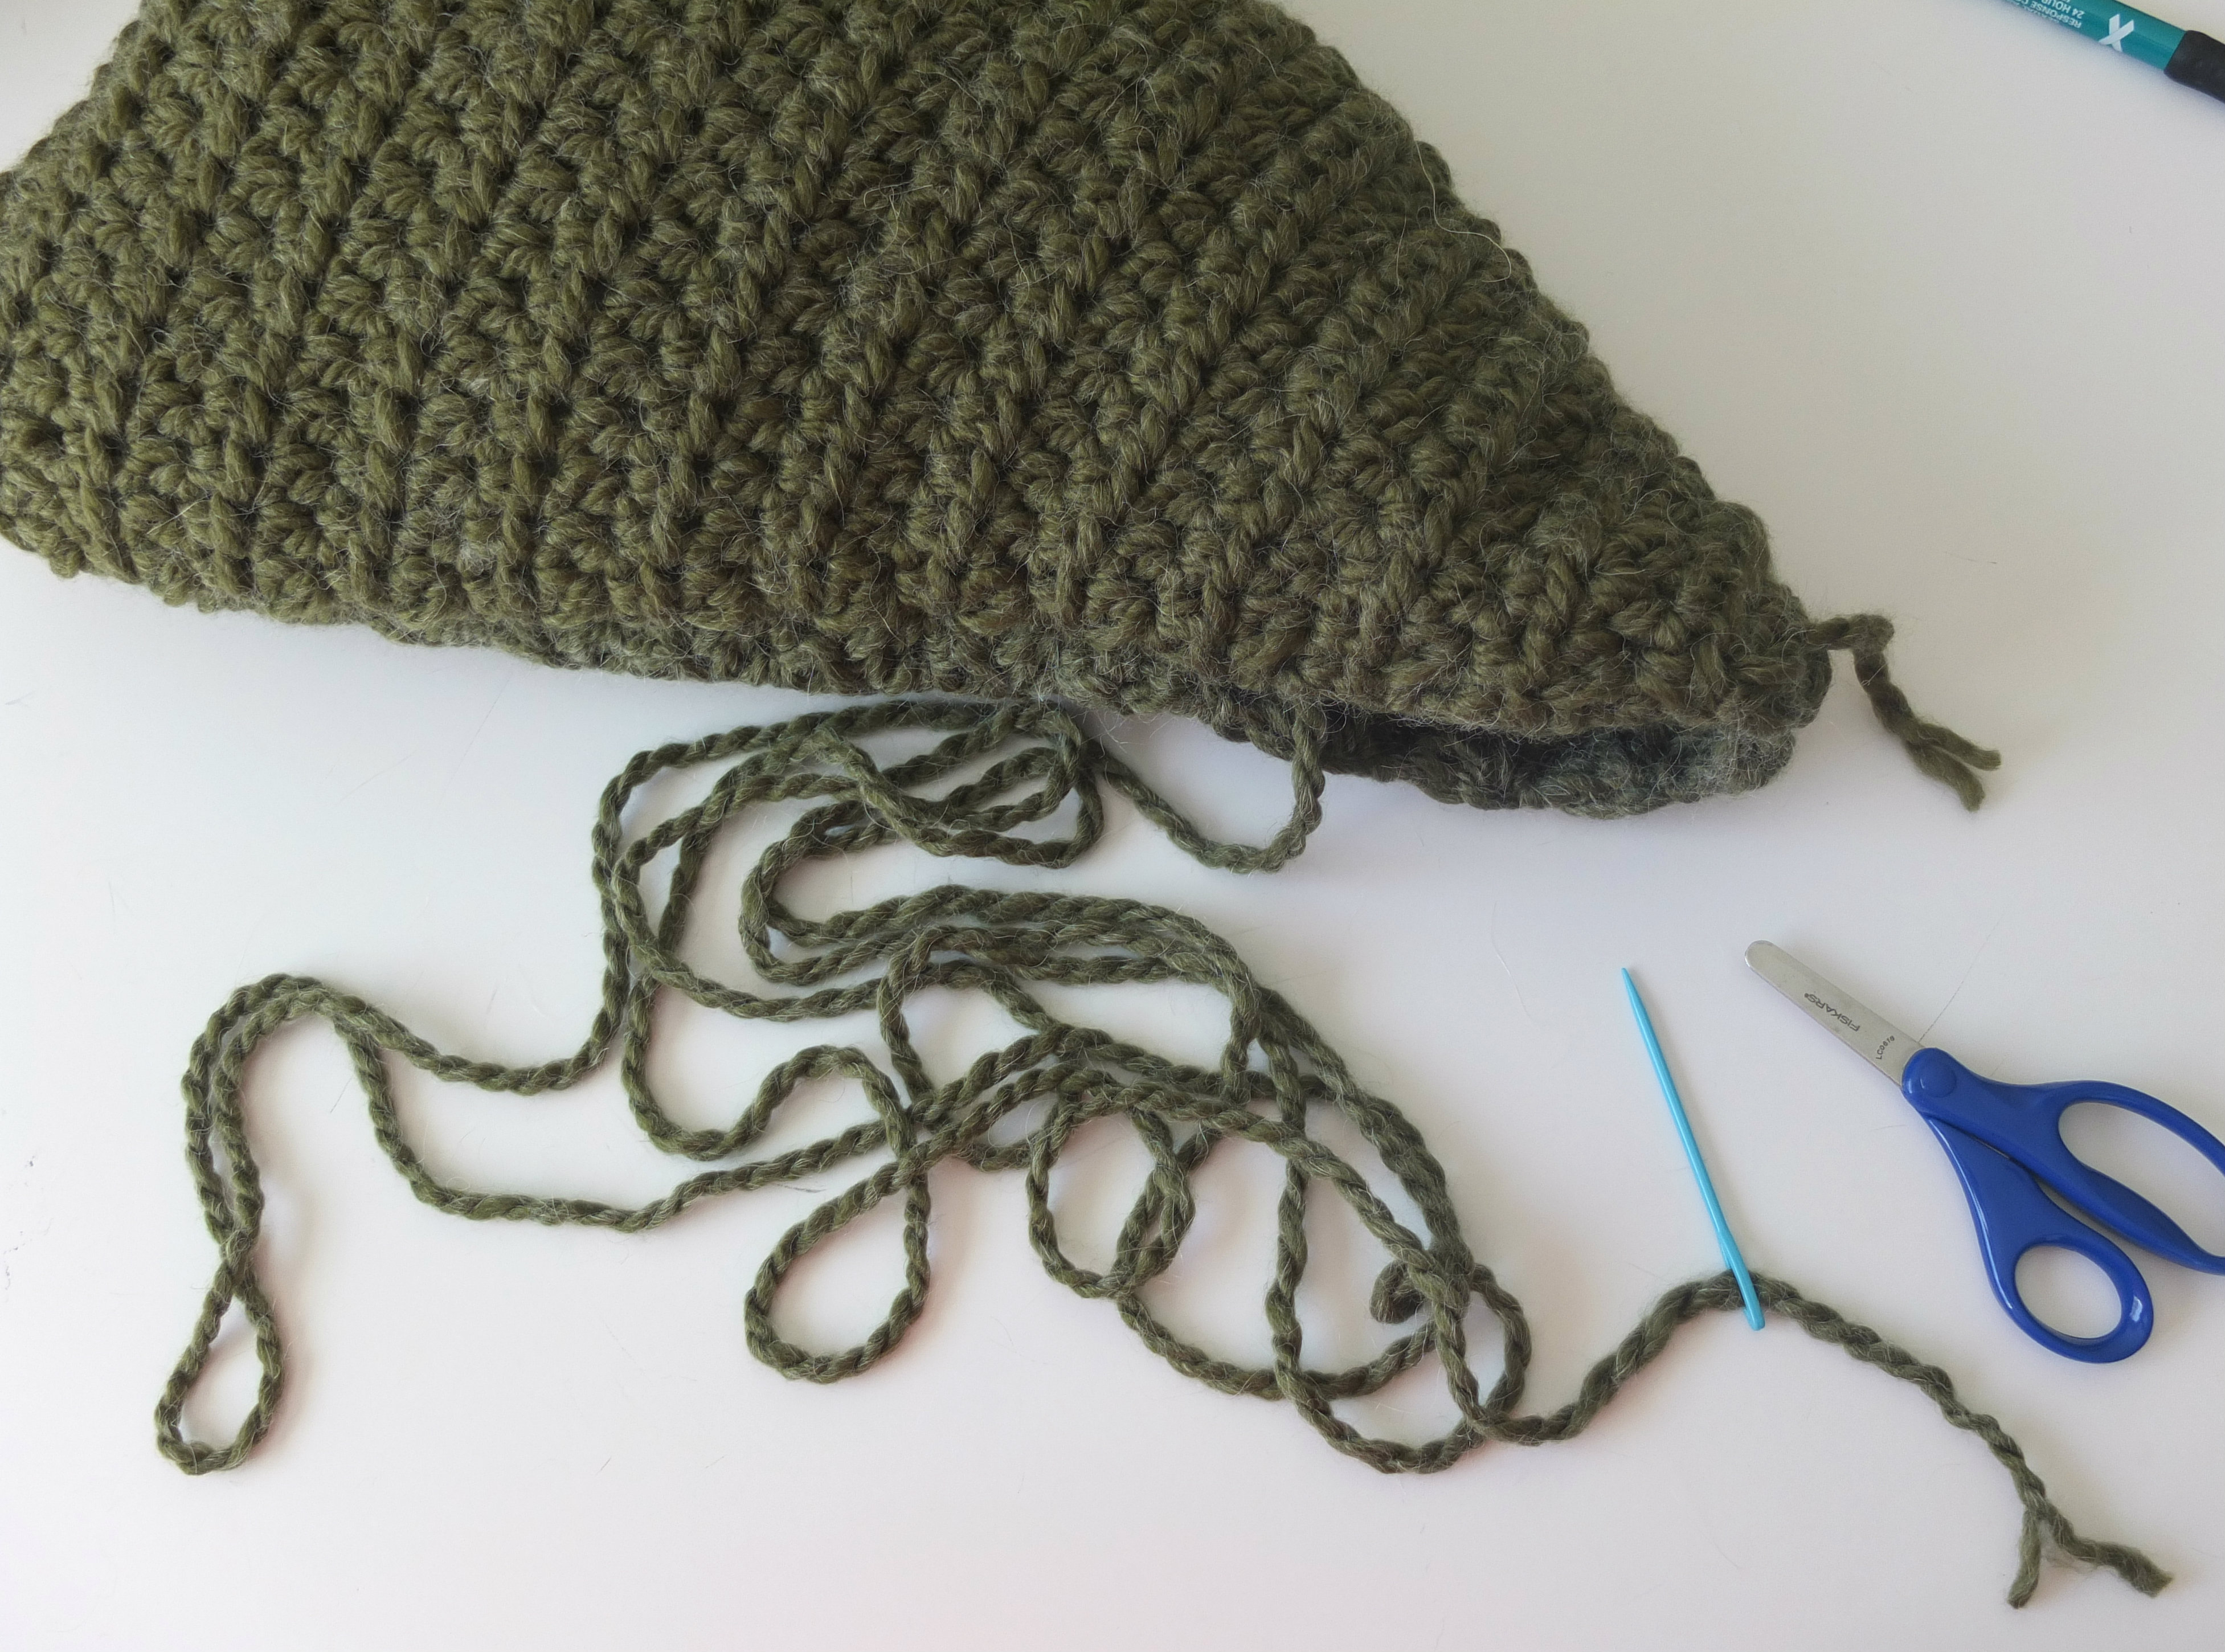
Repeat the same steps for the second panel, but when you tie off leave a long, long, long tail! I’m talkin’ at least double the length of the triangle you just created.
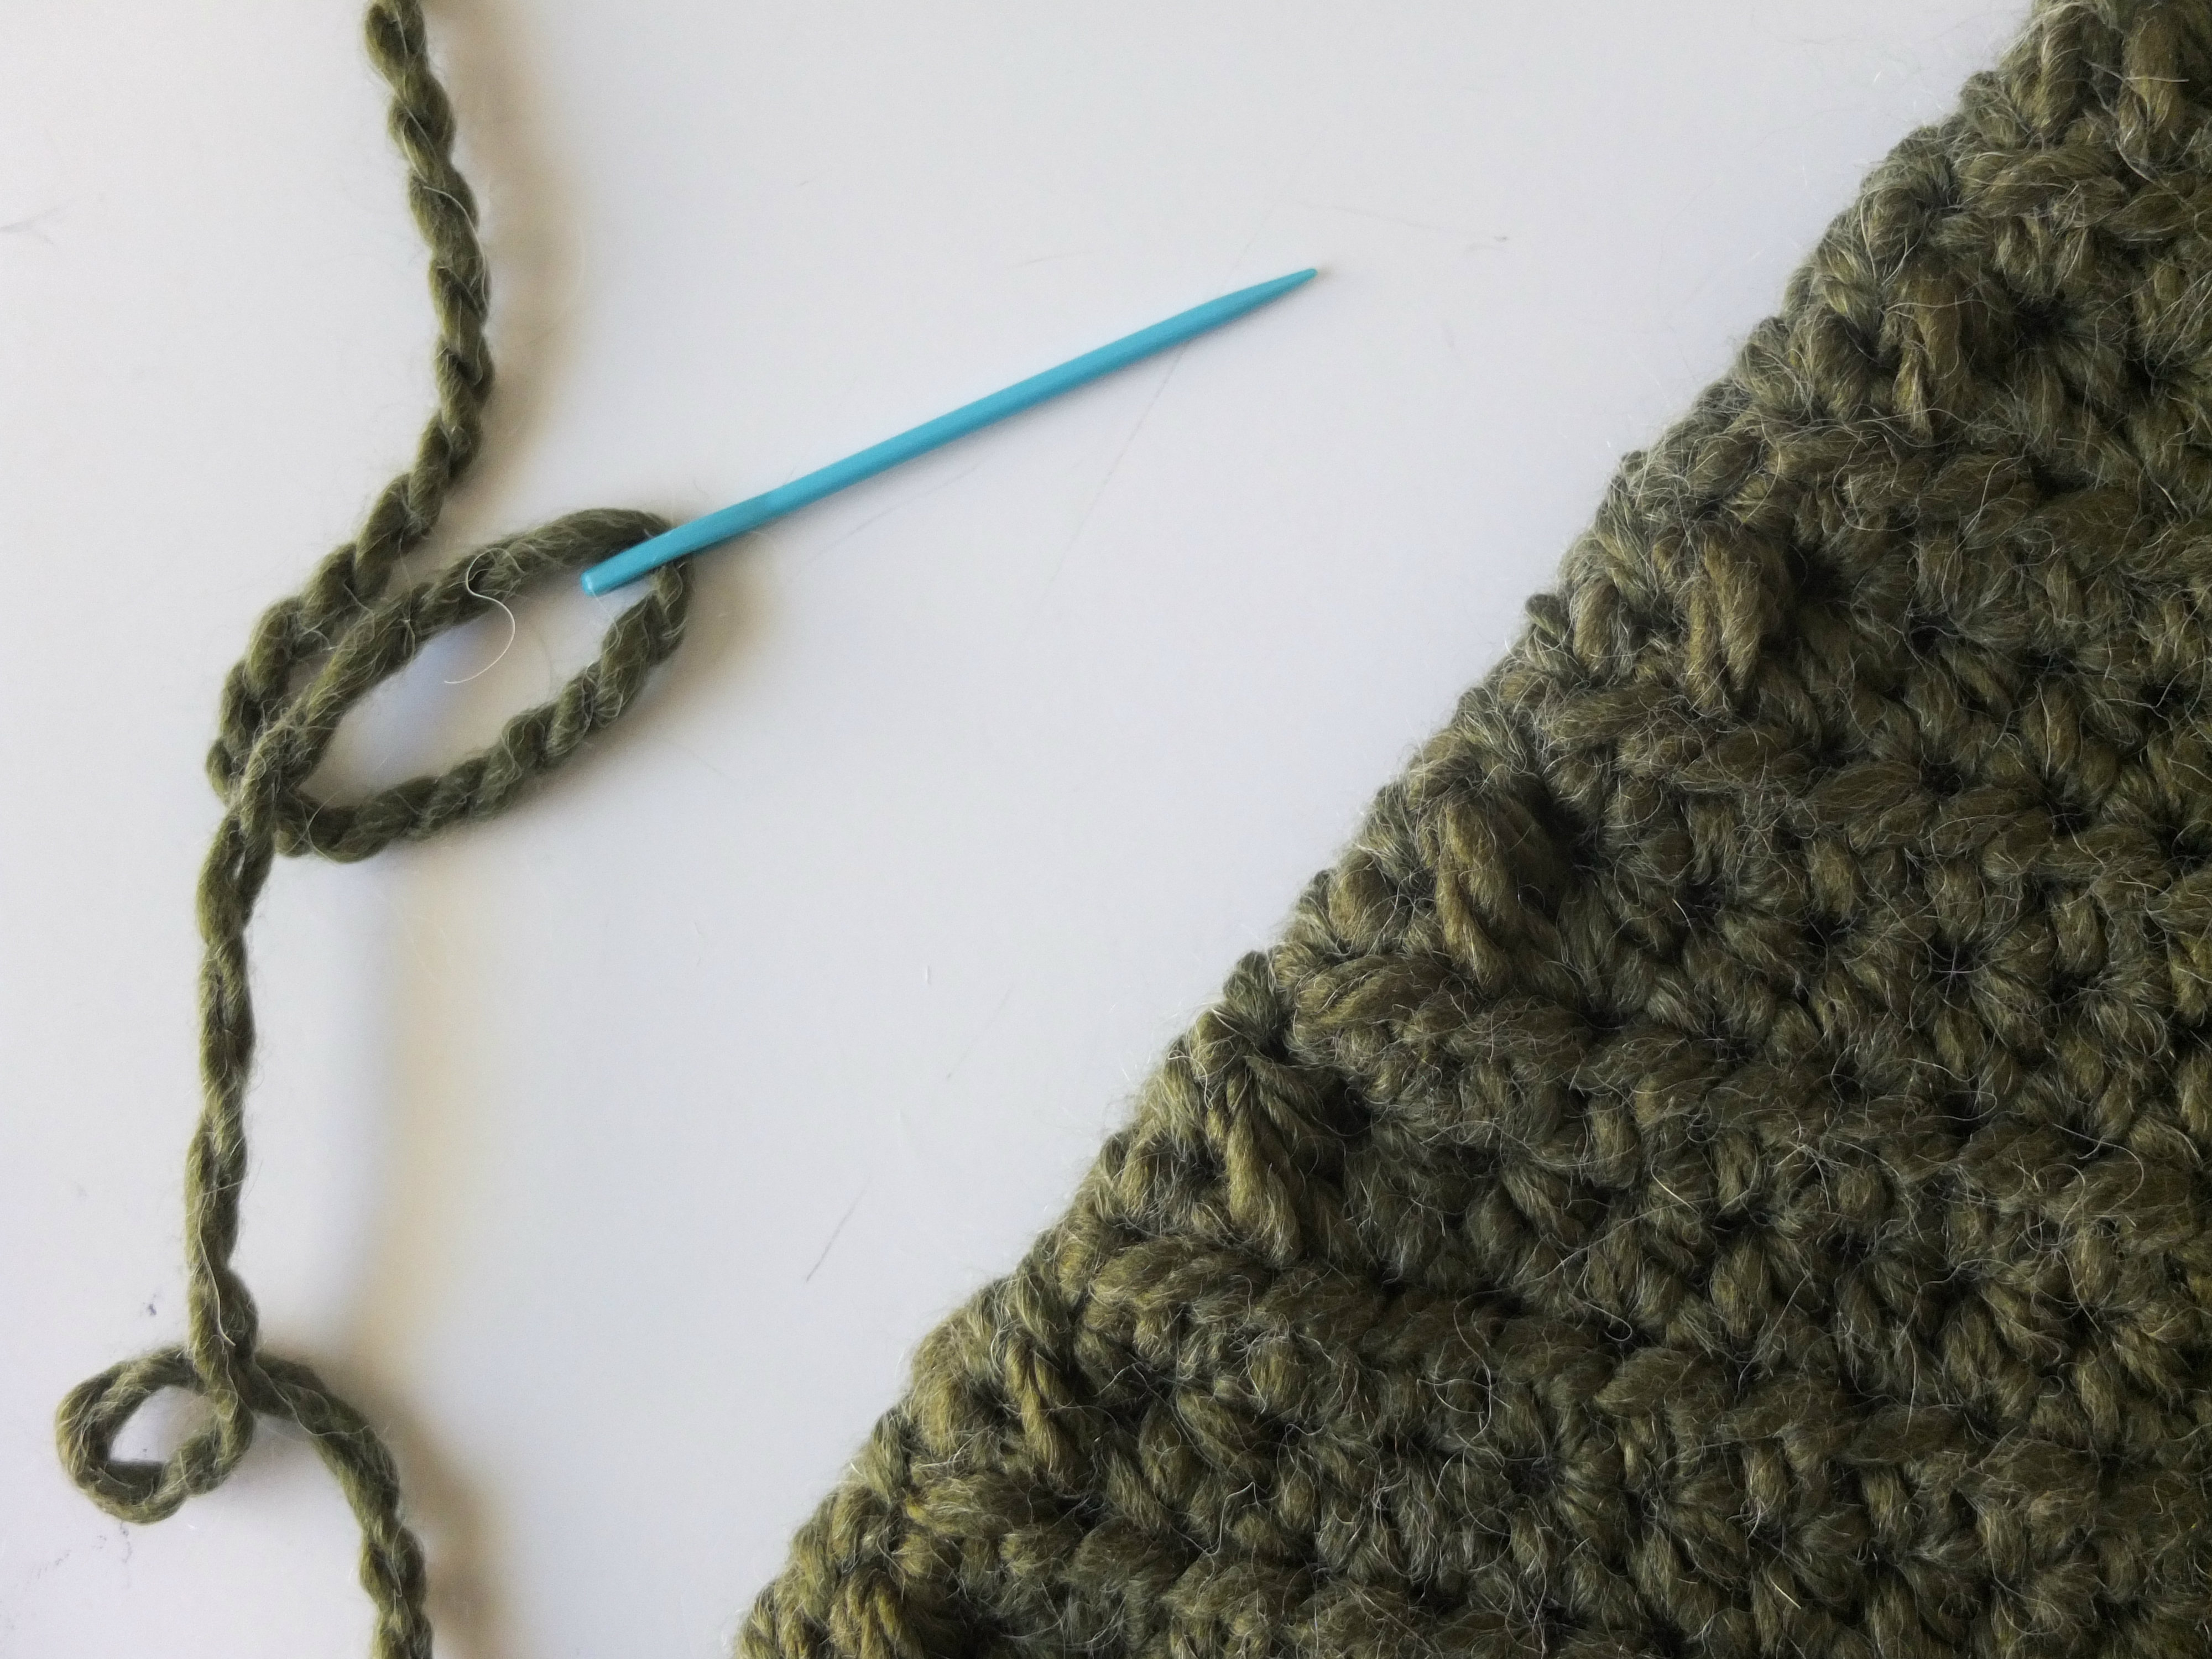
Cut your extremely long tail and use your tapestry needle to whip stitch both triangle panels together.
Once you reach the third side, whip stitch until about half way and then pause to start stuffing your pillow with polyfil stuffing. Once it’s fluffy enough to make you wanna take a nap on it, then you’re good to go! At least that’s how I tested mine!
Once you’re done stuffing, continue whip stitching the rest of the way. When you reach the top weave in your ends as much as you can so your pillow is extra secure.
Create your pom pom of any color using the Clover Pom Pom Maker or any other method you prefer and secure it to the top of your pillow!
Share your Crochet Christmas Tree Pillow with me over on Instagram! @sigonimacaroni
Happy hooking!
This pattern is an original pattern by Sigoni of Sigoni Macaroni. Please do not claim this pattern as your own. If you wish to share this pattern, you may link to this pattern but please do not reprint it on your site. You may keep a copy for your own personal use but please DO NOT sell the pattern or distribute it.
You may sell products made from this pattern but please clearly credit the design to me, Sigoni of Sigoni Macaroni, and provide a link to my blog www.SigoniMacaroni.com. Permission is NOT granted for mass production or factory manufacturing of any kind. Thank you for being respectful and for your understanding!